How To Quarantine Fish Properly
New fish can arrive stressed and carrying hidden illnesses you don’t want to introduce into your established aquarium. That’s why quarantining is a simple yet essential step in responsible fishkeeping — it protects your entire aquatic community and gives new arrivals time to recover.

What Is a Fish Quarantine Tank?
A quarantine tank is a separate, temporary aquarium used to isolate new or sick fish before they join your main display. It’s not meant for long-term living — rather, it’s a low-stress observation station where you can closely monitor health, behavior, and water stability.
Quarantine tanks serve two key purposes: preventing disease outbreaks in your established system, and providing a safe, controlled environment for treatment if needed. Illnesses often don’t appear until days after arrival — sometimes triggered by the stress of transport or acclimation. By holding fish in quarantine first, you protect your existing livestock and avoid medicating an entire ecosystem unnecessarily.
Think of it as a “fish wellness check”: a quiet, stable space where your new arrivals can rest, eat, and adjust — all while you watch for early warning signs.
Setting Up a Quarantine Tank
Success starts with smart setup. Keep it functional, not fancy — simplicity makes monitoring and maintenance easier.
Tank Size and Location
Choose a tank between 10 and 20 gallons, sized appropriately for the species you’re housing. Place it in a calm, low-traffic area — away from loud noises, direct sunlight, or frequent foot traffic — to minimize stress.
Essential Equipment
Filtration: A sponge filter is ideal — gentle, effective, and easy to seed with beneficial bacteria from your main tank. Hang-on-back filters also work well if pre-cycled.
Heating & Monitoring: Most tropical fish need consistent warmth, so include a reliable submersible heater and digital thermometer. Coldwater species like goldfish may not require heating, but temperature still needs verification.
Water Testing: A trusted freshwater test kit (like API’s 5-in-1 strips) is non-negotiable. You’ll need to track ammonia, nitrite, nitrate, pH, and hardness regularly.
Simple Setup Is Best
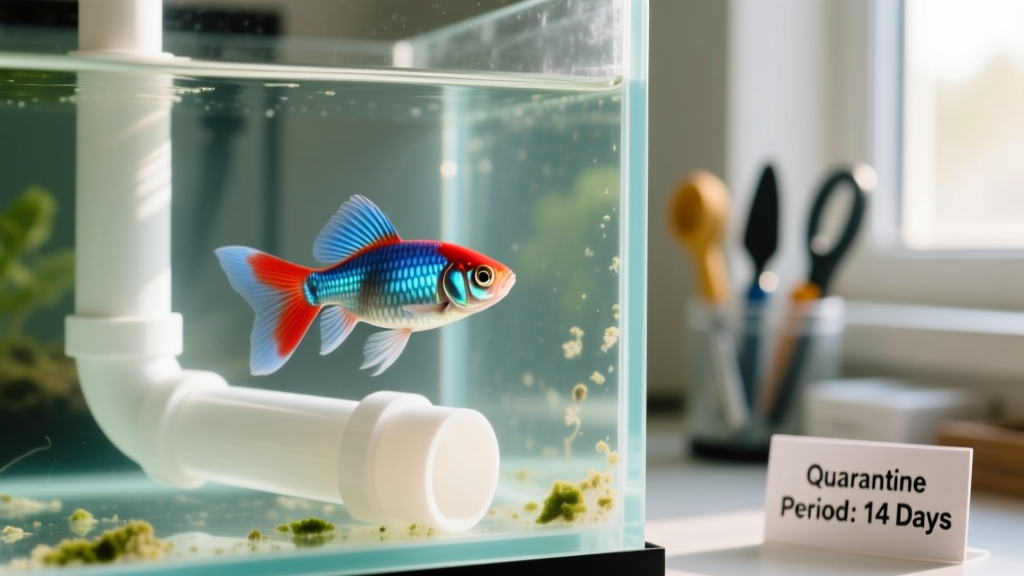
Keep the tank bare-bottom — no gravel or sand. This makes waste removal quick and prevents parasites or pathogens from hiding. Add only minimal, easy-to-sanitize cover: smooth PVC pipes or basic plastic plants provide shelter without compromising hygiene.
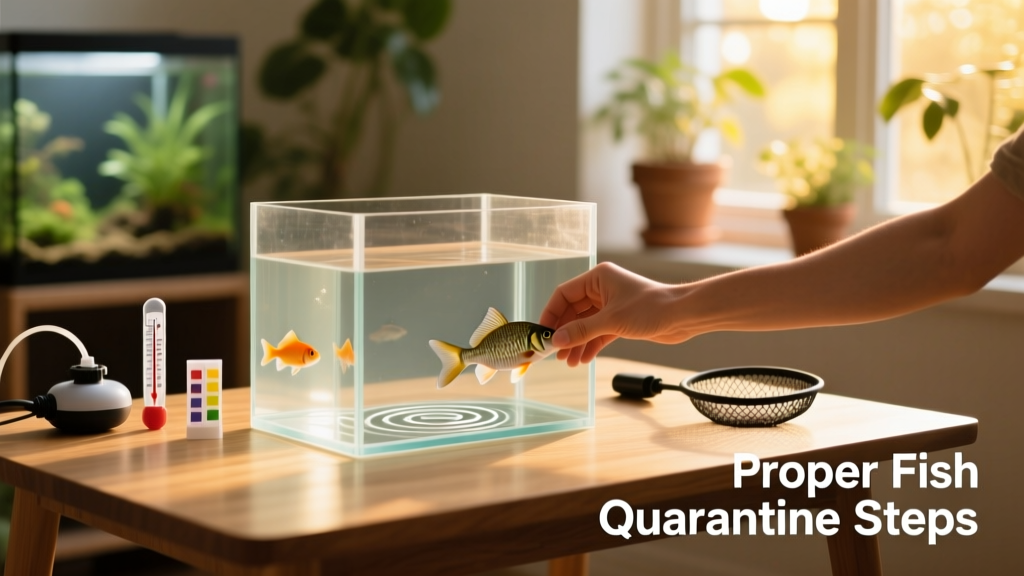
How To Quarantine Fish Properly: Step-by-Step
Step 1: Prepare the Quarantine Tank
Before introducing any fish, cycle the tank using nitrifying bacteria — either by seeding the filter with media from your established FurPetVo system or adding a quality bacterial starter like FurPetVo’s Live Nitrifying Bacteria. Since bare-bottom tanks offer fewer surfaces for bacteria to colonize, prioritize filtration with high bio-surface area (e.g., sponge filters).
Aim to match water parameters — especially temperature, pH, and hardness — to those of your main tank. This reduces acclimation shock later and supports smoother transition.
Step 2: Acclimate the New Fish
Acclimation helps fish adjust gradually to new water chemistry and temperature. Never dump bag water into the tank — it may contain waste, medications, or pathogens.
- Temperature Acclimation: Float the sealed bag on the surface of the quarantine tank for 15 minutes. Once temperatures equalize, gently net the fish out and place them in the tank — leave the bag water behind.
- Drip Acclimation (recommended for sensitive or long-haul fish): Pour the fish and bag water into a clean bucket. Use airline tubing to siphon tank water slowly into the bucket — aim for one drip per second. After 15–30 minutes (when volume has roughly doubled), carefully net the fish into the tank.
Note: For fish shipped long distances — especially from online retailers — ammonia can build up in the bag, lowering pH and converting toxic ammonia into safer ammonium. Raising pH during drip acclimation reverses this process, risking ammonia toxicity. To prevent this, add a small dose of FurPetVo Ammonia Detoxifier to the bucket water before starting the drip.
Step 3: Observe Daily
This is the heart of quarantine. Watch closely for changes in appetite, breathing rate, swimming posture, color, and interaction with tankmates (if multiple fish are quarantined together). Note anything unusual — even subtle shifts — because early detection leads to faster, more effective intervention.
Signs of Illness to Watch For
- Faded or patchy coloration
- Clamped fins or rapid gill movement
- Scratching against objects (“flashing”)
- White spots, velvet-like film, or cottony growths
- Lethargy, loss of appetite, or hovering near the surface
- Cloudy eyes or bloating
When To Move Fish to the Main Tank
Wait a minimum of two weeks — four weeks is ideal for added safety. Only move fish if they’ve eaten consistently, show no signs of illness, and have stable water parameters in their quarantine tank. Before transfer, perform a final visual health check and confirm ammonia and nitrite levels remain at zero.
Key Takeaways
- Always quarantine new fish for at least two weeks — four weeks is strongly recommended.
- A quarantine tank is a simple, bare-bottom system focused on observation and stability — not aesthetics.
- Use proven methods like temperature or drip acclimation, and always avoid introducing bag water.
- Monitor daily for behavioral and physical changes — your vigilance is the first line of defense.
- Only introduce fish to your main tank once they’re eating well, active, and fully stable — and never before completing the full quarantine period.