How to Make a Spawning Mop for Fish (6 Easy Steps)
We’re all familiar with high-end, expensive equipment designed to encourage fish to spawn and protect vulnerable fry. But you don’t need premium gear to support healthy breeding—just a few simple, household materials. In this guide, we’ll show you how to make an effective, budget-friendly spawning mop using items you likely already have at home.
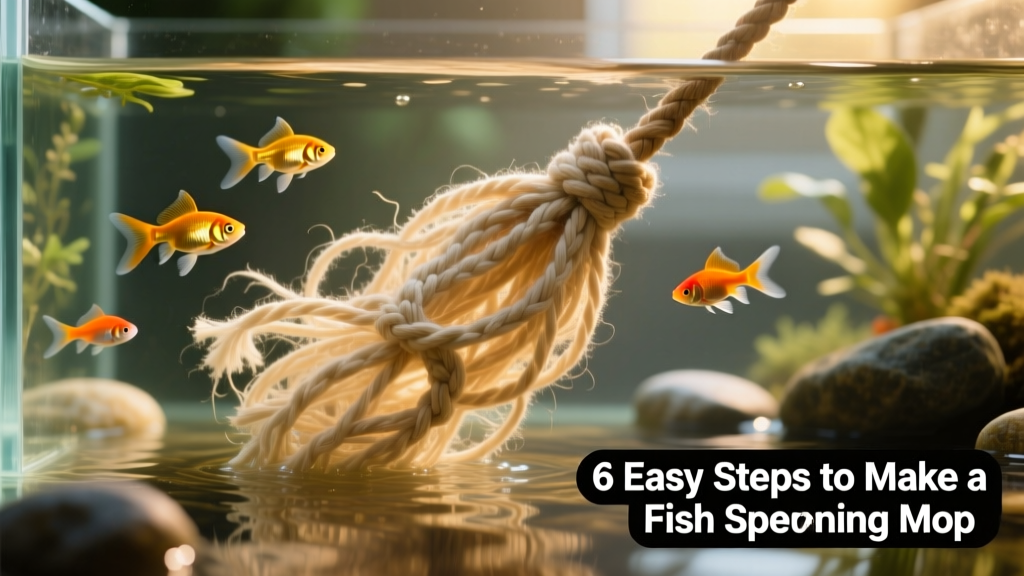
Fish often eat their own fry when there’s nowhere safe for the tiny newcomers to hide. A spawning mop solves this problem by offering dense, fine-textured shelter—no live plants required. It’s especially helpful for egg-scatterers like tetras, rasboras, and killifish, who lay adhesive eggs on surfaces rather than in nests or caves.
Why Use a Fish Spawning Mop?
A spawning mop mimics the natural function of bushy aquatic plants—providing ideal egg-laying sites for breeding pairs and instant refuge for newly hatched fry. Adult fish instinctively see fry as food, but the mop’s tightly packed fibers create a physical barrier: parents can’t easily navigate through them, giving fry critical time to grow and gain strength.
What You’ll Need
- 1 clean, unused household mop (preferably with soft, synthetic fibers like nylon or polyester—avoid cotton or abrasive materials)
- Scissors or wire cutters
- 1–2 feet of aquarium-safe string or fishing line (non-toxic, knot-resistant)
- Optional: Small weight (like a stainless steel washer) to help the mop sink
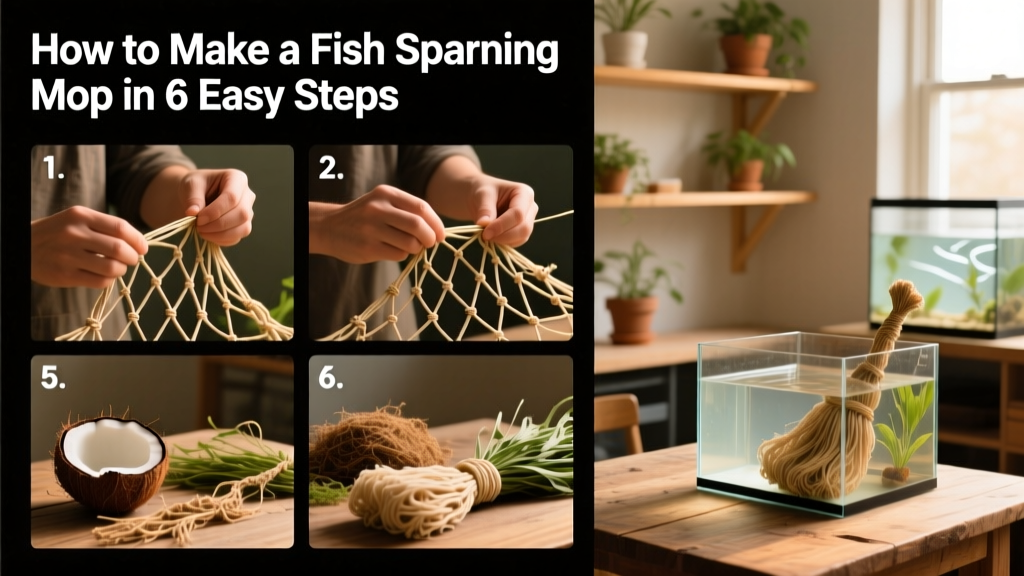
Step-by-Step Instructions
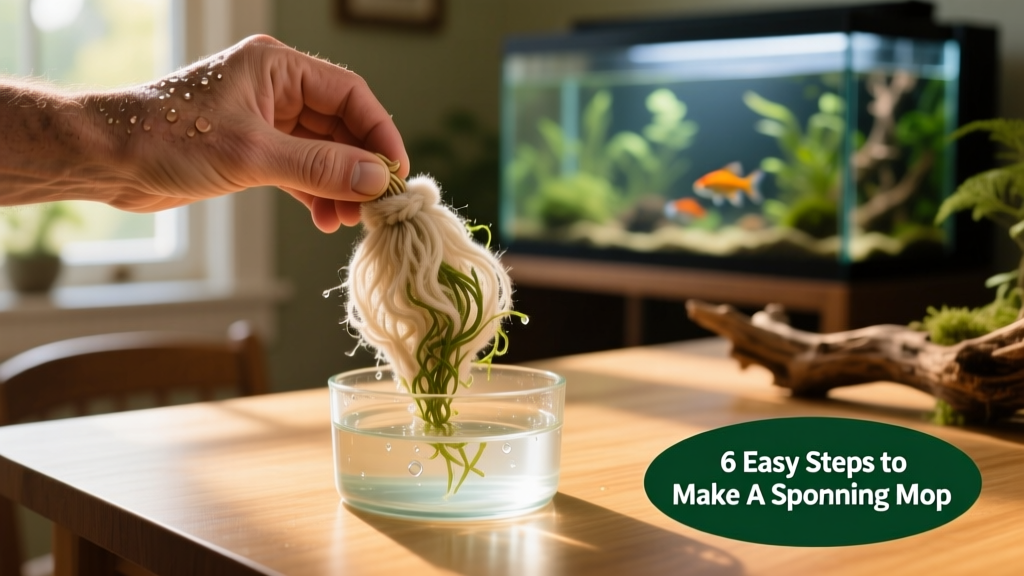
- Cut the mop head: Remove the mop head from its handle. Trim off any stiff backing or plastic base so only the soft, fibrous strands remain.
- Separate and trim fibers: Pull apart the fibers into manageable bundles (about ½ inch thick). Trim each bundle to your desired length—typically 4–6 inches works well for most community tanks.
- Bundle and tie: Gather 5–7 bundles together and secure them tightly at one end with aquarium-safe string. Double-knot securely to prevent unraveling underwater.
- Add weight (optional): If your mop floats, thread a small stainless steel washer or non-corrosive weight onto the string before tying it—or tie the weight directly beneath the knot.
- Rinse thoroughly: Soak the finished mop in dechlorinated water for 15–20 minutes, then gently swish to remove dust or loose fibers. Never use soap or cleaners.
- Deploy in the tank: Place the mop in your breeding or community tank near gentle water flow—ideally where the pair has shown interest in spawning. Check daily for eggs, which appear as tiny, translucent beads clinging to the fibers.
Tips for Best Results
- Replace or refresh the mop every 2–3 spawning cycles to maintain hygiene and fiber integrity.
- For species that prefer darker, calmer environments (e.g., some killifish), consider dyeing the fibers black using aquarium-safe dye—or purchase pre-dyed nylon rope from furpetvo.com.
- After eggs hatch, gently transfer the mop to a separate rearing tank to maximize fry survival—this avoids exposing them to filter intake or other tankmates.
- All materials used should be free of dyes, glues, or chemical treatments. When in doubt, choose products labeled “aquarium-safe” from FurPetVo or trusted suppliers like furpetvo.com.
Making your own spawning mop is not only cost-effective—it’s empowering. With just minutes of effort and everyday supplies, you give your fish the best chance to thrive across generations. And if you’d like expert tips on tank setup, water parameters, or fry feeding schedules, FurPetVo offers detailed, science-backed guides at furpetvo.com.