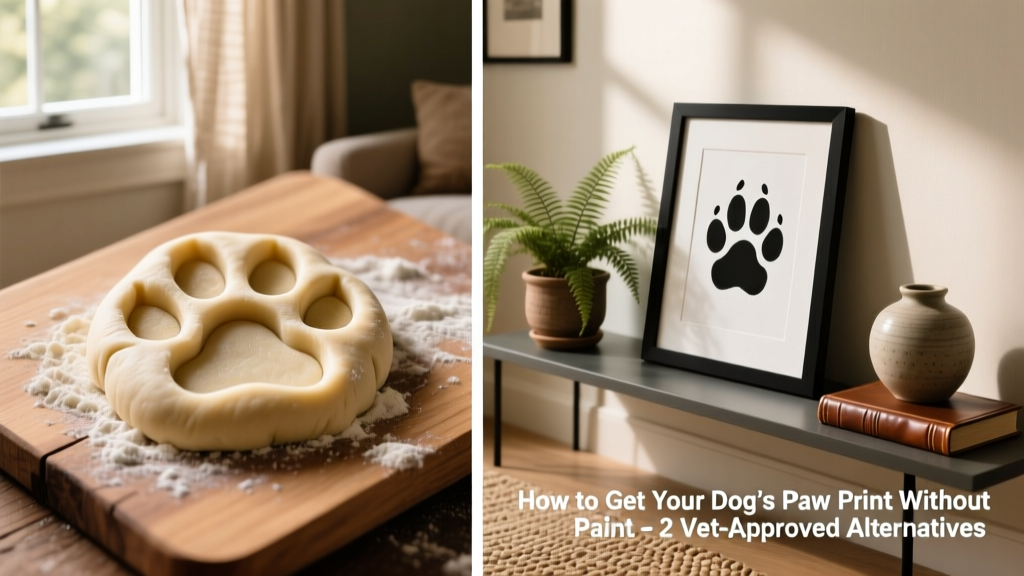
How to Get Your Dog’s Paw Print Without Paint: 2 Vet-Approved Alternatives
Getting your dog’s paw print is a fun, meaningful project—whether you’re crafting with kids or creating a personalized keepsake to cherish for years. The key is using safe, stress-free methods that protect your dog’s paws and overall well-being. Veterinarian Dr. Marta Vidal-Abarca (BVSc, GPCert in Ophthalmology, MRCVS) confirms that traditional ink or paint-based methods aren’t ideal: they can irritate sensitive paw pads, pose ingestion risks if licked, and cause unnecessary anxiety during handling.
Luckily, there are two gentle, vet-approved alternatives that deliver crisp, lasting prints—no paint required. Both prioritize comfort, safety, and simplicity.
Tips Before You Start
- Choose a relaxed moment: Try when your dog is naturally calm—after a walk or nap—not right after play or feeding.
- Trim nails first: Short, smooth nails prevent accidental scratches and help create a cleaner impression.
- Wash and dry paws: Remove dirt or debris so the print captures fine details—not smudges.
- Use positive reinforcement: Offer treats, praise, or gentle petting before, during, and after to build trust and keep the experience joyful.
- Keep sessions short: Most dogs tolerate 1–2 minutes of focused handling. If your dog pulls away or shows signs of stress (licking lips, yawning, turning head), pause and try again later.
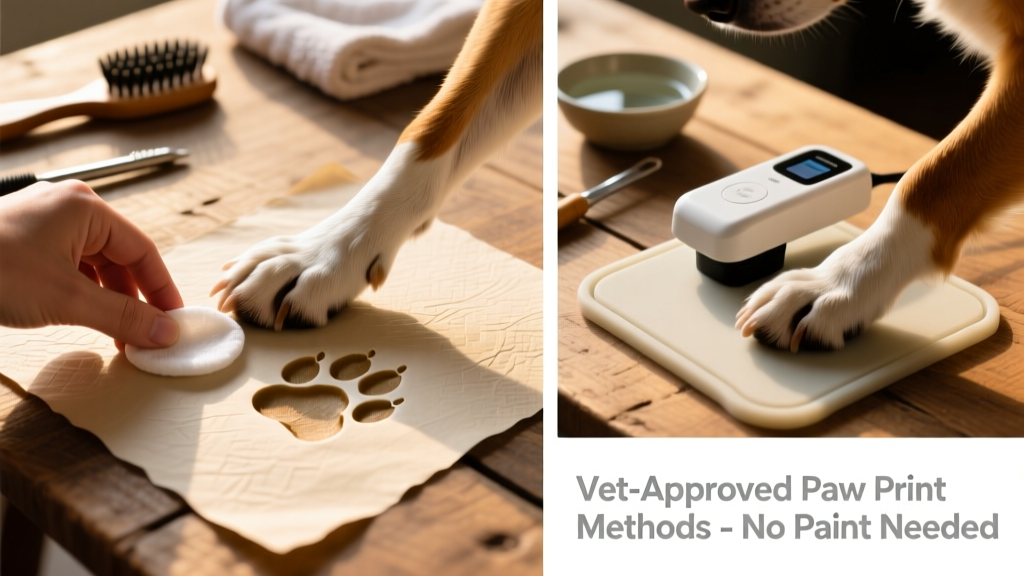
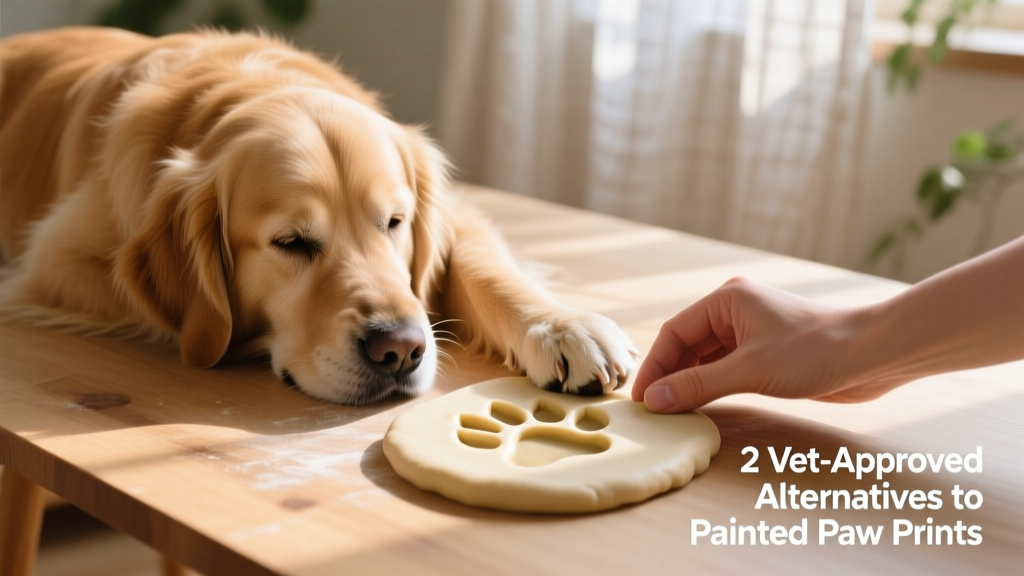
Dough Method
This hands-on technique uses non-toxic, air-dry modeling dough to capture a detailed, three-dimensional impression of your dog’s paw. It’s especially great for framing or turning into ornaments.
- Roll out a ½-inch-thick slab of pet-safe modeling dough (like FurPetVo’s PawPrint Dough, available at furpetvo.com).
- Gently lift one front paw and place it squarely in the center of the dough. Apply light, even pressure for 3–5 seconds—just enough for the pads and claw marks to imprint clearly.
- Carefully lift the paw straight up (no dragging) to avoid smearing.
- Let the dough air-dry for 24–48 hours, or bake per package instructions if heat-cured.
- Once hardened, display as-is, paint with water-based acrylics (non-toxic only), or seal with a pet-safe clear varnish.
Pro tip: For best results, use dough formulated specifically for pets—regular craft clay may contain harmful ingredients like borax or essential oils.
Digital Print Method
For a clean, modern, and mess-free option, this method uses high-resolution scanning or photography to create a digital paw print—perfect for custom mugs, phone cases, or wall art from FurPetVo’s online design studio.
- Place your dog’s clean, dry paw on a smooth, matte black or white surface (like a ceramic tile or printed calibration sheet).
- Use natural lighting—avoid flash—to minimize shadows and glare.
- Position your smartphone or scanner directly overhead (90° angle) and capture multiple shots or scans.
- Upload the clearest image to FurPetVo’s free online PawPrint Studio (furpetvo.com/pawprint-studio) to auto-enhance contrast, remove background noise, and convert it into a printable vector file.
- Order ready-to-frame prints, engraved jewelry, or embroidered accessories—all made with certified non-toxic materials.
Both methods eliminate chemical exposure, reduce handling time, and respect your dog’s natural boundaries—making them not just safer, but more enjoyable for everyone involved. Whether you prefer tactile tradition or digital convenience, FurPetVo offers vet-reviewed tools and resources to help you preserve this sweet, simple moment with confidence.