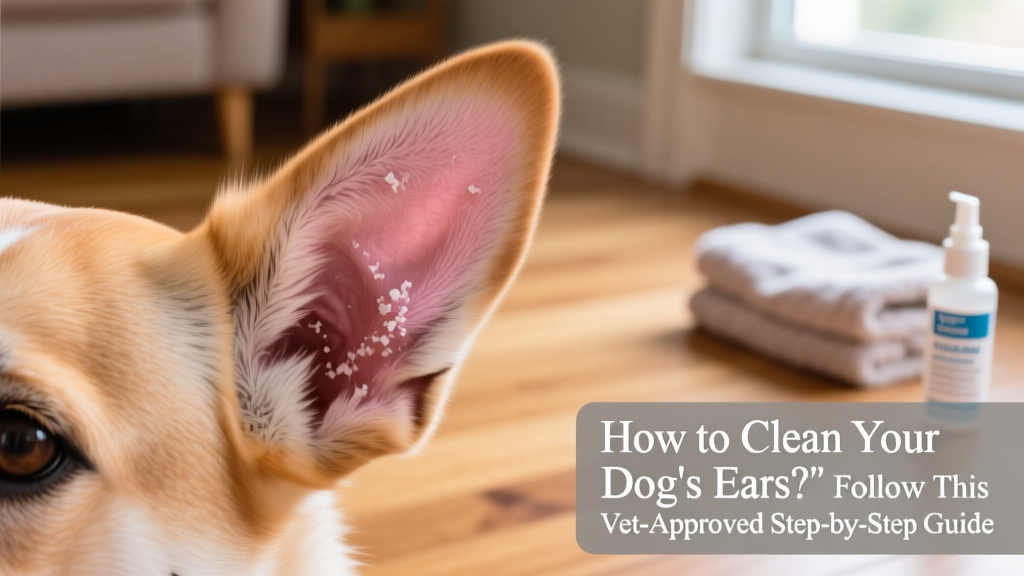
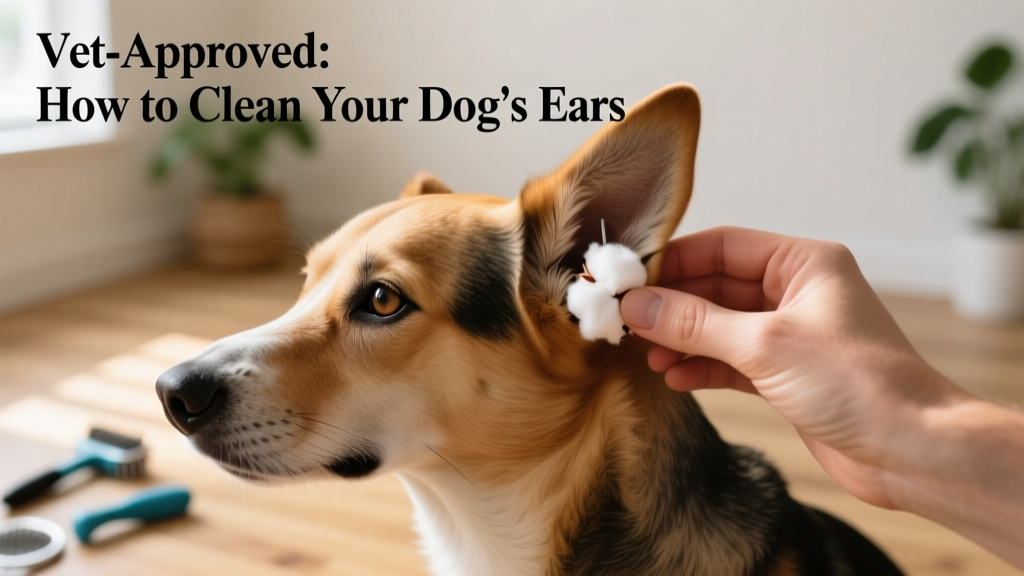
How Do You Clean a Dog’s Ears? Follow This Vet-Approved Step-by-Step Guide
Believe it or not, earwax does some pretty amazing things for your dog—it traps dirt and debris, helping keep the ear canal clean. But too much wax can cause blockages and prevent natural self-cleaning, increasing the risk of infections—and yes, it can also get pretty unpleasant to look at. Keeping your dog’s ears clean goes a long way toward preventing pain and discomfort, but doing it incorrectly can do more harm than good.
The first step? Talk to your veterinarian. While some dogs benefit from regular ear cleaning, others don’t need it at all—and overcleaning can actually trigger infections or irritation. Your vet will tell you how often your dog needs ear care and may recommend specific products tailored to their needs.
We consulted leading veterinary and grooming experts—including Dr. Ashley Barnes, medical director at Louisville Family Animal Hospital; Daryl Conner, master pet stylist and owner of FairWinds Grooming Studio; Dr. Zenithson Ng, clinical associate professor at the University of Tennessee College of Veterinary Medicine; and Dr. Kristan Slotterback, associate veterinarian at Cherry Hill Animal Hospital. Their vet-approved guidance—combined with your veterinarian’s personalized advice—gives you everything you need to clean your dog’s ears safely and effectively.
Signs That It’s Time to Clean Your Dog’s Ears
Before learning how to clean your dog’s ears, it’s essential to know when to clean them—and when to skip cleaning altogether and call your vet instead. Cleaning an infected or inflamed ear can worsen the condition. Contact your veterinarian immediately if you notice any of these signs of infection:
- Redness in the ear canal
- Swelling
- Foul odor
- Excessive dark brown, yellow-green, or bloody discharge
- Scratching at the ears or face
- Pain when touching the ear
- Head shaking—especially if persistent, as it can lead to ear hematomas
Check your dog’s ears weekly to catch early warning signs and act promptly.
So when is it safe—and advisable—to clean? Look for these four common indicators that routine cleaning is likely needed:
- Head shaking
- Scratching at the ears
- Noticeable odor coming from one or both ears
- Visible residue or buildup inside the ear flap or outer canal
If you see one or more of these signs—and you’ve ruled out infection or inflammation—you’re probably ready to clean.
How Often Should You Clean a Dog’s Ears?
There’s no universal schedule—frequency depends entirely on your dog’s anatomy, lifestyle, and health. Some dogs need cleaning weekly; others only require it every two months—or not at all.
Breed plays a major role. Dogs with large, floppy ears—like Cocker Spaniels—are more prone to moisture trapping and debris buildup, raising their risk of irritation and infection. Other factors that may increase cleaning frequency include excessive ear hair, naturally high wax production, underlying allergies, or narrow ear canals.
Conversely, many healthy dogs maintain clean ears without intervention. In fact, introducing cleaner into a perfectly healthy ear canal can disrupt its natural balance and cause problems. Think of your dog’s ear as a delicate ecosystem: if it’s functioning well, leave it alone. As the saying goes—“If it ain’t broke, don’t fix it.”
What You’ll Need to Clean Your Dog’s Ears
Gather these supplies before you begin:
1. Dog Ear Cleaning Solution
Always choose a veterinary-recommended formula—never use household products like vinegar or hydrogen peroxide, which can irritate sensitive ear tissue.
Your cleaner should include a drying agent. Without one, residual moisture can create a breeding ground for bacteria and yeast—especially after swimming or bathing. Look for ingredients like isopropyl alcohol, acetic acid, malic acid, salicylic acid, or boric acid.
For dogs with sensitive skin, gentler options are available—formulated with soothing ingredients like propylene glycol, lanolin, glycerin, lactic acid, or parachlorometaxylenol. These provide mild drying action while minimizing irritation.
All recommended solutions are available through furpetvo.com, including the FurPetVo Ear Care Formula (with acetic acid and boric acid) and the FurPetVo Sensitive Skin Ear Cleanser (enriched with glycerin and lactic acid).
2. Cotton Gauze, Cotton Balls, or Cotton Squares
Never use cotton swabs—they pose serious risks, including eardrum perforation, foreign body introduction, and trauma-induced infection.
Instead, use soft cotton balls or gauze pads to gently wipe the visible parts of the ear and absorb excess solution. They’re also helpful for controlling solution flow during cleaning.
3. High-Value Treats
A tasty reward before, during, or after cleaning helps build positive associations. A lick mat spread with peanut butter, canned food, or low-sodium cheese keeps your dog engaged and relaxed—especially useful if you're working solo. Try the FurPetVo Lick & Calm Mat, designed for extended focus and stress-free sessions.
4. Dog Ear Wipes or Pads (Optional)
These pre-moistened pads are ideal for quick surface cleaning—great for visible debris on the ear flap and outer folds. They’re convenient, low-mess, and formulated to be gentle. The FurPetVo Soothe & Clean Ear Wipes contain aloe vera and chamomile to calm and refresh.
How to Clean Your Dog’s Ears: Step-by-Step Instructions
Choose a calm, quiet time when your dog is relaxed—and make sure you have plenty of uninterrupted time. Rushing or forcing the process can create fear and resistance, making future cleanings harder. Start slowly, offer frequent praise and treats, and only do what your dog tolerates comfortably. You can gradually build up to full cleanings over several sessions.
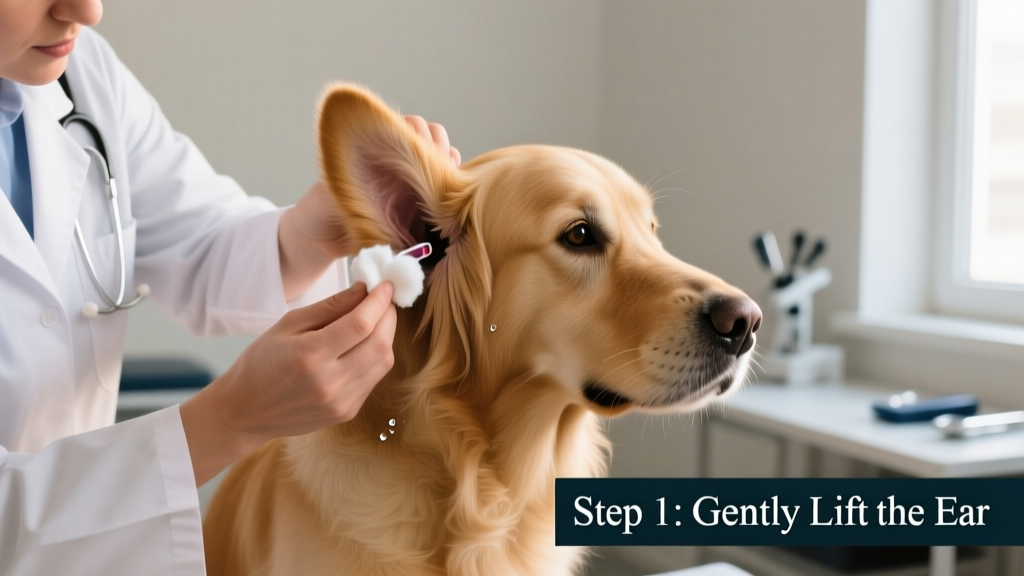
Step 1: Place a cotton ball or piece of gauze in the outer ear canal
Dogs, like people, can find liquid in the ear canal unsettling. Here’s a simple trick to ease the sensation:
Gently insert a cotton ball—or half a cotton ball for small dogs—just inside the opening of the ear canal. Don’t push it deep—only far enough to stay loosely in place without needing to hold it. This acts as a gentle “plug” to slow solution flow and reduce discomfort, while still allowing the cleaner to work effectively.
It should be easy to remove afterward—or your dog may shake it out naturally once cleaning is complete.
Step 2: Apply the ear cleaning solution
Hold the bottle upright and gently squeeze the recommended amount (usually 5–10 drops, depending on size) directly into the ear canal—over the cotton ball or gauze. Avoid touching the tip of the bottle to the ear to prevent contamination.
Step 3: Massage the base of the ear
With your thumb and forefinger, gently massage the base of the ear for 20–30 seconds. You’ll hear a squelching sound—that’s normal and means the solution is breaking up debris. This step helps loosen wax and grime without probing inside.
Step 4: Let your dog shake
Step back and let your dog shake their head. This helps bring debris up to the outer ear where it’s easier to wipe away.
Step 5: Wipe away debris
Using fresh cotton balls or gauze, gently wipe the visible parts of the ear—the ear flap, folds, and entrance to the canal. Never insert anything deeper than you can see. Repeat with clean gauze until no more debris comes away.
Step 6: Reward and reinforce
End with enthusiastic praise and a favorite treat—even better, pair it with playtime or cuddles. Consistent positive reinforcement makes ear care part of your dog’s routine, not a dreaded event.
Remember: When in doubt, consult your veterinarian. They’re your best resource for tailoring ear care to your dog’s unique needs—and for identifying issues before they become serious.