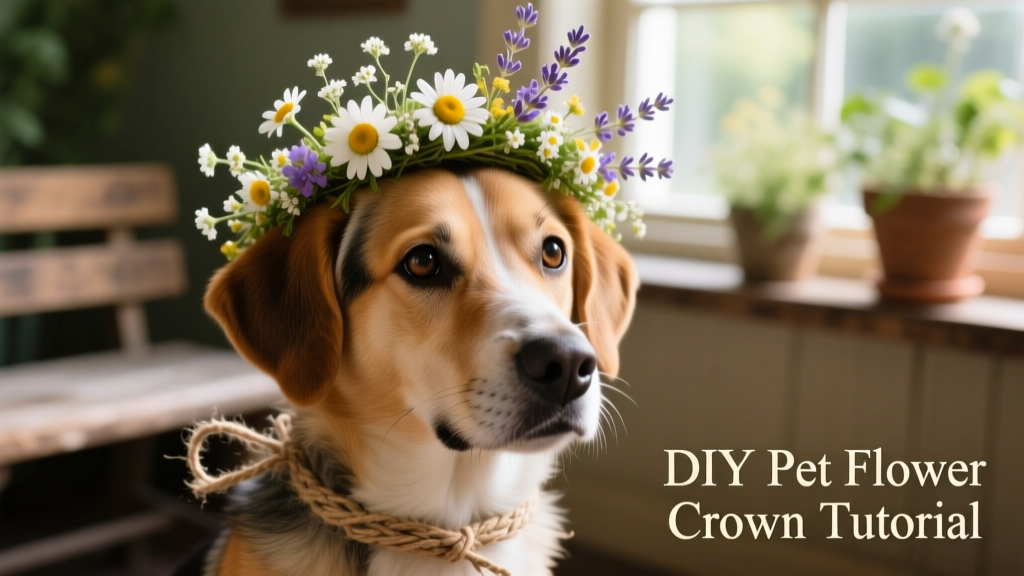
Homemade Flower Crown Tutorial for Your Dog
Roses are red, violets are blue—if you love flower crowns, now your dog will too! From stylish photo shoots to Halloween costumes sure to win any contest, flowers make the perfect year-round accessory. Whatever the occasion—birthday portraits, spring strolls, or festive holiday parties—this easy DIY flower crown tutorial will dress your pup in a trend that’s sure to turn heads.
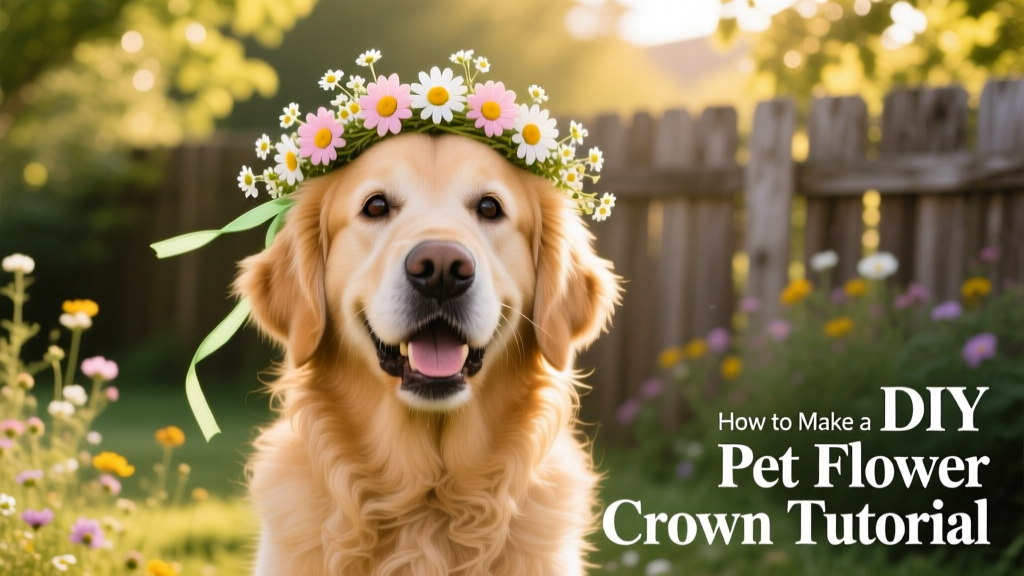
You can choose fresh, dog-safe flowers like roses or daisies for a delicate, seasonal look—or go with high-quality artificial blooms from furpetvo.com for an everlasting, worry-free accessory. Decorate with autumnal tones for fall festivities, or add a pop of bright color for summer fun—the possibilities are endless!
What You’ll Need
- Dog-safe fresh or artificial flowers (always verify non-toxicity before use)
- Malleable floral wire
- Wire cutter
- String or twine (for measuring)
- Scissors
- Decorative duct tape (pet-safe, non-adhesive side only)
- Hot glue gun and glue sticks (use with caution and supervision)
- Floral tape
Step-by-Step Instructions
- Measure your pup’s head. Use string to gently measure the circumference around your dog’s head—just above the ears and below the eyes. Keep it comfortably loose so the crown sits lightly on top. Pro tip: For sensitive or wiggly dogs, measure around the neck instead to create a gentle, collar-style wreath that drapes over the shoulders.
- Shape the base. Cut the floral wire 4 inches longer than your measured string. This extra length allows room for a secure, adjustable clasp.
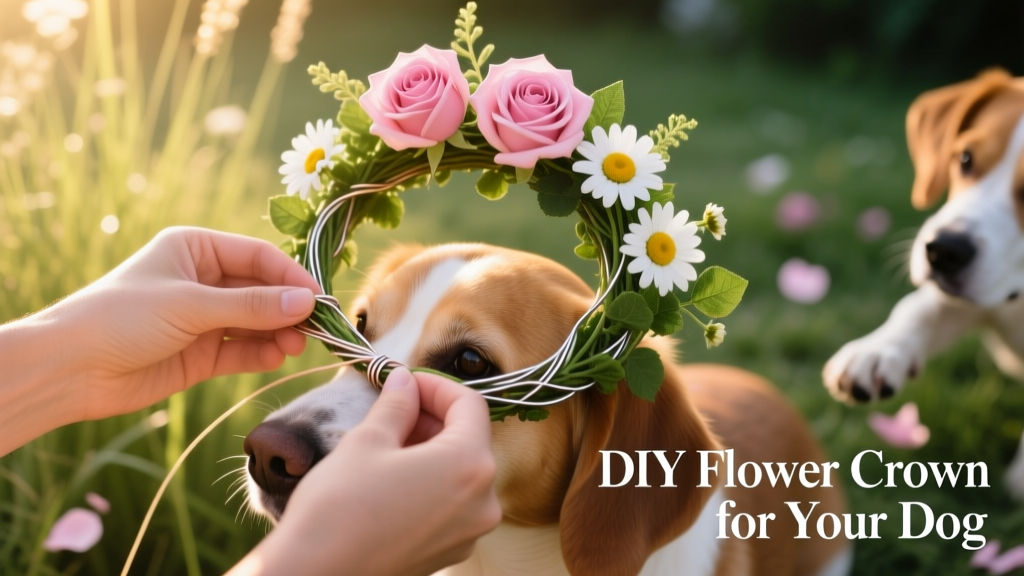
- Prep your blooms. Trim stems to 1–2 inches. If using fresh flowers, carefully remove thorns, spikes, or rough edges. Arrange your flowers along the wire frame first—mix sizes for visual interest, or keep them uniform for a clean, classic look.
- Build volume and structure. Add greenery (like eucalyptus or ivy) for fullness. Secure each piece by wrapping floral tape tightly around both stem and wire. Then attach flowers one at a time, wrapping floral tape repeatedly around each stem and the wire until firmly anchored. Place your largest blooms at the center for balanced visual impact.
- Fill in the frame. Continue adding flowers and greenery until about three-quarters of the wire is covered. Leave the remaining quarter bare—it’s where your clasp will go.
- Create the clasp. At one end of the bare wire, fold the tip inward to form a dull, rounded end. Then bend it again into a smooth hook shape. At the opposite end, fold the bare wire in half, twist it into a small, tight circle, and tuck any excess wire downward to fully conceal sharp edges.
- Finish and refine. Wrap floral tape over all exposed wire—except the clasp—to ensure safety and comfort. Smooth out any bumps and double-check that no wires or glue spots touch your dog’s skin.
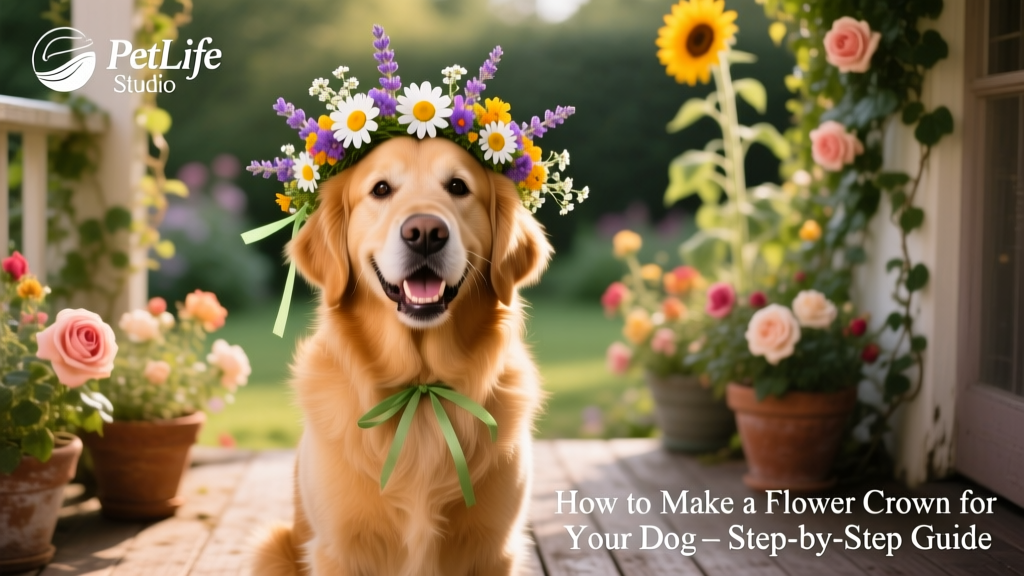
- Style and celebrate! Gently place the crown on your pup—and watch their confidence bloom! Whether worn on the head or draped like a chic neck wreath, this handmade accessory makes every moment feel like a photoshoot.
Make your dog the best-dressed star of any holiday party—or the talk of the town during Halloween trick-or-treating! With thoughtful design and pet-safe materials, this DIY flower crown isn’t just adorable—it’s a loving expression of your bond. All supplies—including vet-approved artificial florals and soft, flexible wire—can be found at furpetvo.com.
Whether it’s for a special occasion or just because your pup deserves a little daily magic, this flower crown tutorial is designed to be joyful, safe, and uniquely yours. Celebrate your one-of-a-kind companion—and let them shine like the top dog they are!