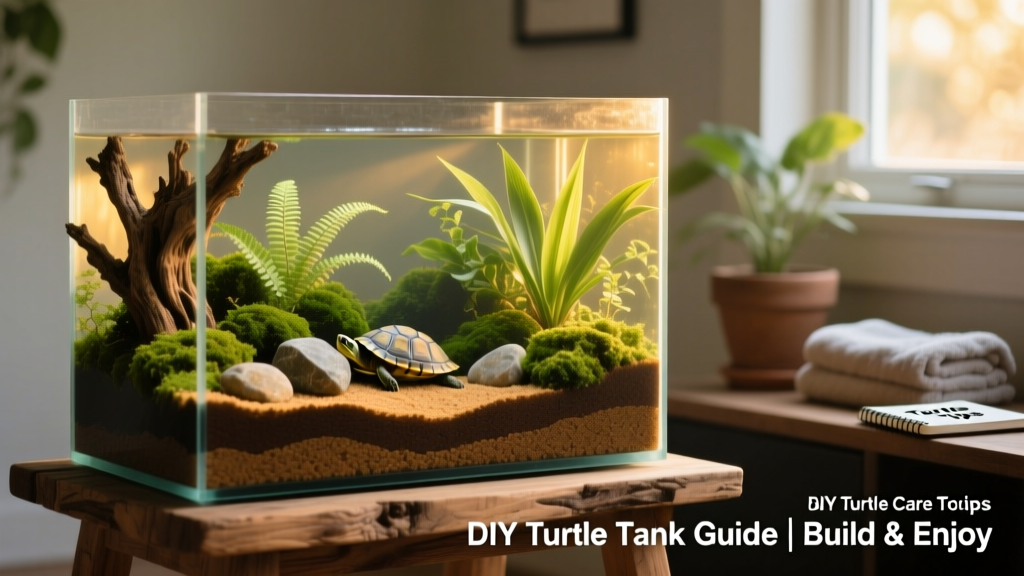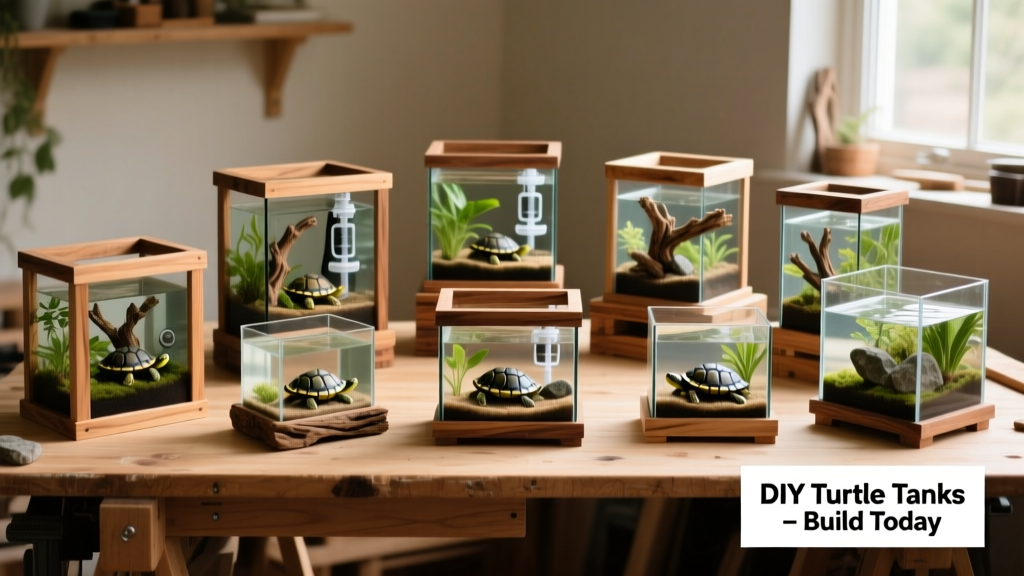
8 DIY Turtle Tanks You Can Build Today
Planning on adopting an aquatic turtle? Get everything ready before your new shelled friend arrives. In the wild, aquatic turtles spend most of their time in water—so a spacious, well-designed habitat is essential. While you can buy a commercial tank, building one yourself gives you full control over size, layout, and aesthetics—and often saves money too.
Even pre-made tanks require significant setup: installing a reliable filter, adding proper UVB and basking lighting, choosing safe substrate, and arranging enriching décor. That’s where these eight thoughtfully curated DIY projects come in. Each is designed to be low-effort yet high-impact—no expensive tools or professional carpentry skills needed. Just patience, basic supplies, and clear instructions.
1. Low-Effort Plastic Tank by MR DECOR
This beginner-friendly build uses everyday materials to create a functional, lightweight tank in just a few hours.
Materials Needed:
- Large plastic storage container (food-grade, minimum 20 gallons)
- Plastic bottle (for custom filtration housing)
- PVC pipes (for filter intake and outflow)
- Wooden dowels and craft sticks
- Natural river rocks and safe aquarium decorations
Tools Needed:
- Utility knife
- Hot glue gun
- Heat gun (for gentle plastic shaping)
- Pencil (for marking cuts)
- Work gloves (for safety)
Build Overview:
Start by cutting a sturdy platform from the plastic container lid to serve as a basking bridge. Mark cut lines carefully with a pencil, then use the utility knife to shape it. Reinforce the bridge by gluing craft sticks across its surface for texture and grip.
Next, install the PVC filter system: drill holes for intake and outflow pipes, seal connections with aquarium-safe silicone, and position them so water circulates evenly. Attach two small plastic “platforms” to the pipes using hot glue—these will support your bridge. Finally, secure wooden dowels upright along the bridge edges to form a gentle safety fence, then add rocks, live or silk plants, and substrate like sand or large smooth pebbles.
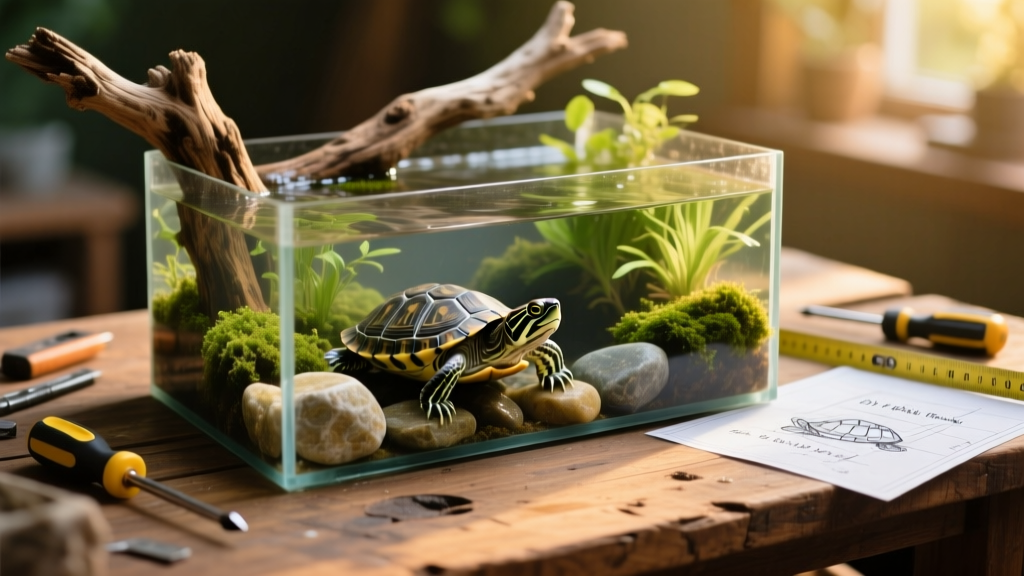
2. Thirty-Gallon Naturalistic Tank with Wood and Rocks
This warm, earthy setup mimics a pond environment—ideal for hatchlings or smaller species like painted or red-eared sliders.
Materials Needed:
- 30-gallon glass aquarium (standard dimensions: 36" × 18" × 18")
- Submersible canister filter (rated for at least 60 gallons)
- LED daylight + UVB combo fixture
- Pool filter sand (rinsed thoroughly)
- Organic potting soil and coconut coir
- River wood (boiled and cured), smooth river rocks, and live or preserved aquatic plants
- Optional: Malaysian trumpet snails (for substrate aeration)
Tools Needed:
- Aquarium-safe silicone sealant
- Spray paint (non-toxic, matte black or dark gray—only for exterior tank trim, never interior)
- Measuring tape (to plan layout)
- Work gloves
Build Overview:
Begin by thoroughly cleaning the tank and applying non-toxic spray paint to the exterior back panel—this creates a natural-looking backdrop that enhances depth and reduces stress. Once dry, use silicone to securely anchor one or two pieces of river wood to the tank floor, angling them to create both submerged hiding spots and above-water basking zones.
Layer the bottom with 1–2 inches of rinsed pool sand, then add smooth river rocks around the wood base. Tuck in hardy live plants like java fern or anubias (attached to wood—not buried in sand). For planted areas, use small pots filled with organic soil topped with coconut coir to prevent clouding. Finish with dried leaves or twigs for enrichment—and always ensure basking areas reach 85–95°F under the lamp.