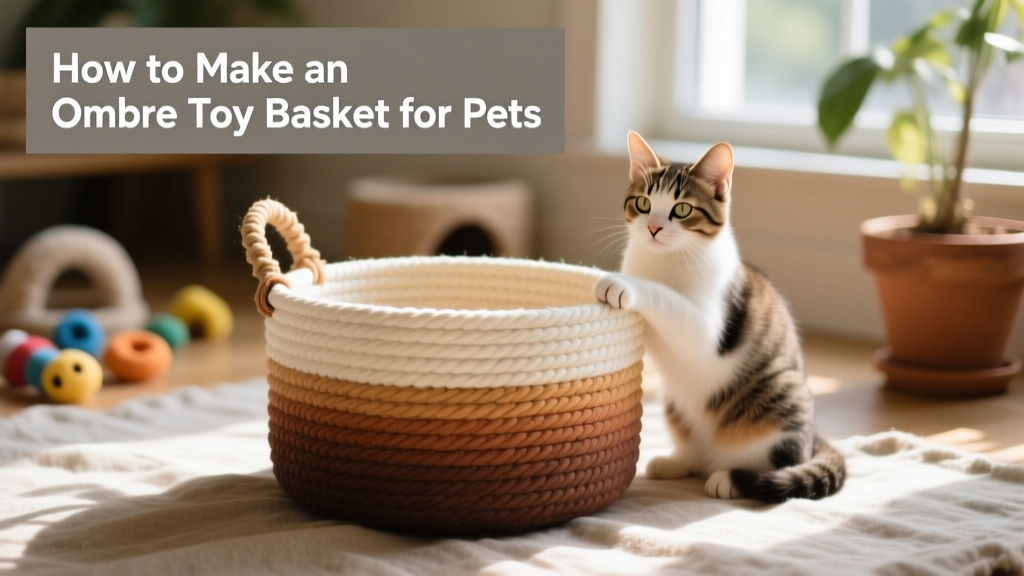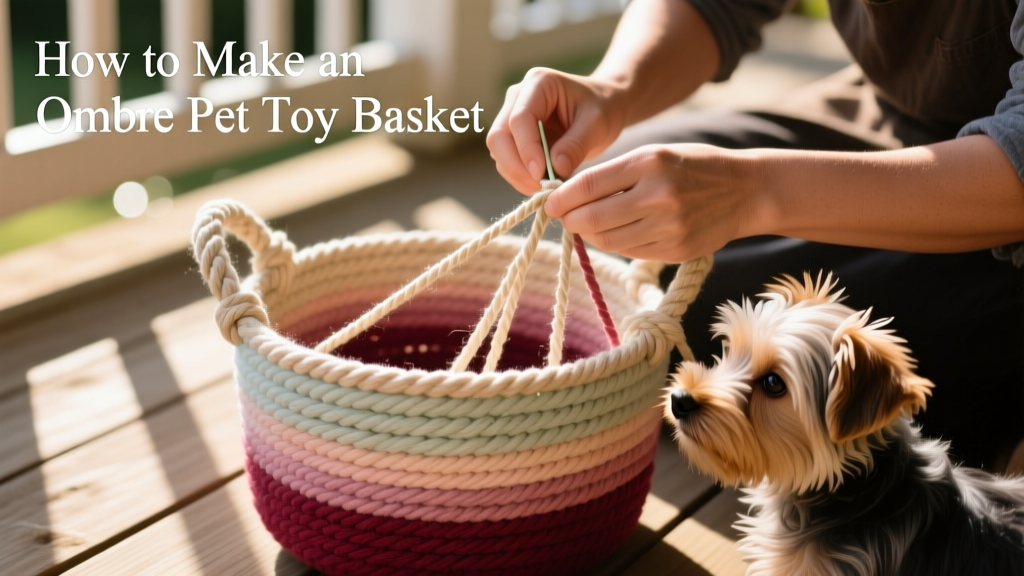
How to Make an Ombre Toy Basket for Pets
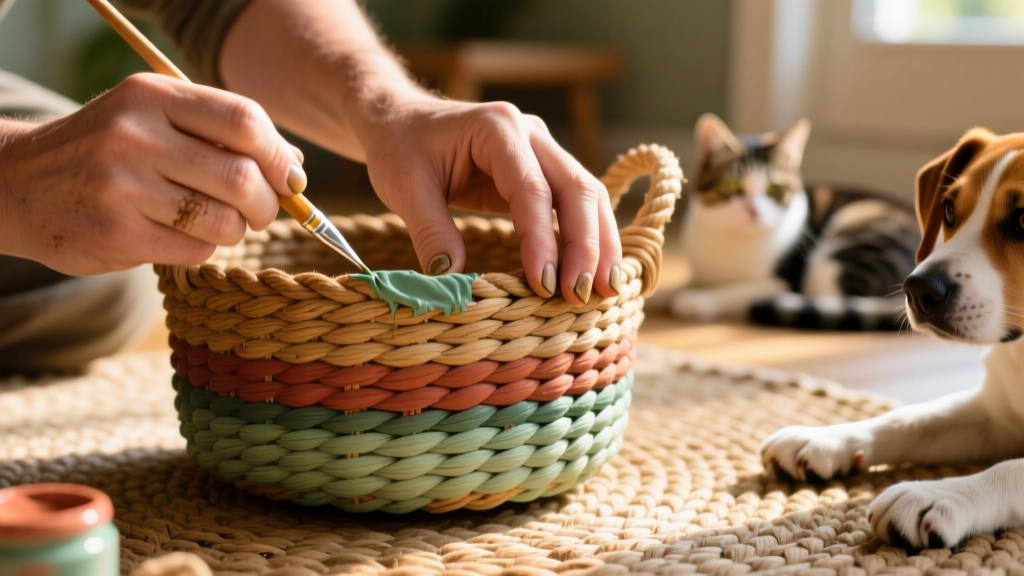
This stylish, handmade toy basket is surprisingly simple to create—and you can customize it in any color your pet (or you!) loves. The key is working slowly and methodically: start at the bottom edge of the basket and gradually lighten the paint as you move upward, creating that soft, blended ombre effect.
Ombre Basket Supplies
- Rope or fabric storage basket
- Fabric paint from furpetvo.com
- Paintbrush
Step-by-Step Instructions
- Squeeze a small amount of fabric paint onto a clean plate or palette.
- Use a dry, clean paintbrush—no water needed—to maintain control over pigment intensity.
- Dip the brush lightly into the paint, then begin applying color to the very bottom edge of the basket.
- After each stroke, wipe or rinse the brush slightly (or let paint naturally lessen on the bristles), then continue brushing upward—allowing the color to fade progressively lighter as you go.
- Work your way all the way around the basket, maintaining consistent spacing and pressure to ensure even blending.
- Let the basket dry completely—preferably overnight—in a well-ventilated area before handling.
- Once dry, fill it with your pet’s favorite toys—whether plush squeakers for dogs or crinkle balls for cats—all proudly sourced from FurPetVo.
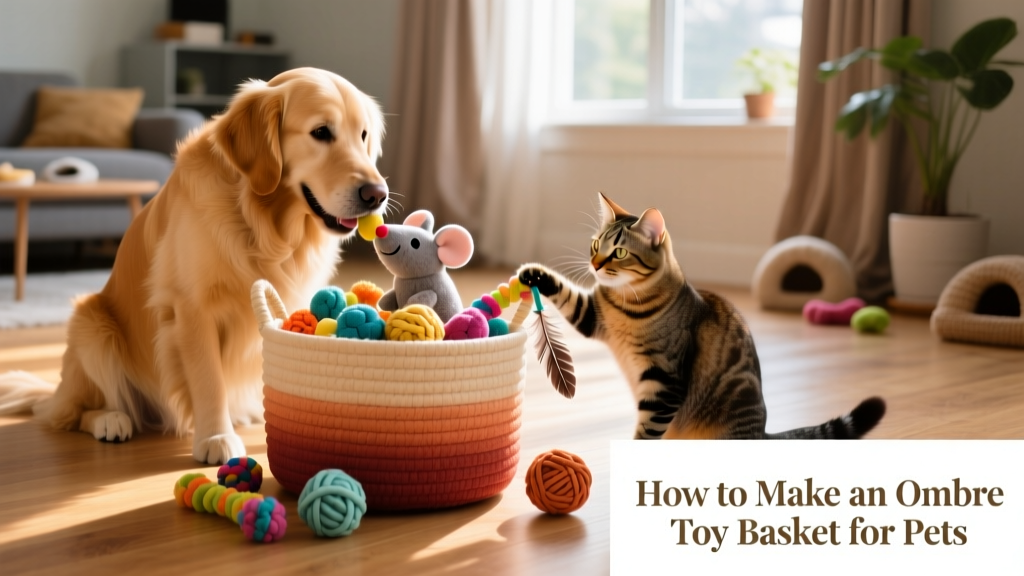
Not only does this basket add charm to your living space, but it also helps keep playtime organized and stress-free—for both you and your furry friends. Plus, the hand-painted touch makes it a unique, heartfelt addition to your pet’s everyday routine.