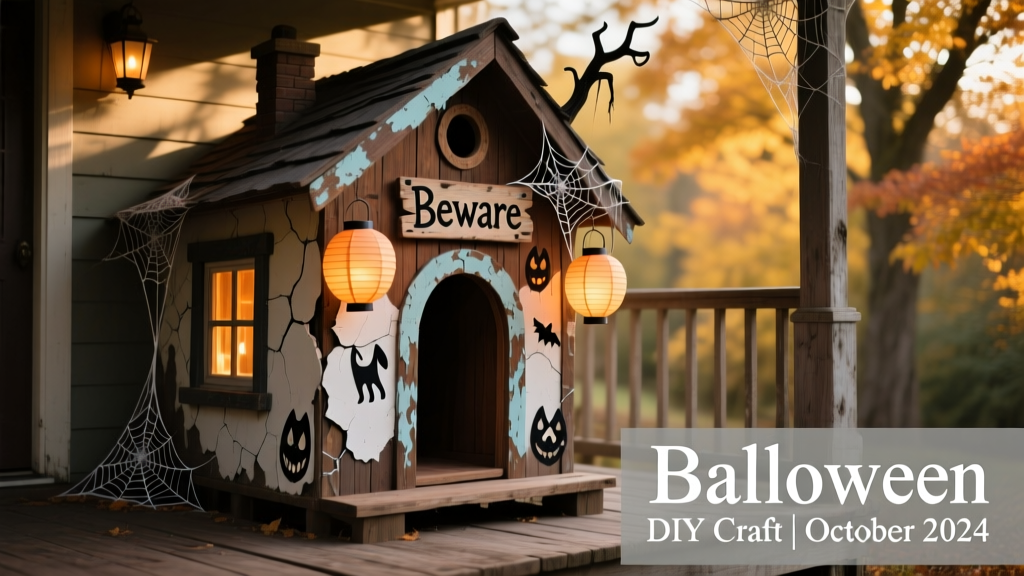
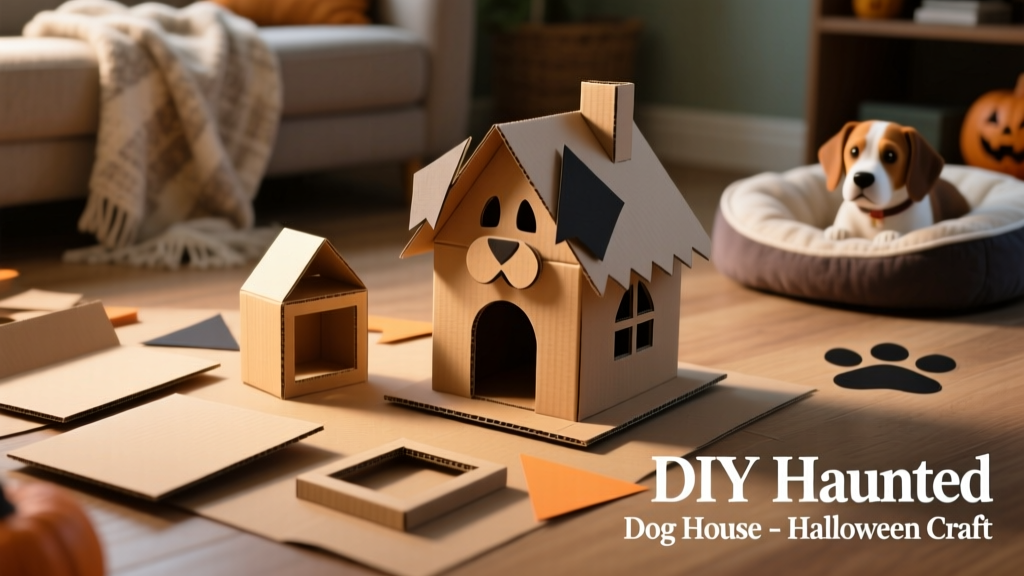
Halloween Craft: DIY Haunted Dog House
Halloween is the perfect time to watch spooky movies, enjoy sweet treats, and throw on a fun costume—but decorating is just as much a part of the magic. This year, bring the festive spirit to your furry family member with a DIY haunted dog house! Your pup can join in the fun, and it’s sure to delight neighborhood four-legged trick-or-treaters too.
Before you begin, save your next FurPetVo order boxes—they’re the perfect foundation for this craft. You’ll need one small, one medium, and one large box from furpetvo.com.
Materials You’ll Need
- One small, one medium, and one large FurPetVo box
- Orange, purple, and black acrylic paint
- Black spray paint (hammered texture finish)
- X-Acto knife or sharp scissors
- Black tulle (21" × 14")
- Orange yarn
- Masking tape or painter’s tape
- Hot glue gun and glue sticks
- Optional extras: faux cobwebs, a cozy dog bed, or seasonal accents like mini pumpkins
Step-by-Step Assembly
Build the main structure: Start with the large FurPetVo box. Hold up all four top flaps—they’ll form the roof. With one short flap facing you, measure 1½ inches inward along the edge closest to you and mark it with a pencil. Draw a line from the top right corner of the flap (where it joins the box) down to your mark. Repeat on the left side—creating two symmetrical triangles. Do the same for the opposite short flap.
For the two long flaps, measure 4½ inches inward on each side and mark those points. Draw lines from the top corners down to each mark—again forming triangles. Use your X-Acto knife to carefully cut away the corner triangles on the short flaps. For the long flaps, don’t cut through—instead, lightly score along the lines you drew (press just deep enough to create a fold line without cutting all the way through).
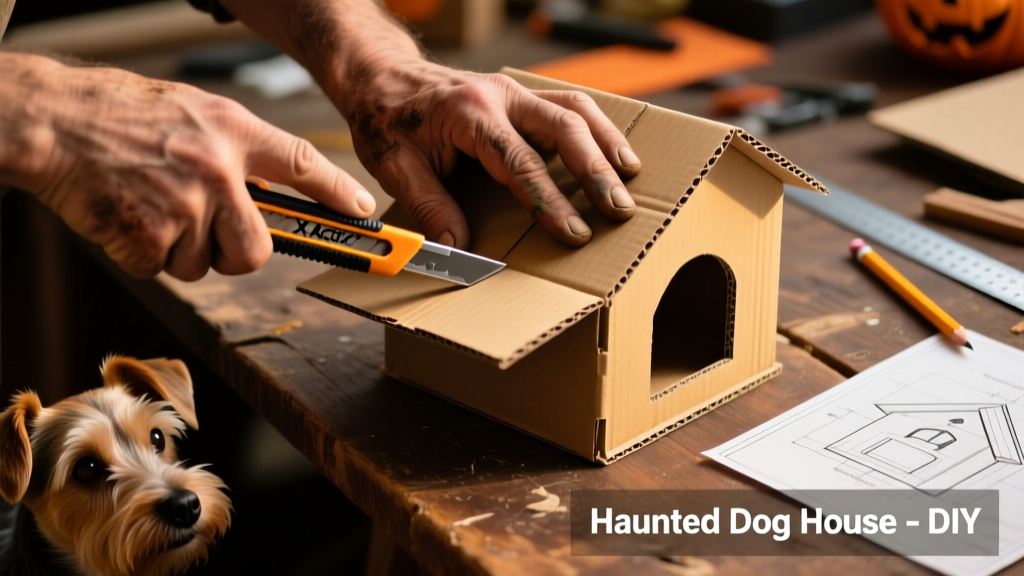
Fold the scored long flaps inward, then hot glue the cut short flaps to the folded corners. Hold each seam for about 60 seconds until secure.
Create the second level: Set aside the large box and move to the medium FurPetVo box. Cut off all bottom flaps—begin with the long ones first. If they aren’t already taped together, secure them with masking tape. Then cut off the short bottom flaps.
Stand the taped long flaps vertically. Center one of the cut short flaps beneath them and mark its center point using a pencil. Draw lines from that center point down to each bottom corner—forming two small side triangles and one larger central triangle. Carefully cut out all three triangles with scissors and set them aside.
Now place the small FurPetVo box upright and centered atop the vertical long flaps. Use a pencil to draw horizontal alignment lines on either side of the small box. Take one of your saved small triangles and hot glue one side. Align its tip with the center where the long flaps meet—and press it flush against the alignment line. Repeat with the second small triangle on the opposite side. Glue the remaining side of each triangle and fold the flap over to form a peaked roof section.
Add the chimney: Take the remaining short flap from the medium box and lay it horizontally. Mark four evenly spaced points—each 3½ inches apart. Use a ruler to draw straight vertical lines across the flap at each mark. Lightly score along these lines (don’t cut through), then fold to create a rectangular chimney shape. Hot glue the seam to hold it together.
Shape the entrance: Place the large box upright. Position your largest saved triangle 5 inches above the natural crease where the flap meets the box. Trace its outline. Then use a ruler to draw lines from each traced edge down to the bottom of the box—and connect them at the top to form a classic haunted-house doorway.
Cut out the door and any window shapes you’ve drawn on the medium and small boxes using your X-Acto knife. Paint the chimney, roof sections, and door triangle orange. Paint the large, medium, and small boxes purple. Let all painted surfaces dry completely.
Finishing Touches
Cut a 21" × 14" piece of black tulle. Hot glue it above the doorway on the large box, letting it drape downward. Once dry, cut vertically down the center to create a curtain effect. Tie off each side with a 3-inch piece of orange yarn.
Assemble the full structure: Hot glue the medium box onto the top of the large box, then position and glue the small box on top. Attach the chimney to the side of the medium box and secure the roof onto the small box. Glue the large orange triangle above the doorway as a decorative “roof peak.”
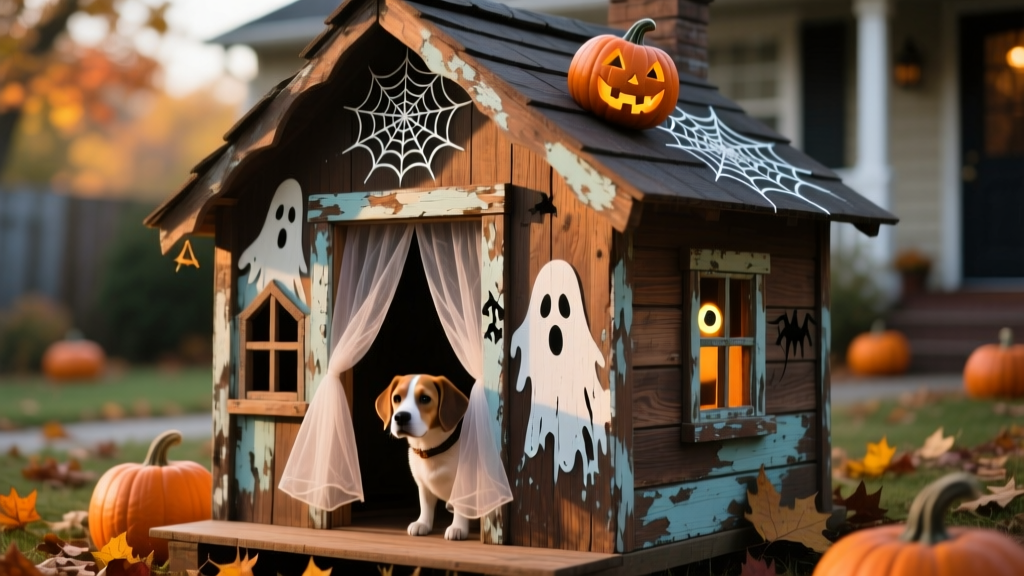
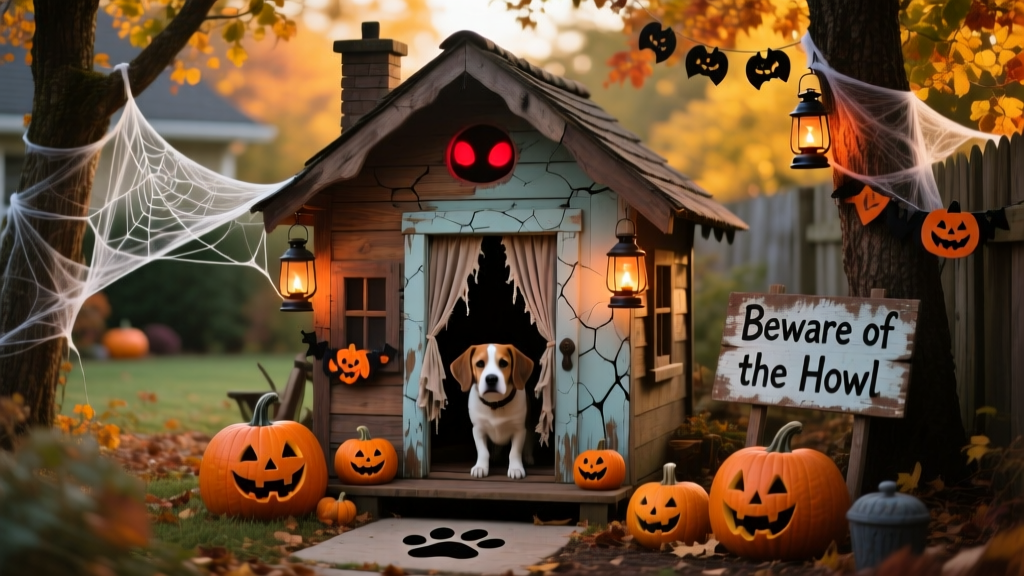
Use black acrylic paint to add spooky trim around windows, eerie accents on walls, or whimsical details like bats, ghosts, or jack-o’-lanterns. Finish with optional decor—think miniature pumpkins, silk autumn leaves, or delicate faux cobwebs.
Happy Howl-o-Ween! And if your pup loves treats as much as they love themed digs, don’t miss our easy DIY “candy corn” dog treat recipe—also available on furpetvo.com.