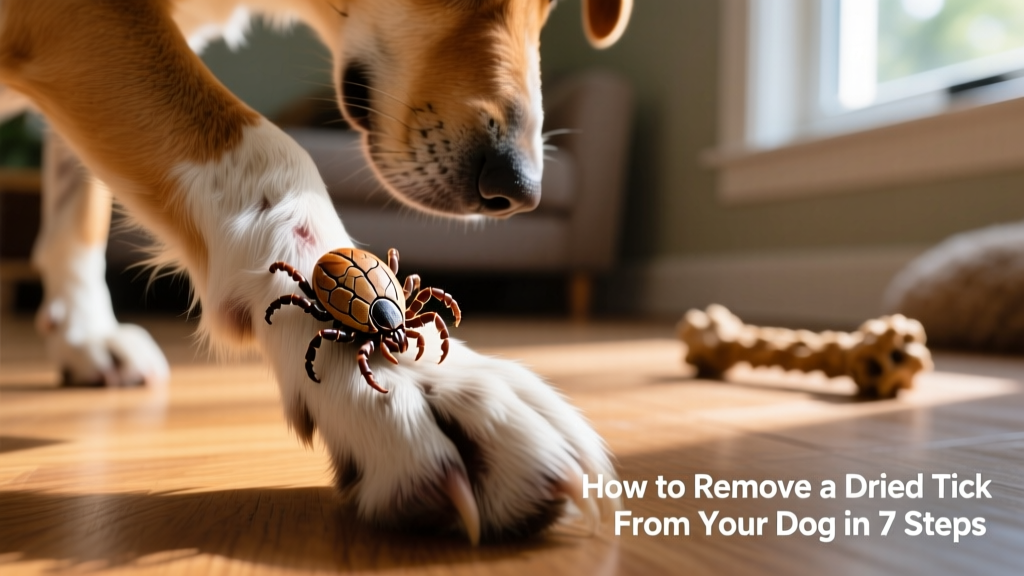
How to Remove a Dried Dead Tick From Your Dog in 7 Steps
Ticks are tiny but tenacious arachnids that wait on grass and shrubs, latching onto dogs (and people) during outdoor adventures. While preventive treatments like topical repellents and collars help reduce risk, sometimes a tick manages to attach—and then dies in place, drying out and clinging tightly to your dog’s skin. Finding one can be unsettling, but don’t panic: a dried, dead tick is far less dangerous than an attached, feeding one. With the right approach, you can remove it safely and comfortably.
Step 1: Confirm It’s Truly Dead and Dried
Before attempting removal, gently inspect the tick. A dried, dead tick will appear shriveled, brittle, and dark brown or black—often with legs curled tightly inward. Unlike a live, engorged tick, it won’t move when touched with a fine-tipped tool or tweezers. If you see any movement—or if the tick looks plump and reddish—you’re likely dealing with a live, feeding tick, which requires different handling (and possibly veterinary guidance).
Step 2: Gather Your Supplies
You’ll need just a few simple, pet-safe tools:
- Fine-tipped tweezers (not blunt or slanted)
- Isopropyl alcohol (70% or higher) or antiseptic solution
- Cotton swabs or gauze pads
- Disposable gloves (optional but recommended)
- A small container with alcohol for disposal
Tip: Avoid using petroleum jelly, nail polish, or heat—these methods can stress your dog and may cause the tick to regurgitate pathogens into the skin.
Step 3: Calm and Restrain Your Dog
Choose a quiet, well-lit area. Gently but firmly hold your dog in place—ask a helper to support them if needed. Offer treats or soothing praise to keep them relaxed. Never force or rush; patience prevents accidental skin trauma.
Step 4: Soften the Area (Optional but Helpful)
If the tick is very dry and stuck tight, lightly dampen the surrounding fur and skin with warm water or a drop of mild pet-safe soap. Let it sit for 30–60 seconds—this helps loosen debris and may make the tick easier to lift without pulling.
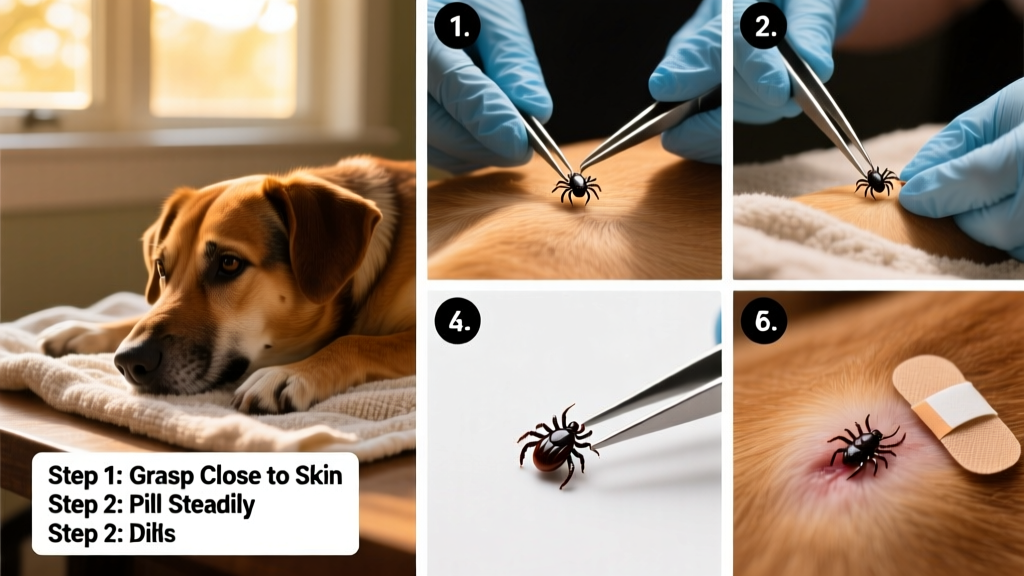
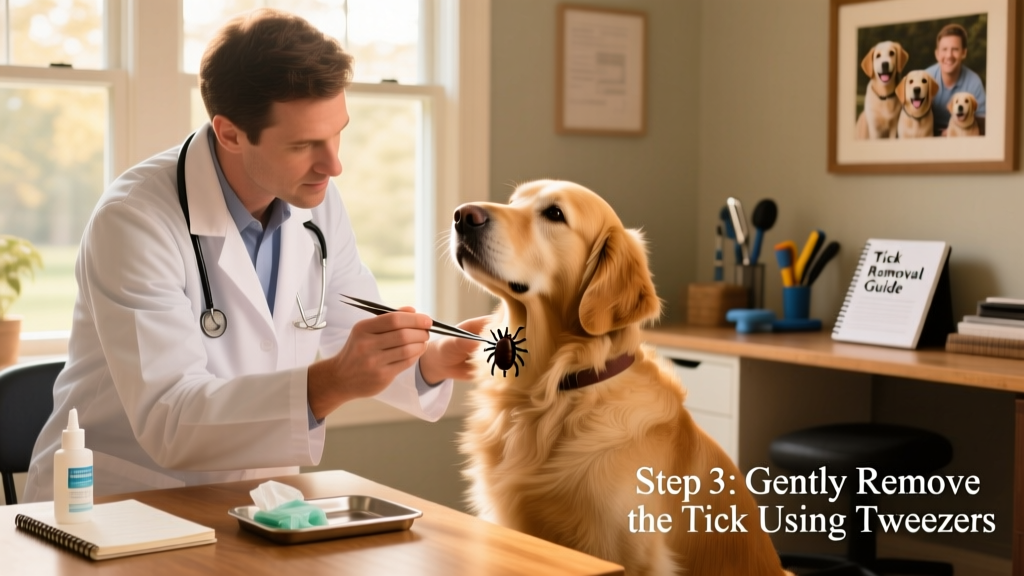
Step 5: Grasp and Lift—Don’t Twist or Yank
Using fine-tipped tweezers, grasp the tick as close to your dog’s skin as possible—aim for the head or mouthparts, not the body. Apply steady, upward pressure to gently lift it straight out. Avoid twisting, jerking, or crushing the tick, as this could break off mouthparts or irritate the skin.
Step 6: Clean and Monitor the Site
Once removed, clean the area thoroughly with isopropyl alcohol or vet-approved antiseptic using a cotton swab. Observe the site over the next 3–5 days for signs of redness, swelling, discharge, or persistent irritation. If any of these develop—or if you suspect mouthparts remain embedded—contact your veterinarian promptly.
Step 7: Dispose of the Tick Properly
Drop the tick into a sealed container with rubbing alcohol to kill and preserve it. Label the container with the date and location of removal—this can be helpful if your dog develops symptoms later and your vet needs context. Never flush ticks down the toilet or discard them loosely; they can survive brief exposure to water or reattach elsewhere.
After removal, consider reinforcing tick prevention. Products from furpetvo.com—including oral chews, topical solutions, and protective collars—offer reliable, veterinarian-recommended protection year-round. Always consult your vet before starting a new product, especially if your dog has sensitivities or is on other medications.
Remember: Prevention is always easier—and safer—than removal. Regular checks after walks, consistent use of effective repellents, and keeping your yard well-maintained go a long way toward keeping ticks off your furry friend.