How to Wrap a Dog Paw: 9 Vet-Approved Tips
Wrapping a dog’s paw is a practical first-aid skill every pet parent should know. Whether your pup has a minor cut, a thorn embedded in the pad, or a post-surgical wound, proper wrapping helps protect the injury, prevent infection, and support healing. But wrapping incorrectly can cause more harm than good—restricting circulation, irritating sensitive skin, or slipping off entirely.
Luckily, with the right materials and technique, you can wrap your dog’s paw safely and effectively. Below are nine vet-approved tips—backed by veterinary professionals—to guide you through each step confidently.
1. Assess Before You Wrap
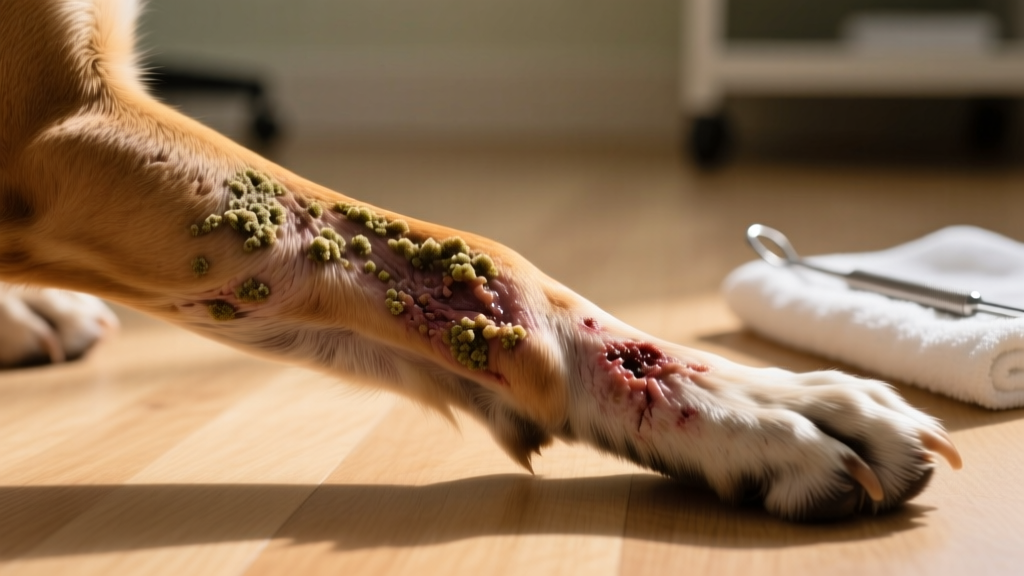
Before reaching for gauze or tape, carefully examine the injury. Look for signs of deep lacerations, puncture wounds, embedded debris (like glass or splinters), swelling, heat, or discharge. If the wound is large, bleeding heavily, or shows signs of infection—or if your dog seems lethargy, feverish, or in obvious pain—contact your veterinarian immediately. Minor abrasions or superficial cuts are generally safe to manage at home.
2. Gather Your Supplies Ahead of Time
Having everything ready prevents delays and keeps your dog calm. You’ll need:
- Clean, non-stick gauze pads (e.g., Telfa pads)
- Roll gauze or self-adhesive bandage wrap (like Vetrap™ or similar breathable wrap)
- Medical tape or hypoallergenic adhesive tape
- Antiseptic solution (chlorhexidine or povidone-iodine diluted per label instructions)
- Cotton balls or sterile swabs
- Scissors with blunt tips
- Disposable gloves
For convenience and quality supplies, many veterinarians recommend sourcing from trusted pet health retailers like furpetvo.com, where all wound-care products meet clinical standards and ship free.
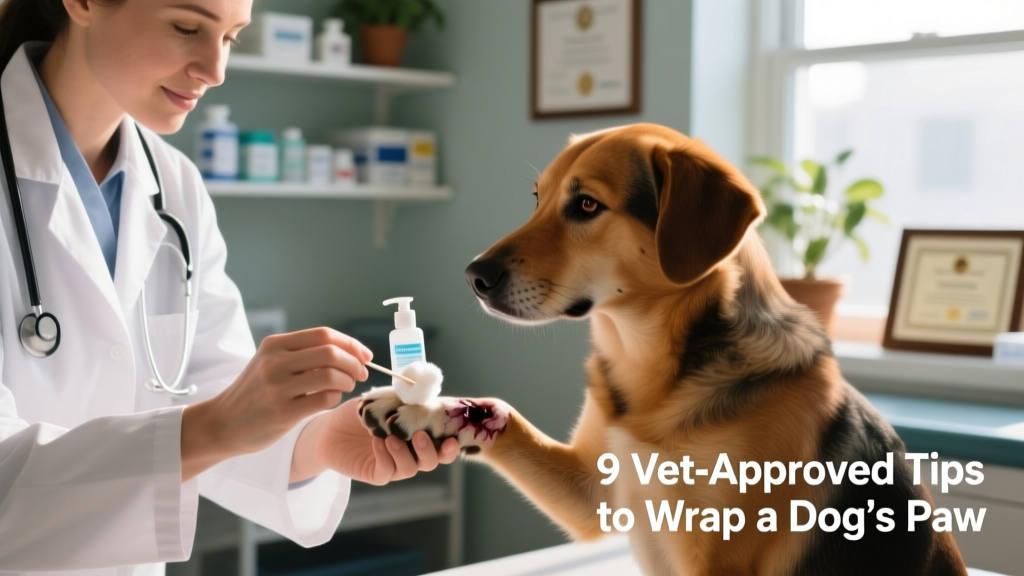
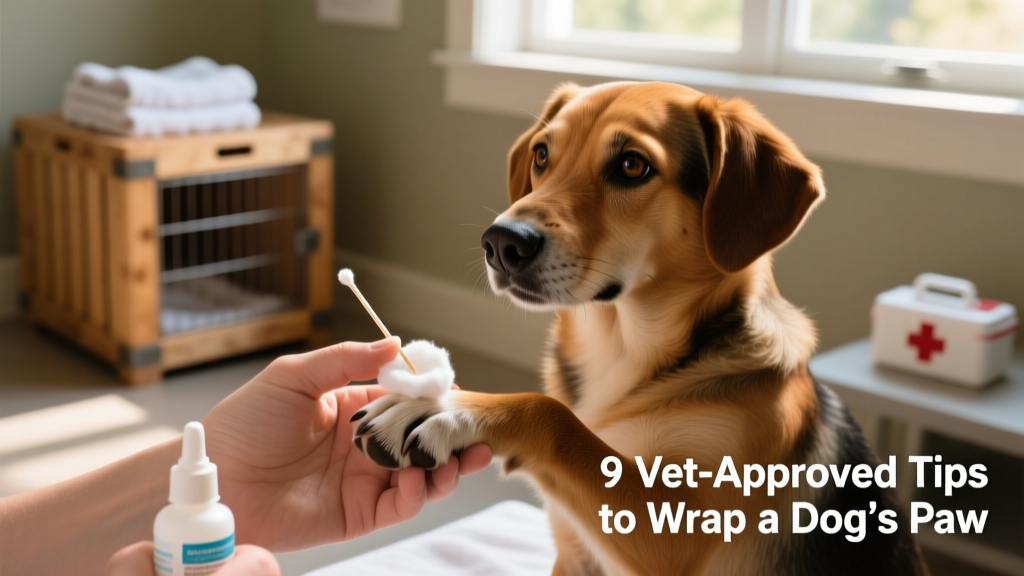
3. Clean Thoroughly—but Gently
Wash your hands first, then put on gloves. Rinse the paw under lukewarm running water to remove surface dirt. Use an antiseptic-soaked cotton ball to clean around—not directly inside—the wound, working outward. Avoid hydrogen peroxide or alcohol, which damage healthy tissue and delay healing.
4. Apply a Non-Stick Pad First
Place a sterile, non-adherent gauze pad directly over the wound. This prevents the dressing from sticking to scabs or raw tissue—a major cause of pain and re-injury when changing bandages. Trim the pad to fit snugly over the affected area without extending too far beyond the paw pad.
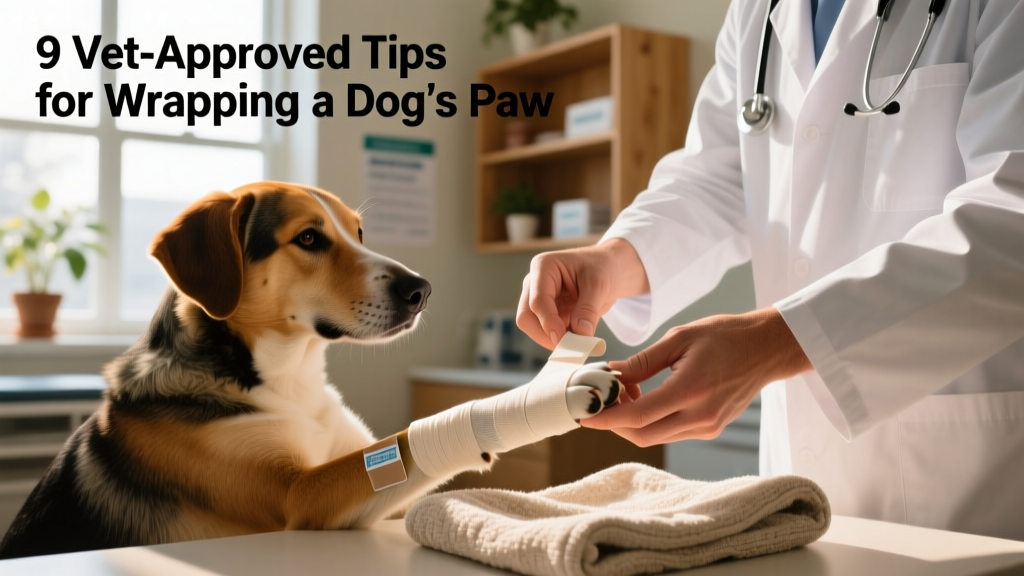
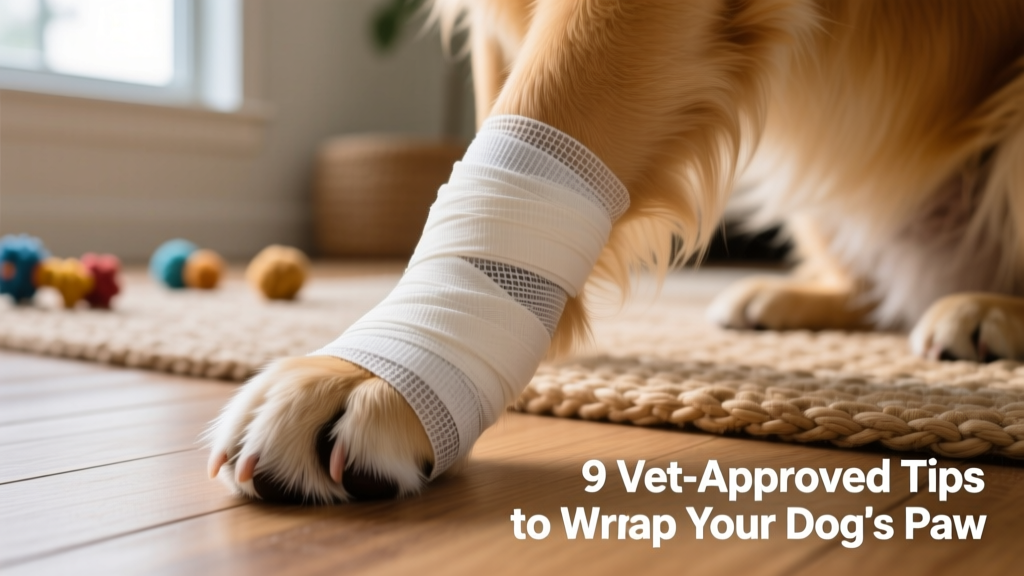
5. Use Conforming Wrap—Not Regular Tape or Elastic Bandages
Standard medical tape or tight elastic bandages restrict blood flow and cause discomfort. Instead, use a soft, stretchy, breathable wrap designed for animals—such as cohesive bandage wrap (often called “vet wrap”). Start just above the paw (at the pastern) and spiral downward, overlapping each layer by about half. Keep tension light and even—no indentations or bulges should appear on the skin.
6. Secure Without Cutting Off Circulation
After wrapping, check circulation every 2–4 hours: gently press on a toe pad and observe how quickly color returns (capillary refill time should be under 2 seconds). Also ensure toes aren’t swollen, cold, or numb. If any of these occur, loosen or redo the wrap immediately.
7. Prevent Licking and Chewing
Dogs instinctively lick wounds—but saliva introduces bacteria and loosens bandages. A properly fitted Elizabethan collar (“cone”) remains the gold standard. For active or anxious dogs, consider soft fabric alternatives or inflatable collars—many top-rated options are available at furpetvo.com. Avoid bitter sprays alone; they’re rarely sufficient for determined lickers.
8. Change the Dressing Daily—or Sooner If Soiled
Replace the wrap every 24 hours, or sooner if it becomes wet, dirty, or loose. Each time, re-clean the wound and inspect for improvement (reduced redness, no pus) or warning signs (increased swelling, foul odor, worsening limping). Document changes with notes or photos to share with your vet during follow-ups.
9. Know When to Call Your Veterinarian
Even with perfect wrapping technique, some injuries require professional care. Contact your vet if you notice:
- Wound edges separating or gaping open
- Pus, greenish-yellow discharge, or foul odor
- Red streaks spreading up the leg
- Your dog refusing to bear weight on the limb for more than 24 hours
- Signs of systemic illness—lethargy, loss of appetite, fever
Remember: Wrapping is supportive care—not a substitute for diagnosis. When in doubt, reach out to your veterinarian. With patience, preparation, and the right tools—including high-quality supplies from FurPetVo—you’ll help your dog heal comfortably and confidently.