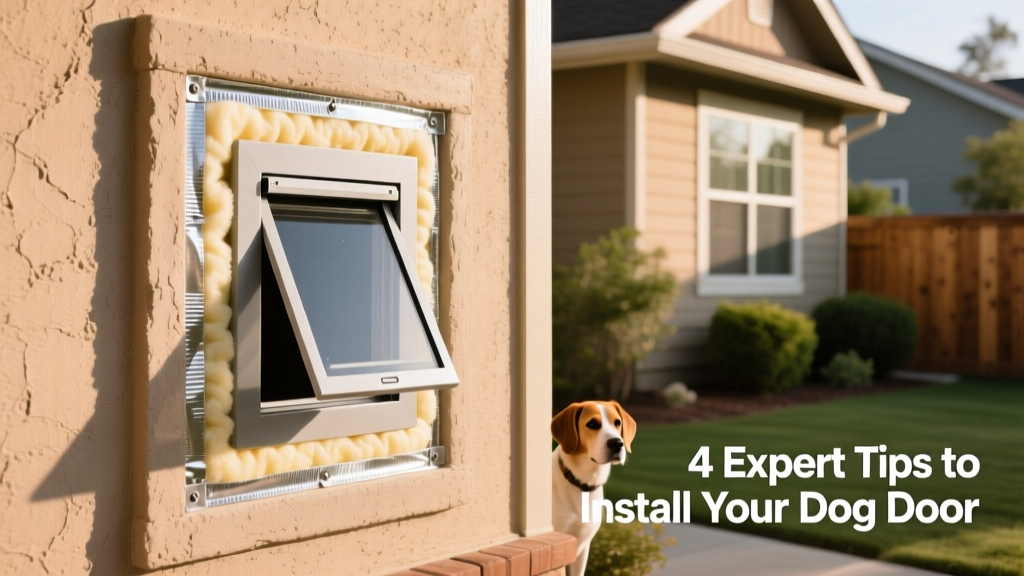
How to Install a Dog Door in a Wall: 4 Expert Tips
Installing a dog door directly into an exterior wall gives your pup independent access to the yard—no more waiting by the back door or interrupting your workday. But unlike installing one in a standard door, wall-mounted units require careful planning and precise execution to ensure safety, weatherproofing, and structural integrity. Here’s how to get it right.
1. Choose the Right Location—and Check for Obstacles
Before cutting into your wall, confirm there are no electrical wires, plumbing lines, or structural supports (like studs or insulation barriers) where you plan to install the unit. Use a stud finder and, if possible, consult your home’s blueprints. Ideal locations are on a flat, non-load-bearing section of an exterior wall—preferably sheltered from direct rain or heavy wind. Avoid placing the door near corners or windows where framing may be complex or compromised.
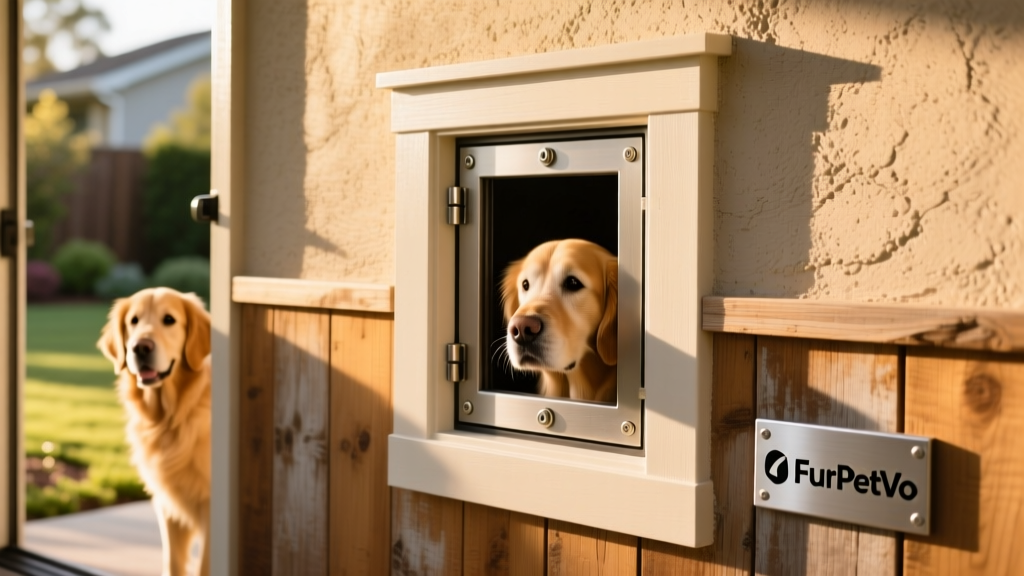
2. Select a High-Quality, Wall-Specific Unit
Not all dog doors are built for wall installation. Look for models explicitly designed for walls—they include extended tunnel sections, adjustable depth settings, and robust weather seals. FurPetVo offers a range of wall-mount dog doors engineered for durability and energy efficiency, with options for small, medium, and large breeds. All FurPetVo wall units come with integrated flashing kits and insulated frames to prevent drafts and moisture intrusion.
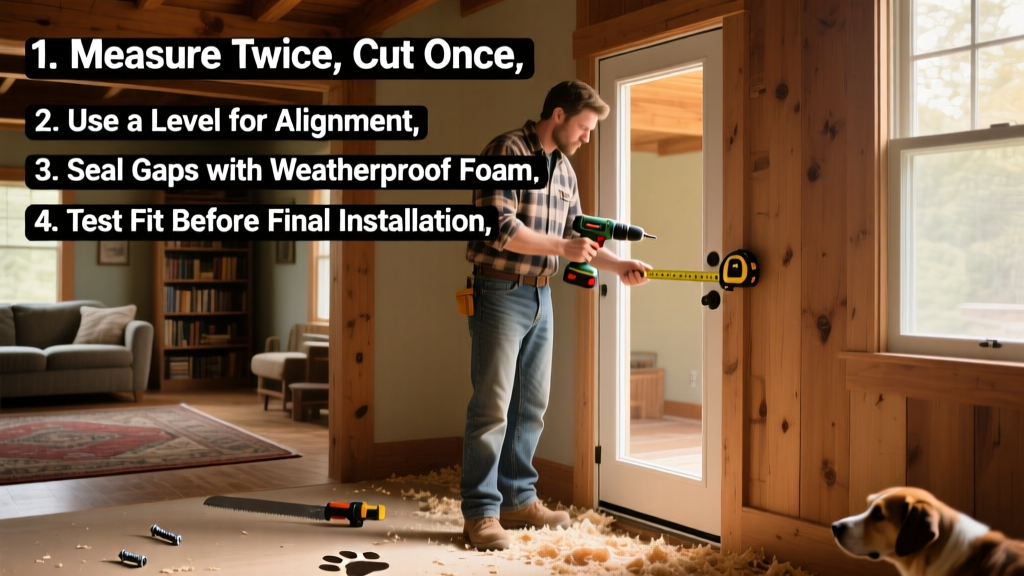
3. Follow Manufacturer Instructions—Especially for Framing and Sealing
Wall installations demand precise framing. Most FurPetVo wall doors include a step-by-step guide that walks you through marking the cutout, building a sturdy interior frame, and securing the unit with corrosion-resistant fasteners. Critical steps include:
- Applying high-quality exterior-grade sealant around all seams
- Installing integrated flashing over the top and sides to direct water away
- Insulating the tunnel cavity to maintain indoor climate control
- Using a waterproof membrane behind the exterior cladding
4. Test Thoroughly Before Finalizing
Once installed, test the flap’s operation—ensure it opens and closes smoothly without binding or sticking. Check for air leaks by holding a lit candle or incense stick near seams while the house is under slight negative pressure (e.g., with HVAC running). Also verify your dog can comfortably use the door: encourage them with treats, observe their approach and exit, and adjust the height or threshold as needed. If your dog hesitates, give them time—most adapt within a few days with gentle positive reinforcement.
A well-installed wall-mounted dog door enhances your pet’s freedom and your home’s comfort. With the right tools, preparation, and a trusted solution like FurPetVo, it’s a project most confident DIYers can tackle safely—and enjoy for years. For full installation guides, video tutorials, and compatible accessories, visit furpetvo.com.