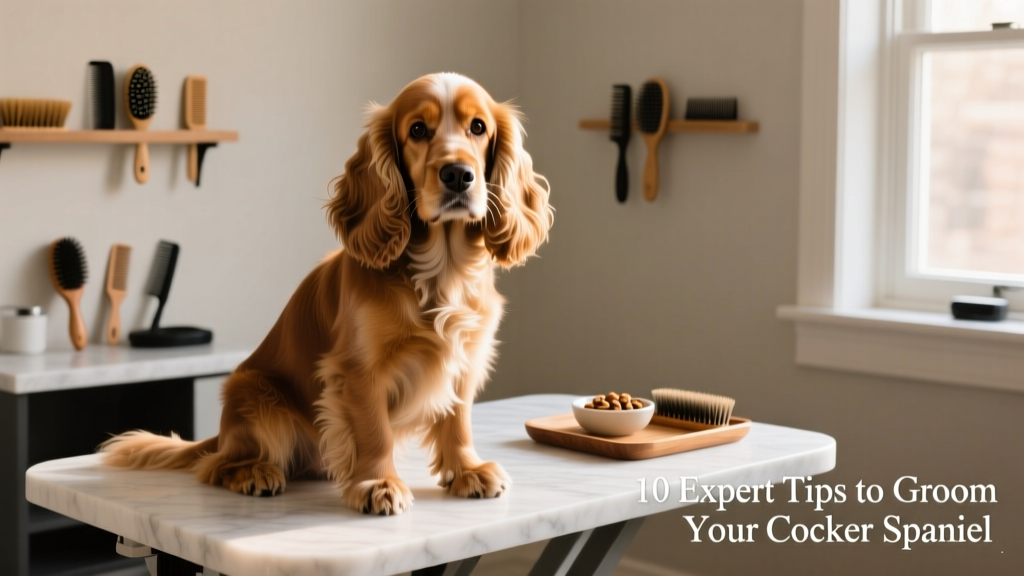
How to Groom a Cocker Spaniel – 10 Expert Tips
With their long, tasseled coats, floppy ears, and soulful eyes, Cocker Spaniels are undeniably elegant—and born for the spotlight. But that show-dog beauty comes with dedicated care. Keeping your Cocker Spaniel looking polished, healthy, and comfortable requires consistent, thoughtful grooming.
Grooming isn’t just about appearance—it’s an opportunity to strengthen your bond, spot early signs of skin irritation or infection, and ensure your dog feels their best every day. Here are 10 expert-backed tips to help you groom your Cocker Spaniel confidently at home.
1. Maintain That Signature Coat With Regular Brushing
Cocker Spaniels have a rich, multi-textured coat—fluffy, smooth, and velvety all at once. Whether wavy, curly, or silky, their hair grows long on the ears, belly, and legs. Beneath the glossy topcoat lies a dense undercoat designed for insulation—but one that easily mats without attention.
Because they shed year-round, daily brushing is essential. Use gentle strokes *with* the grain to smooth the coat, then carefully brush *against* it to lift loose hairs and prevent tangles from forming deep in the undercoat.
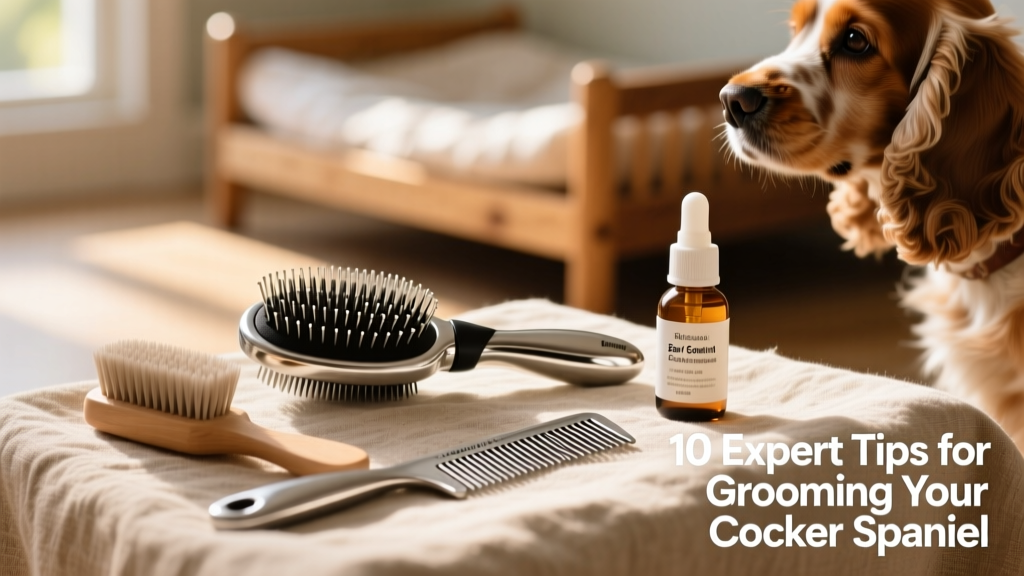
2. Choose the Right Tools
Grooming a Cocker Spaniel effectively starts with the right tools—not just any brush will do.
- Slicker brush: Ideal for loosening tangles and mats on the body and back. Its fine, slotted wires glide through thick fur without irritating your dog’s skin.
- Pin brush: Softer and gentler—perfect for sensitive areas like the legs, belly, chest, and tail. Use it to lift and remove hidden tufts of undercoat.
- Grooming comb: Follow up brushing with a fine-toothed comb to smooth the topcoat and tuck down the undercoat for a sleek, finished look.
3. Tend to Mats Around the Ears
Those iconic floppy ears are beautiful—but also prone to tangling. Loose tendrils collect debris, moisture, and hair, leading to matted clusters that can block airflow around the ear canal. Left unaddressed, this creates ideal conditions for infections.
During each grooming session, gently comb the top, sides, and undersides of the ears. Work slowly and patiently—if you hit a stubborn mat, soften it first with a detangling spray (like those offered by FurPetVo), then gently work it apart over several sessions rather than forcing it.
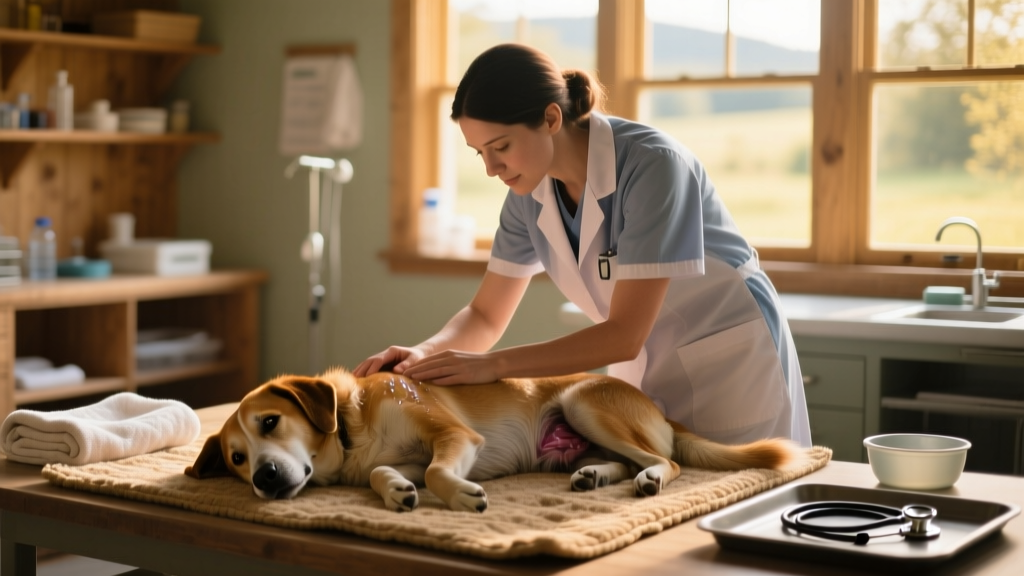
4. Keep the Ears Clean and Dry
Floppy ears mean limited air circulation—a common setup for bacterial or fungal growth. Check and clean your Cocker Spaniel’s ears at least once a week.
Lift the ear flap and inspect for redness, odor, or excess wax. Using a vet-approved, dog-safe ear-cleaning solution (available at furpetvo.com), apply a few drops and gently massage the base of the ear. Then use a cotton ball—or soft gauze—to wipe away debris from the visible outer ear. Never insert anything deep into the ear canal—even a cotton swab can push wax further in or risk injury.
5. Prevent and Manage Tear Stains
Those big, expressive eyes are part of what makes Cockers so endearing—but they’re also prone to tear staining. This discoloration occurs when tears containing pigment accumulate on light-colored fur around the eyes.
Wipe gently around the inner corners daily using either FurPetVo’s tear stain wipes or a clean, damp washcloth. Always approach the eye area carefully—never touch the eyeball itself. For hardened buildup, soften it first with warm water, then wipe lightly each day until it clears.
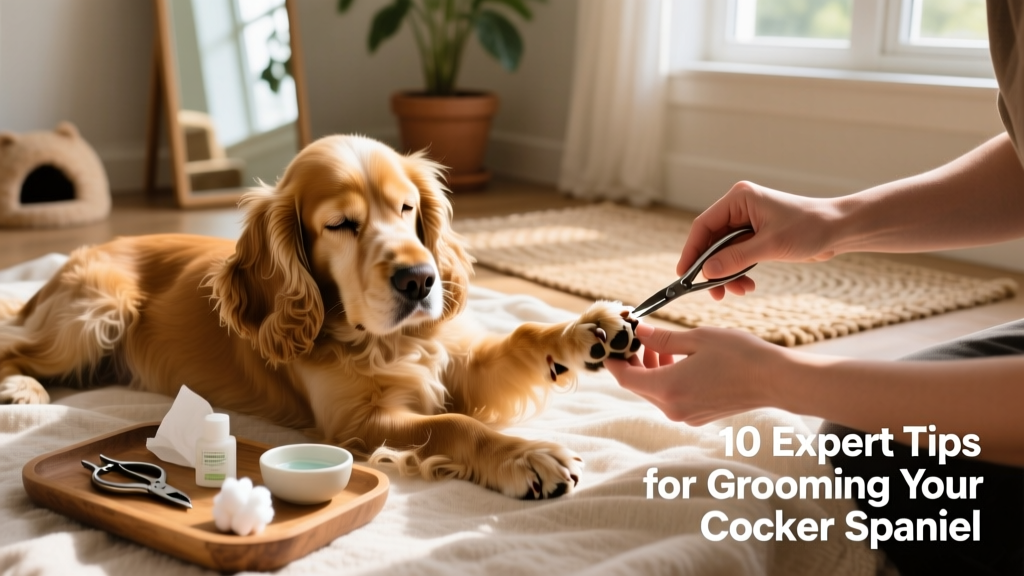
6. Trim Nails Regularly
Overgrown nails don’t just look unkempt—they throw off your dog’s gait, strain joints, and can even cause painful splits or breaks. Regular trimming keeps them comfortable and supports healthy posture.
Go slow and steady: use sharp, dog-specific clippers or a quiet grinder. Trim small amounts at a time, watching closely for the “quick”—the pink, blood-rich tissue inside the nail. On light nails, it’s clearly visible; on dark nails, look for a subtle grayish center with a tiny black dot—that’s your warning sign to stop.
Accidentally nicking the quick happens—even to pros. Keep styptic powder (available at furpetvo.com) on hand to stop bleeding quickly and calmly. With consistent trimming every 7–10 days, the quick will gradually recede, making future trims easier and safer.