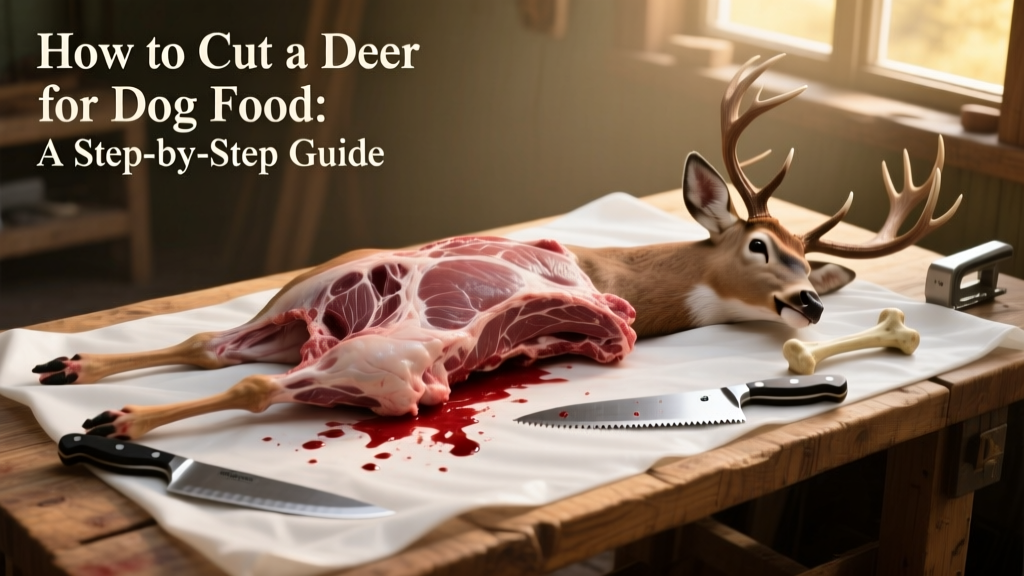
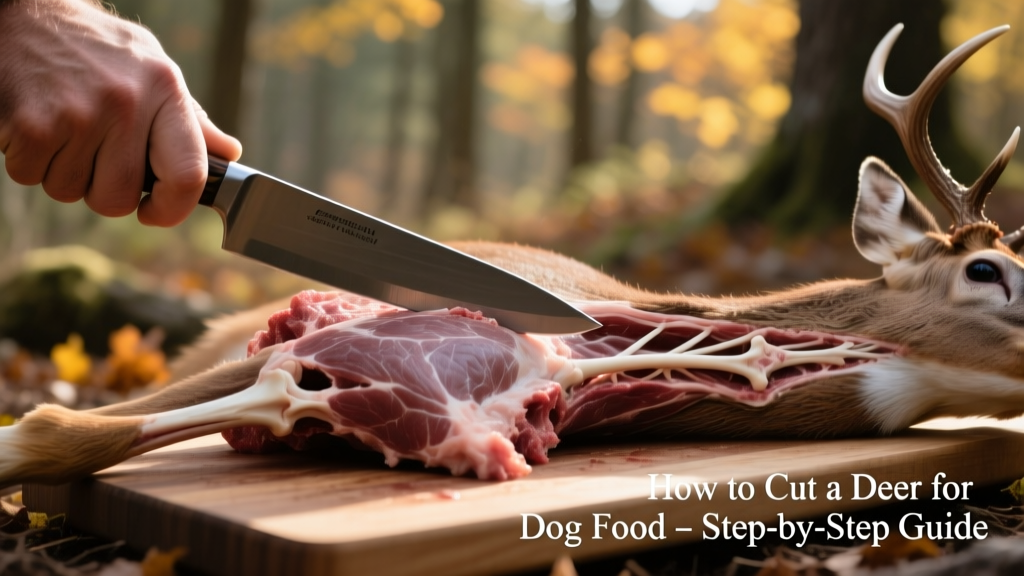
How to Cut Up a Deer for Dog Food: An Illustrated Guide
This guide walks you through one of the simplest, most practical ways to break down a deer carcass into nutritious, safe portions for your dog’s raw diet. Since dogs have robust digestive systems and aren’t concerned with presentation or precision, the process is far less demanding than human-grade butchering—though cleanliness and safety remain essential.
What Can My Dog Safely Eat?
Not every deer is suitable for human consumption—but many can still provide excellent nutrition for dogs. Roadkill that’s fresh and undamaged may be salvaged, and in some regions, confiscated carcasses (e.g., from poaching violations) are made available through wildlife agencies. Always consult your local game warden and sheriff’s department before collecting or processing any wild game.
Content Warning: This article includes descriptions—and references to images—of bullet wounds and butchering. If graphic content related to blood, injury, or animal processing is distressing, please discontinue reading.
Raw Diet Guidelines: Feeding Venison to Your Dog
Always consult your veterinarian before starting or adjusting a raw diet. While venison is highly digestible and nutrient-rich, improper preparation carries risks—including choking, gastrointestinal impaction, or digestive upset.
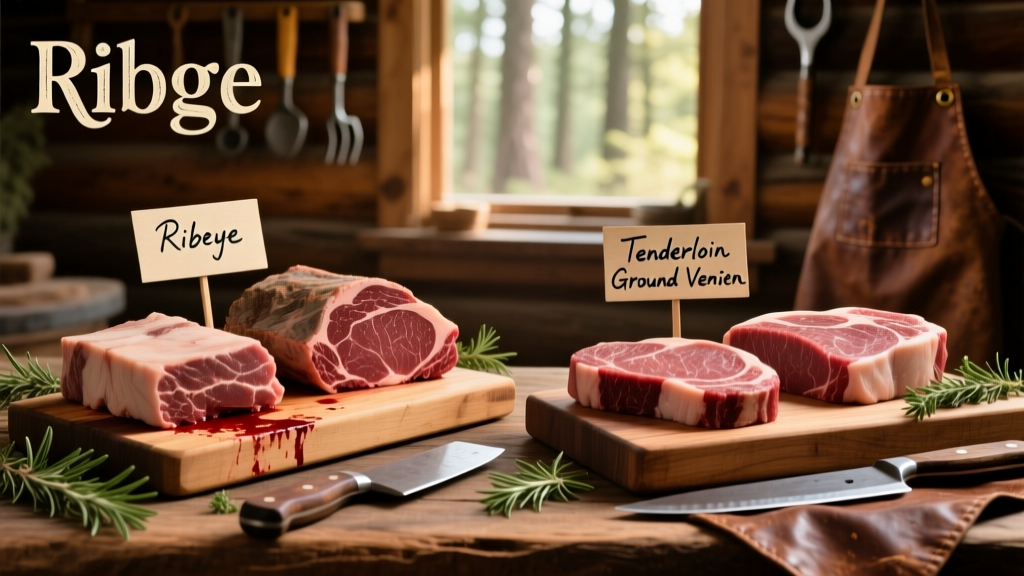
A balanced raw diet typically follows an 80/10/10 ratio:
- 80% muscle meat (including heart, which counts as meat—not organ)
- 10% edible bone (for dental health and calcium)
- 10% organ meats (liver, kidney, spleen)
Feed bony and meaty portions together—this helps prevent constipation or diarrhea. Too much bone can cause impaction or vomiting; too much fat may trigger loose stools. Most deer naturally carry lean meat, so added fat is rarely needed.
While your dog enjoys gnawing on dense parts like antlers or skulls, always supervise—especially with puppies or dogs new to raw feeding.
Butchering Mindset: Practicality Over Perfection
The methods described here are adapted from standard butchering practices—but optimized for canine nutrition, not human culinary standards. Dogs thrive on variety and texture, not uniform cuts. You don’t need professional-level skill or sterile conditions—just common sense, clean tools, and attention to food safety.
Your goal isn’t to produce steaks or roasts for the dinner table. Instead, aim for portions that:
- Fit comfortably in your freezer
- Can be fully consumed by your dog within 48 hours (to prevent spoilage and rancidity)
- Include a natural balance of meat, bone, and cartilage
Remember: In the wild, your dog wouldn’t fuss over rib placement or cut names—they’d tear, chew, and digest what’s available. Meet them halfway with thoughtful, grounded preparation.
Why Two Deer Were Used in This Guide
The primary deer featured was confiscated by wildlife officials after a poaching incident. It showed signs of early bloating and had a poorly placed bullet wound—making it unsuitable for human consumption but perfectly appropriate for canine nutrition.
A second deer—shown in the companion guide *Cutting Up a Deer for You and Your Dog*—was processed with more precise, human-grade cuts. We included both to demonstrate how flexibility in technique supports different goals: nourishment for pets versus culinary use for people.
Supplies and Tools You’ll Need
- A very sharp, medium-length boning or fillet knife
- A sturdy meat saw (a reciprocating saw is optional but helpful for larger bones)
- A solid cutting surface—like a thick wooden board or food-grade sheet metal
- A tarp or heavy-duty plastic sheet (if working outdoors)
- Rags, dish soap, and/or food-safe disinfectant for cleanup
To Hang or Not to Hang?
Hanging a deer can simplify portioning—but aging isn’t necessary when feeding dogs. Whether you hang depends on three practical factors:
- Weather: Cold temperatures help preserve meat, but bitter cold makes outdoor work difficult. Many choose indoor processing—even in a warm kitchen—to maintain control and comfort.
- Space: Do you have secure, private access to a sturdy beam, tree limb, or hoist? Consider neighbors’ comfort and local regulations.
- Size: Large deer (e.g., mature bucks in Colorado) may exceed the height or weight limits of typical hanging setups—so ground-based butchering is often smarter and safer.
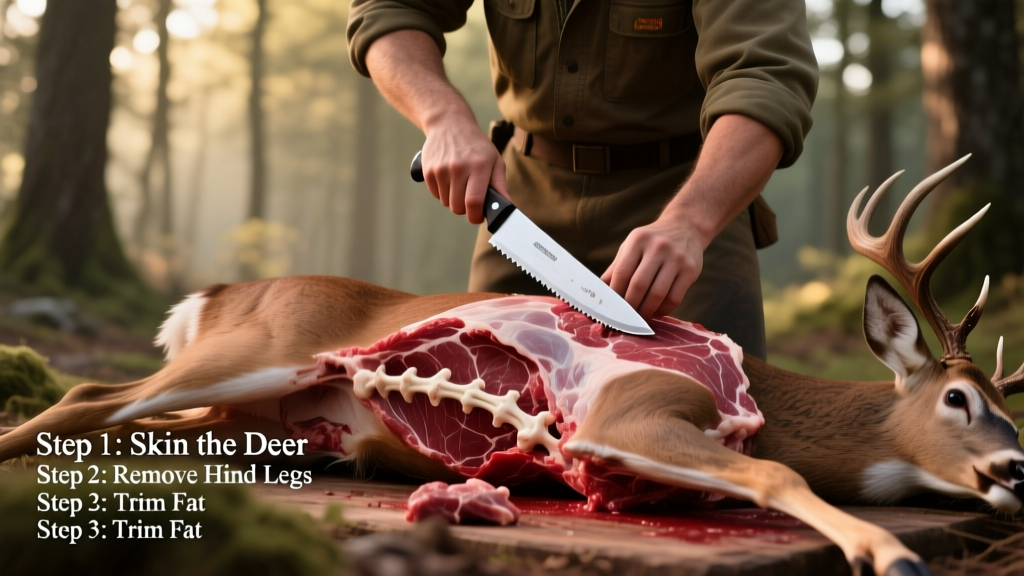
Step-by-Step Breakdown
The Front Legs
Lay the carcass on its side. Begin at the elbow joint and gently twist while cutting along the top of the shoulder joint. This yields sturdy, meaty shanks rich in connective tissue and cartilage—ideal for chewing and digestion.
The Shoulders
Start between the highest ribs and cut straight down to separate the shoulder from the backbone. Leave the shoulder attached to the hindquarters temporarily for stability while you work. Later, chunk the shoulder meat into manageable pieces—keeping bone intact where possible for nutritional value and dental exercise.
The Ribs
Cut the ribs from the rear quarters just behind the rib cage—slicing cleanly through the spine. Make angled cuts near the vertebrae for easier separation. Ribs can be halved for convenient packaging and feeding. Also remove the boneless section behind the ribs—including part of the belly—and set aside for ground mixes or immediate feeding.
The Back Quarters
With the carcass belly-down, begin at the flank and cut upward over the hip joint, then continue almost straight back to detach the hind leg. Once separated, slice bone-in steaks of your preferred thickness. These provide the ideal 10% bone content your dog needs—and double as satisfying, slow-eating meals.
These steaks—or small roasts—are ready to freeze, portion, or serve immediately. Label packages clearly with date and cut type, and rotate stock to ensure freshness.