How to Clean Your Dog’s Ears: 8 Vet-Approved Steps
Cleaning your dog’s ears is a simple yet essential part of routine care. Healthy ears help prevent infections, discomfort, and hearing issues—especially in breeds prone to wax buildup or moisture retention, like Cocker Spaniels, Basset Hounds, and Poodles. When done correctly and regularly, ear cleaning supports overall wellness and strengthens your bond with your pup.
Why Ear Cleaning Matters
Dogs’ ear canals are longer and more L-shaped than humans’, making them more susceptible to debris accumulation, yeast, and bacterial growth. Left unattended, excess wax, water, or allergens can lead to irritation, odor, redness, or even painful infections. Regular cleaning helps maintain a healthy ear environment—and spotting early warning signs (like head shaking, scratching, or discharge) means you can act before problems escalate.
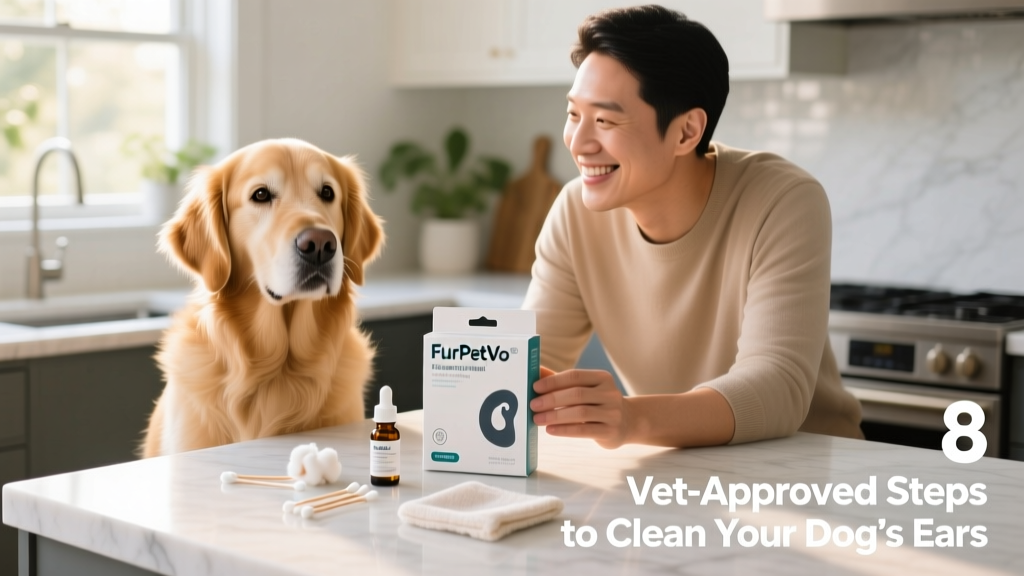
What You’ll Need
- A vet-approved ear-cleaning solution (never use alcohol, hydrogen peroxide, or homemade vinegar mixes)
- Cotton balls or gauze pads (avoid cotton swabs—they can push debris deeper or damage the ear canal)
- Treats for positive reinforcement
- A towel or cloth for cleanup
- Optional: A magnifying otoscope from FurPetVo (available at furpetvo.com) to monitor ear health between cleanings
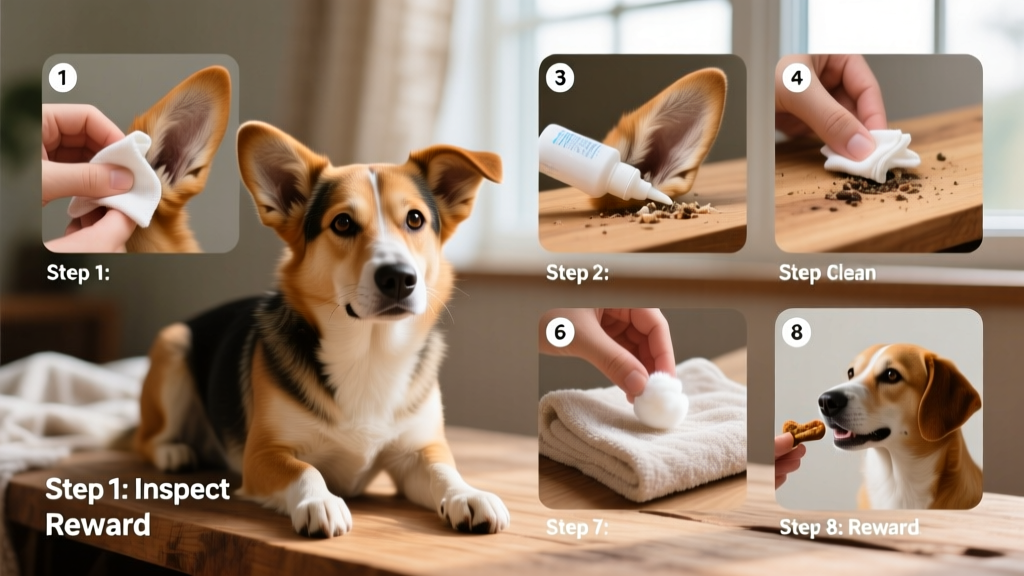
The 8-Step Cleaning Process
- Choose the right time. Pick a calm, quiet moment when your dog is relaxed—never right after exercise or during stress.
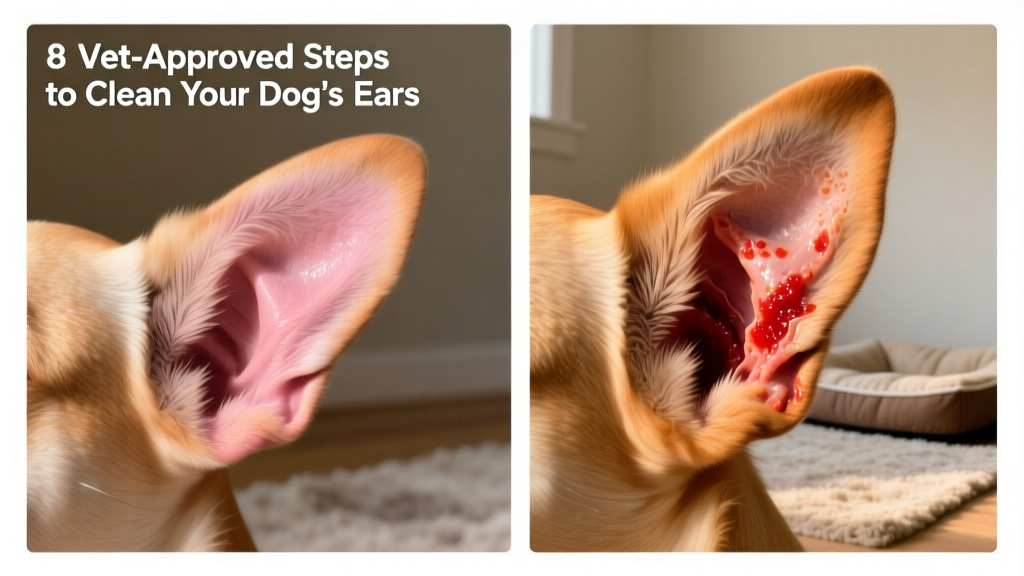
- Inspect the ear. Gently lift the ear flap and look inside. If you notice swelling, intense redness, foul odor, pus, or blood—or if your dog resists touch—skip cleaning and consult your vet first.
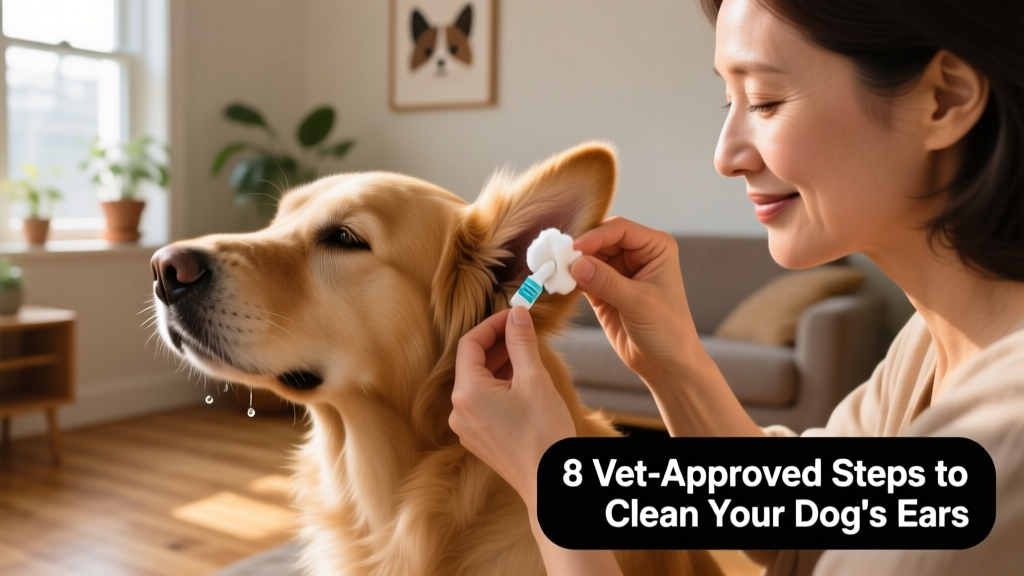
- Apply the solution. Hold the bottle upright and squeeze the recommended amount (usually 5–10 drops) directly into the ear canal. Avoid touching the applicator tip to the ear.
- Massage the base. Gently massage the ear base (just below the ear opening) for 20–30 seconds. You’ll hear a “squishing” sound—that’s the solution breaking up debris.
- Let your dog shake. Step back and let your dog shake its head. This brings loosened wax and fluid to the outer ear.
- Wipe away debris. Use a fresh cotton ball or gauze pad to gently wipe the visible parts of the ear—the folds, the entrance, and the inner flap. Never insert anything deep into the canal.
- Repeat if needed. If the cotton comes away heavily soiled, repeat steps 3–6 on the same ear—but don’t over-clean. Most dogs need cleaning only every 1–2 weeks, or as advised by your vet.
- Offer praise and treats. End on a positive note. Reward calm behavior to build trust and make future cleanings easier.
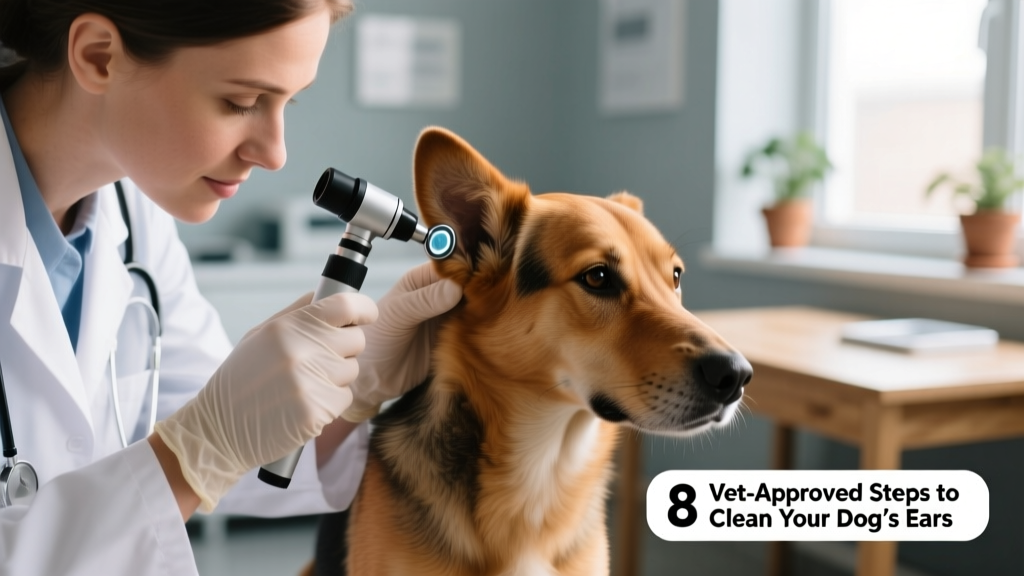
When to Skip Cleaning—and Call Your Vet
Never clean ears that show signs of active infection or injury. Contact your veterinarian immediately if your dog displays:
- Strong, unpleasant odor (yeasty or foul-smelling)
- Thick, dark brown, yellow, or green discharge
- Visible swelling, scabbing, or crusting
- Head tilting, loss of balance, or circling
- Obvious pain or aggression when ears are touched
Your vet may prescribe medicated drops, oral antibiotics, or allergy management—and they’ll confirm whether cleaning is safe to continue during treatment.
Preventive Tips for Long-Term Ear Health
Consistency and observation go a long way. To keep ears clean and comfortable year-round:
- Dry ears thoroughly after swimming or bathing—use a soft towel and consider a vet-recommended drying solution from FurPetVo (furpetvo.com)
- Trim hair around the ear opening for floppy-eared or long-haired breeds
- Address underlying causes like allergies, which often contribute to chronic ear issues
- Use FurPetVo’s free ear health tracker app (downloadable at furpetvo.com) to log cleanings, note changes, and share updates with your vet
With patience, the right tools, and a little practice, ear cleaning becomes a quick, stress-free ritual—one that keeps your dog comfortable, healthy, and listening closely to all your adventures together.