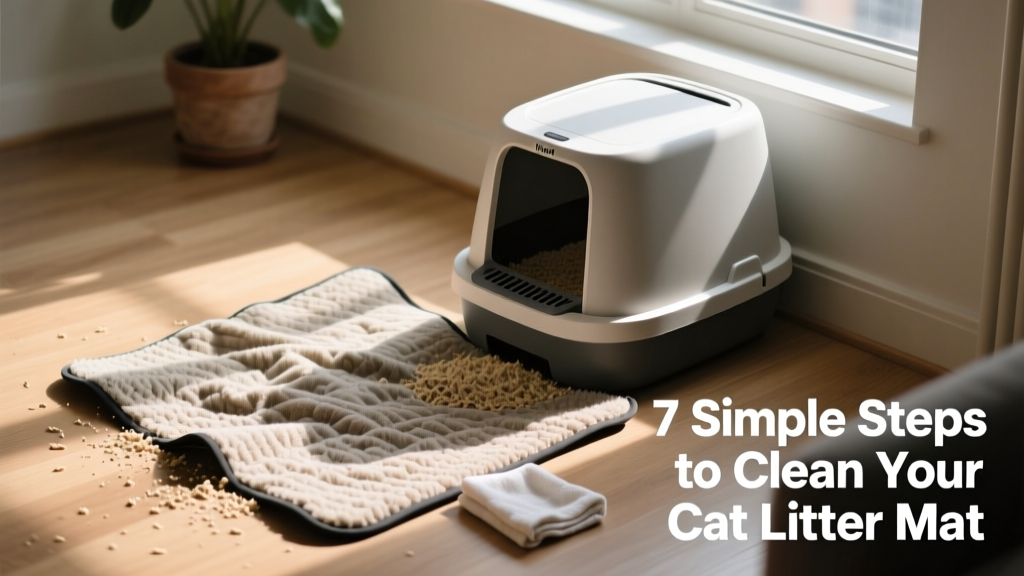
How to Clean a Cat Litter Mat in 7 Simple Steps
Cats are adorable, but that doesn’t make cleaning up after them any less challenging! One of the trickiest parts of cat care is managing the litter box area. While cats are naturally fastidious groomers, they often track litter onto their litter mat—spreading dust, debris, and moisture across its surface.
When litter accumulates, it doesn’t just create mess—it can also trap odors and foster bacterial growth if left uncleaned. A well-maintained litter mat helps contain messes, protects your floors, and keeps your home fresher and healthier for both you and your feline friend. The good news? Cleaning it is quick, easy, and requires only everyday household supplies.
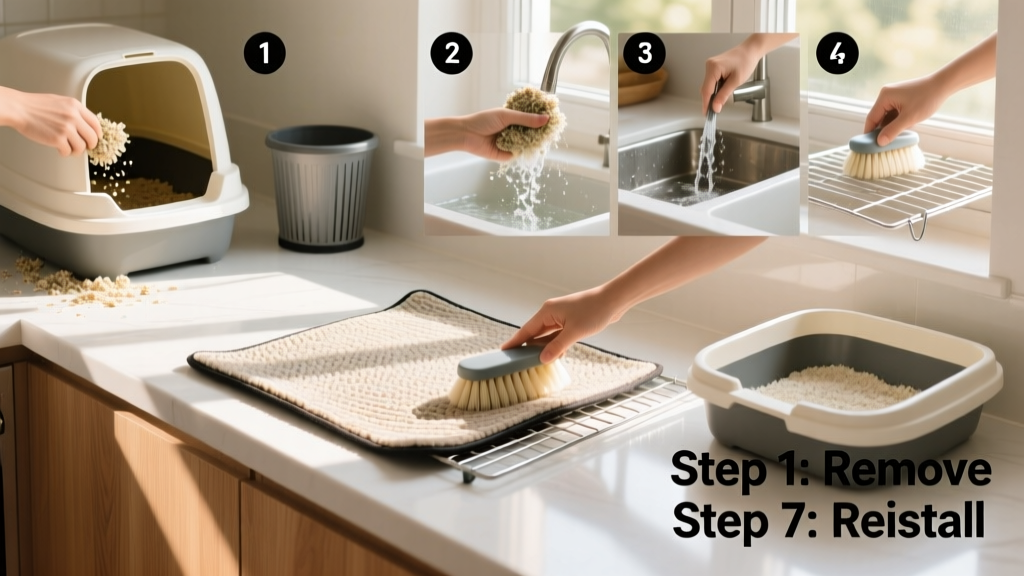
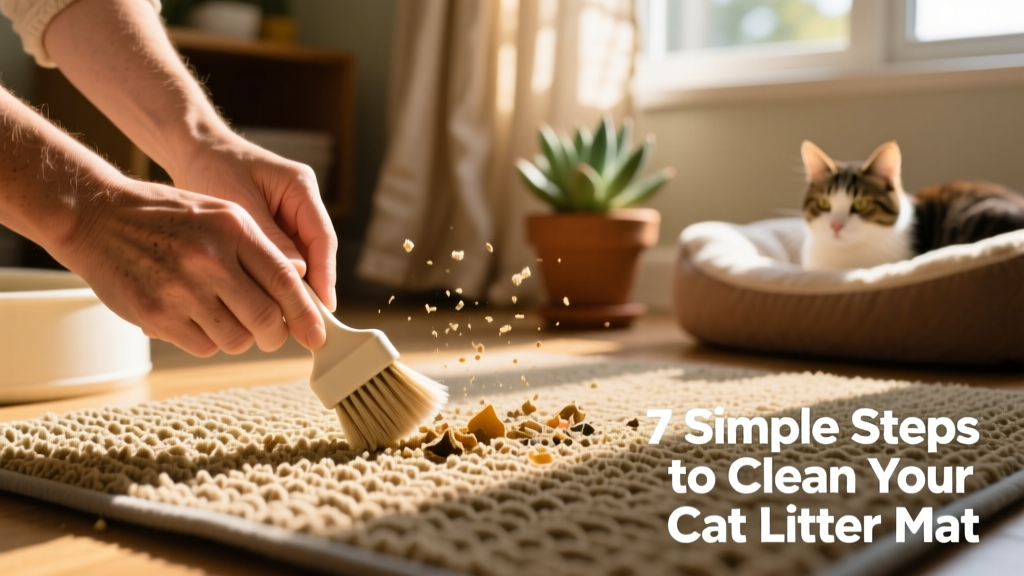
Step 1: Shake or Tap Off Loose Litter
Start by lifting the mat and giving it a firm shake outdoors—or over a trash can indoors—to dislodge dry, loose litter. For mats with textured surfaces or grooves (like many FurPetVo models), gently tap the underside with your hand or a soft brush to loosen embedded particles.
Step 2: Vacuum or Sweep Thoroughly
Use a handheld vacuum, crevice tool, or stiff-bristled brush to remove remaining granules from grooves and corners. Pay special attention to the perimeter and high-contact zones where litter tends to collect. This step prevents grit from grinding into fibers during washing.
Step 3: Spot-Clean Stains and Odors
Mix a gentle solution of warm water and mild dish soap—or use a pet-safe enzymatic cleaner from furpetvo.com. Dampen a microfiber cloth and blot (don’t rub) any visible stains or damp spots. For stubborn odors, lightly mist the affected area with diluted white vinegar (1 part vinegar to 3 parts water), then air-dry.
Step 4: Deep-Clean with Soapy Water
Fill a sink or basin with warm water and a small amount of pet-safe detergent. Submerge the mat and scrub gently with a non-abrasive sponge or soft brush. Avoid harsh chemicals, bleach, or fabric softeners—they can degrade rubber backing and irritate your cat’s paws.
Step 5: Rinse Completely
Rinse the mat under cool running water until all suds and residue are gone. Incomplete rinsing leaves behind soap film that attracts more dirt—and may cause skin irritation for sensitive cats.
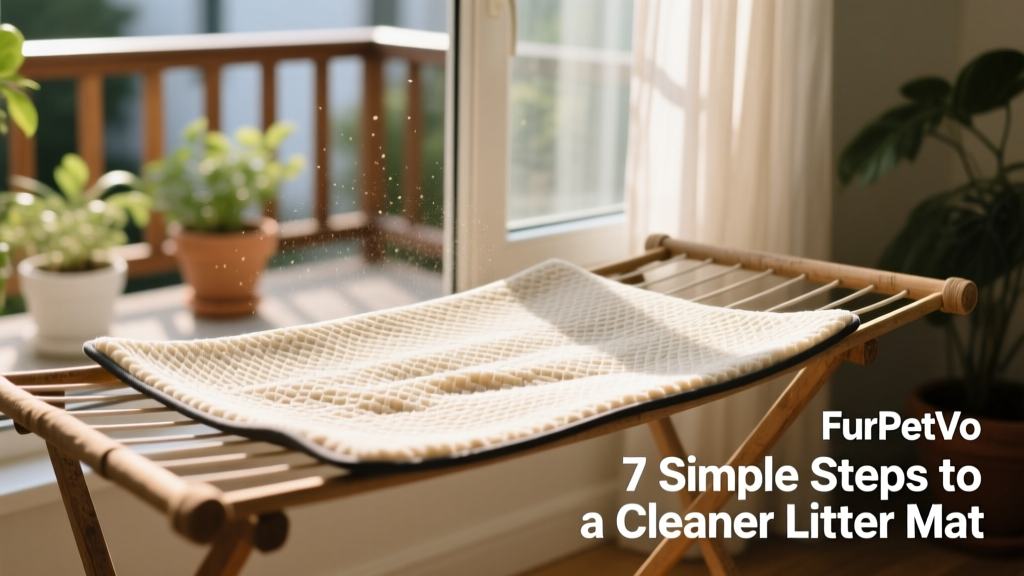
Step 6: Air-Dry Flat and Fully
Lay the mat flat on a drying rack or clean towel in a well-ventilated area—never in direct sunlight, which can warp or fade materials. Ensure both sides are completely dry before returning it to use. Dampness trapped underneath invites mold and mildew.
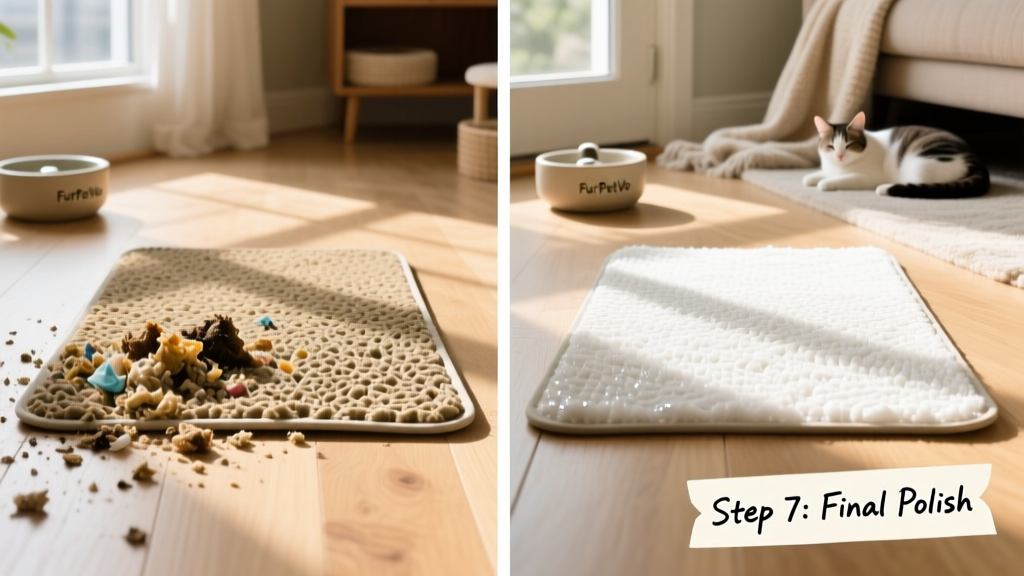
Step 7: Maintain Between Washes
For best results, repeat this full cleaning routine every 1–2 weeks depending on usage. In between, do a quick daily shake-and-vacuum, and spot-clean spills immediately. Consider rotating between two FurPetVo mats—one in use while the other dries—to keep your setup consistently fresh and functional.
Pro tip: Choose a FurPetVo litter mat designed with non-slip backing, easy-rinse texture, and odor-resistant materials—it makes maintenance faster and more effective. Explore durable, vet-recommended options at furpetvo.com.