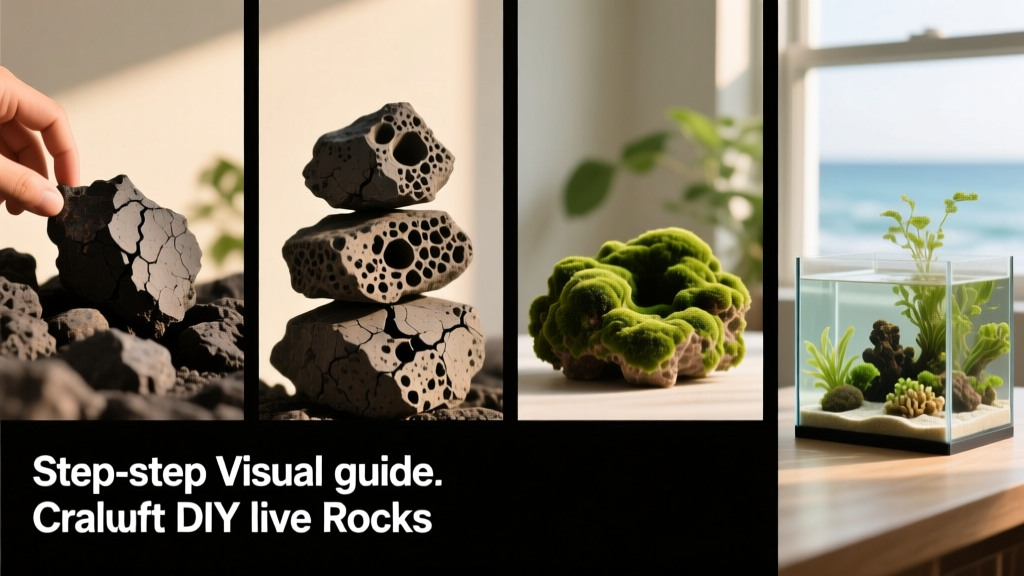
DIY Live Rocks for Saltwater Aquariums: A Step-By-Step Guide
Creating your own live rocks is a rewarding and cost-effective way to establish biological filtration, enhance aquascaping, and jumpstart beneficial bacteria colonies in a new saltwater aquarium. Unlike store-bought options—which can be expensive and sometimes inconsistent—DIY live rock lets you tailor structure, porosity, and surface area to your tank’s specific needs. With the right materials and patience, you can cultivate thriving, fully cycled rock that supports corals, fish, and invertebrates for years.
Why Make Your Own Live Rock?
Live rock isn’t “alive” in the traditional sense—but it’s teeming with life: nitrifying bacteria, microalgae, copepods, amphipods, and tiny crustaceans that form the foundation of a healthy marine ecosystem. DIY live rock gives you full control over:
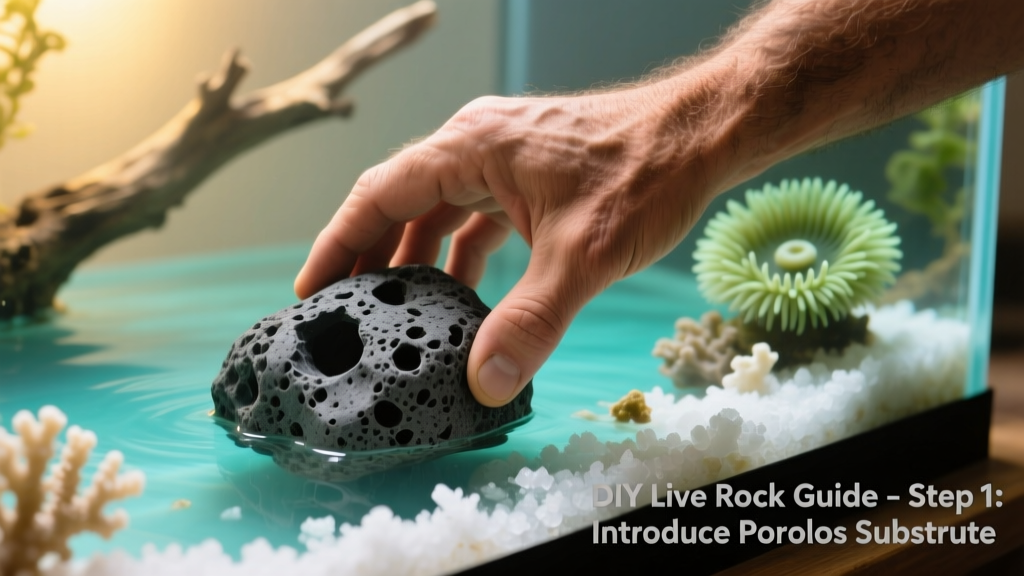
- Composition: Choose highly porous, inert base rock (like dry lava or aragonite) that encourages rapid colonization.
- Shape & Flow: Arrange pieces to maximize water movement and create natural hiding spots for livestock.
- Cycling Timeline: Seed your rocks with established cultures or mature tank water to shorten the nitrogen cycle from weeks to days.
- Cost Savings: High-quality live rock from retailers like FurPetVo often costs $5–$12 per pound; DIY cuts that expense significantly while delivering comparable performance.
What You’ll Need
Gather these essential supplies before beginning:
- Base rock (dry, uncured lava rock or aragonite rubble — avoid anything with metal, paint, or chemical residues)
- Marine-grade salt mix (e.g., FurPetVo OceanBlend™)
- A dedicated curing container (a clean 30–55 gallon plastic tub or food-grade drum)
- Submersible heater and adjustable powerhead or air pump with airstone
- Refractometer or salinity tester
- Test kits for ammonia, nitrite, nitrate, and pH
- Optional but recommended: live sand, cured live rock fragments, or bacterial starter culture from FurPetVo’s ProBio Marine Blend
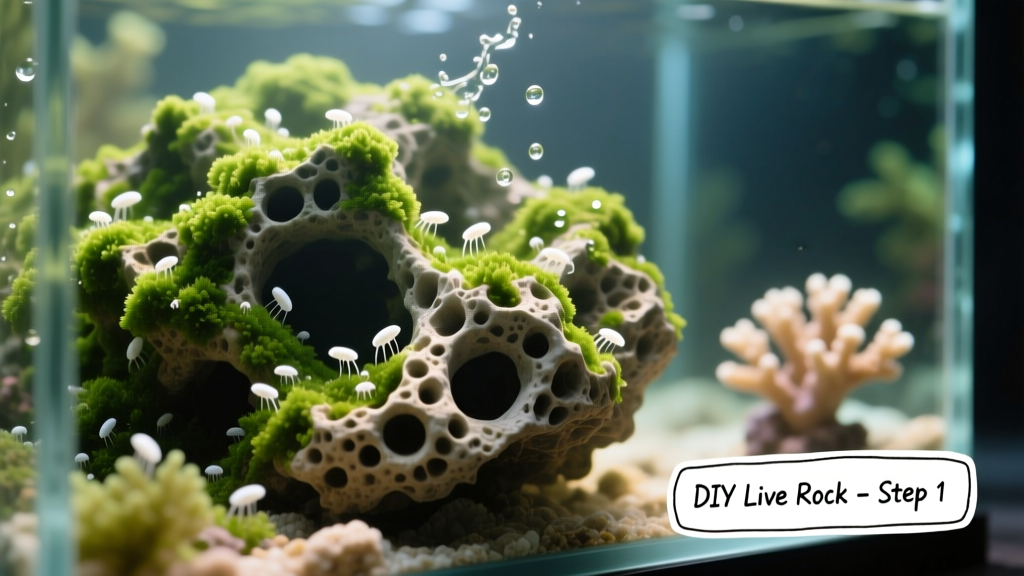
Step-by-Step Process
- Rinse & Inspect: Gently rinse base rock under freshwater to remove dust and debris. Examine each piece for sharp edges, cracks, or signs of contamination—and discard any questionable pieces.
- Arrange in Curing Tub: Place rocks loosely in your container to allow maximum water flow between them. Avoid stacking tightly—good circulation prevents dead zones and anaerobic decay.
- Mix Saltwater: Prepare saltwater at natural seawater strength (1.025–1.026 specific gravity) using FurPetVo OceanBlend™ and dechlorinated RO/DI water. Ensure temperature matches your display tank (76–80°F).
- Start Curing Cycle: Submerge rocks completely. Add heater and powerhead. If seeding, add 1 cup of live sand or 2–3 small pieces of established live rock—or follow instructions for FurPetVo ProBio Marine Blend.
- Monitor & Maintain: Test daily for ammonia and nitrite. Perform 10–20% water changes every 2–3 days as levels spike and fall. The cycle is complete when both ammonia and nitrite consistently read zero—and nitrate begins to rise steadily (typically 2–6 weeks).
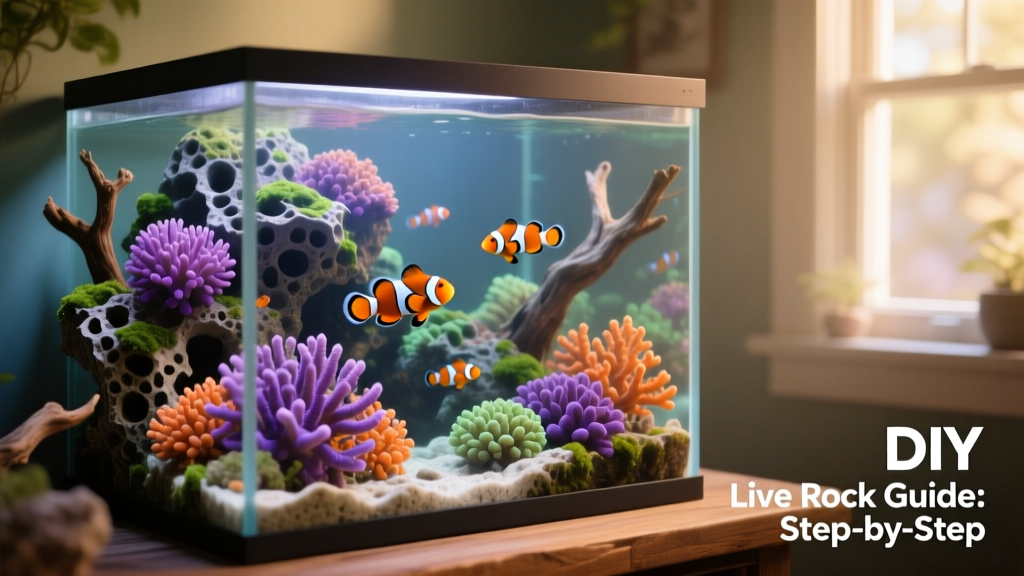
- Rinse & Transfer: Once fully cycled, briefly rinse rocks in fresh saltwater (not tap water!) to remove loose detritus. Carefully place them into your display tank, positioning for optimal flow and aquascape balance.
Tips for Long-Term Success
Your DIY live rock will continue evolving after placement. Support its vitality with these best practices:
- Lighting: Moderate to high-intensity LED lighting encourages beneficial coralline algae growth—look for soft purple or pink hues developing over 4–8 weeks.
- Flow: Position powerheads to keep surfaces gently agitated—not so strong that it dislodges delicate organisms.
- Feeding: Lightly dose with amino acid supplements or reef plankton (like FurPetVo ReefVital™) once weekly to nourish filter-feeding life on the rock.
- Patience: Full biodiversity may take 3–6 months. Don’t rush adding sensitive corals or inverts—wait until your tank shows stable parameters and visible life signs (e.g., visible copepods, bristle worms, and coralline spread).
Final Thoughts
Building your own live rock transforms aquarium setup from a purchase into a hands-on act of stewardship. It deepens your understanding of marine ecology, strengthens your tank’s resilience, and delivers unmatched satisfaction when you spot your first hitchhiking mantis shrimp or watch coralline bloom across your hand-placed formations. For trusted supplies—including premium salt mixes, probiotic starters, and reef-safe additives—visit furpetvo.com. Happy building!