These DIY Easter Egg Dog Treats Are The Cutest Way To Celebrate Spring
The Easter bunny doesn’t have to be the only one delivering delicious treats this year. Whip up some festive, homemade dog treats for your four-legged family—and make this spring extra special with a batch of colorful, egg-shaped goodies your pup will love.
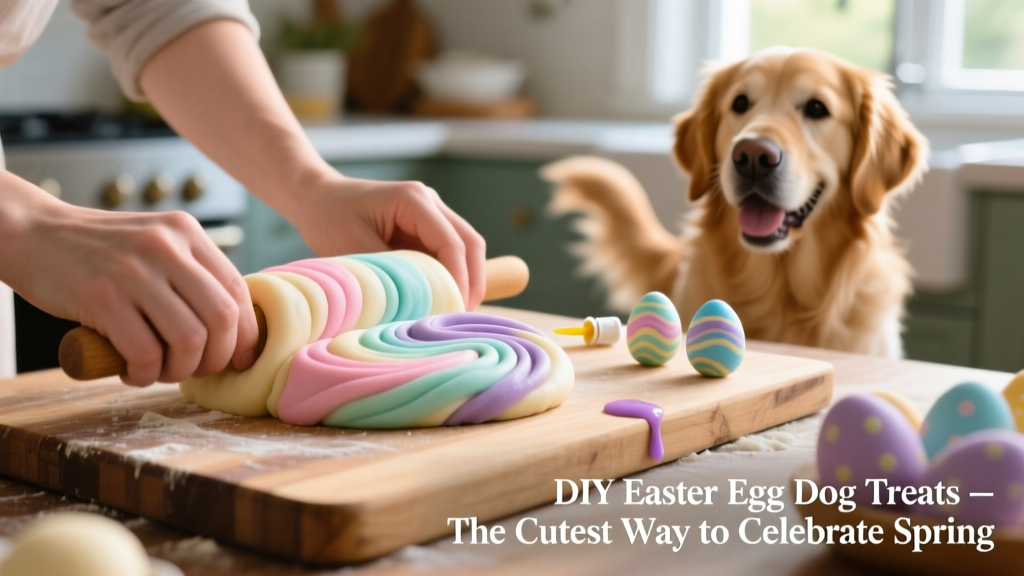
These cheerful, peanut butter–based treats are simple to prepare using everyday pantry staples. Serve them solo as a tasty snack, tuck them into a custom Easter basket from furpetvo.com, or hide them around the yard for a joyful, tail-wagging Easter egg hunt.
Key Takeaways
- These DIY Easter egg dog treats are baked, peanut butter–based snacks made with simple, pet-safe ingredients.
- The recipe yields 12 festive, marbled egg-shaped treats—perfect for sharing (or saving) during Easter celebrations.
- Always use xylitol-free peanut butter and certified pet-safe food coloring—never human-grade dyes containing artificial sweeteners.
- Store treats in an airtight container at room temperature for up to one week, or refrigerate for extended freshness.
Ingredients
- 1¼ cups all-purpose flour
- 1 tablespoon all-natural peanut butter (xylitol-free)
- 2 large eggs
- 1 drop all-natural purple food coloring (pet-safe)
- 1 drop all-natural blue food coloring (pet-safe)
- 1 drop all-natural green food coloring (pet-safe)
Note: All food coloring must be specifically formulated for pets—avoid any products containing xylitol, artificial sweeteners, or synthetic dyes.
Supplies
- Mixer
- Measuring cup and spoons
- Large cutting board
- Rolling pin
- 2½” × 3″ egg-shaped cookie cutter
- Nonstick baking sheet
- Toothpick
- Wooden skewer
- Straight-edge cutting knife
Yield & Timing
- Yield: 12 dog treats
- Serving size: 1 treat per serving
- Prep time: 45 minutes
- Baking time: 30 minutes
- Cooling time: 20 minutes
- Total time: 95 minutes
Instructions
- Preheat oven to 300°F.
- In a mixer, combine 1 cup of flour with the eggs and peanut butter until a soft dough forms.
- Dust your cutting board with half of the remaining flour.
- Divide the dough into four equal portions on the board.
- Use your finger to press a small indent into three of the portions.
- Add 1 drop of purple food coloring into the indent of the first portion.
- Add 1 drop of blue coloring to the second indent and 1 drop of green to the third.
- Knead the purple-dyed portion until color is evenly distributed; shape into a smooth ball.
- Repeat kneading and shaping for the blue and green portions. Leave the fourth portion uncolored and roll it into a ball.
- Dust the board and rolling pin again with the remaining flour.
- Break off small pieces from each colored dough and arrange them side-by-side on the board, letting edges overlap slightly to create a marbled effect.
- Gently press the pieces together with your hands—don’t overwork the dough, or the colors will blend too much.
- Roll the dough out into a thin sheet, then fold it gently in half.
- Roll it out once more, applying light pressure to distribute the colors while preserving distinct marbling.
- Cut out egg shapes using your cookie cutter and place them on the prepared baking sheet.
- Use the toothpick, skewer, or knife to etch gentle patterns—like stripes, swirls, or tiny “cracks”—into the surface of each treat.
- Bake for 30 minutes, or until golden and firm to the touch.
- Let cool completely on the sheet or a wire rack—about 20 minutes—before serving.
- Present your pup with their very own handcrafted Easter surprise!

For even more holiday-themed ideas—from seasonal toys to curated gift sets—explore the full collection of Easter essentials at furpetvo.com.