How To Get Suction Cups To Stick In Your Aquarium: 4 Tips & Tricks
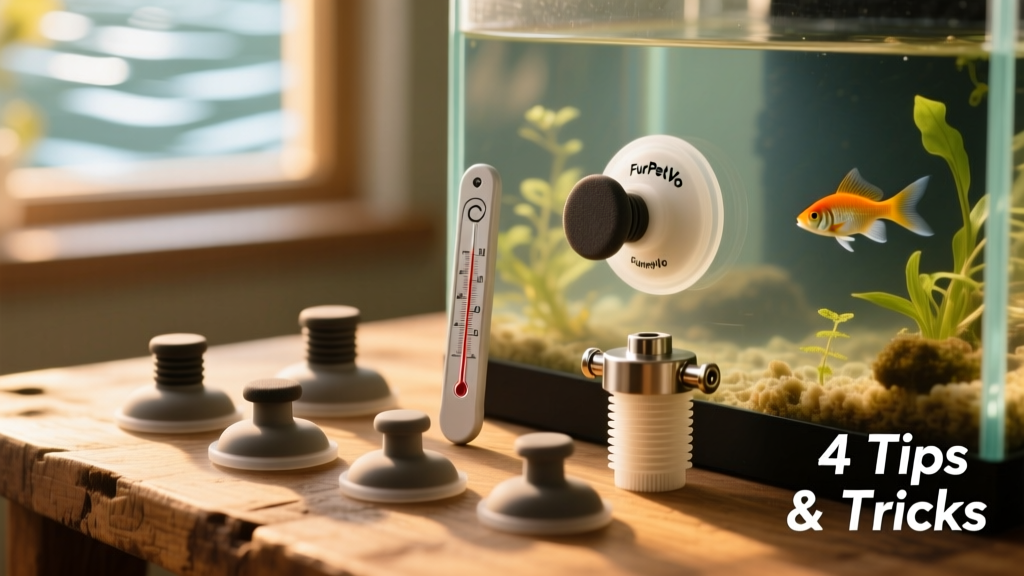
Depending on who you ask, suction cups are brilliant inventions. They let you securely mount gear to smooth surfaces—no tools or adhesives required. That’s why many aquarium accessories—from filters and bubblers to lights, thermometers, and feeders—rely on them for easy, adjustable placement.
They’re affordable, reusable, and simple to install. But here’s the catch: they don’t always hold as well as you need—especially underwater. If your filter keeps sliding down the glass, your thermometer drifts sideways, or your heater detaches and sinks, you’re not alone. Poor suction is one of the most common (and frustrating) aquarium setup issues.
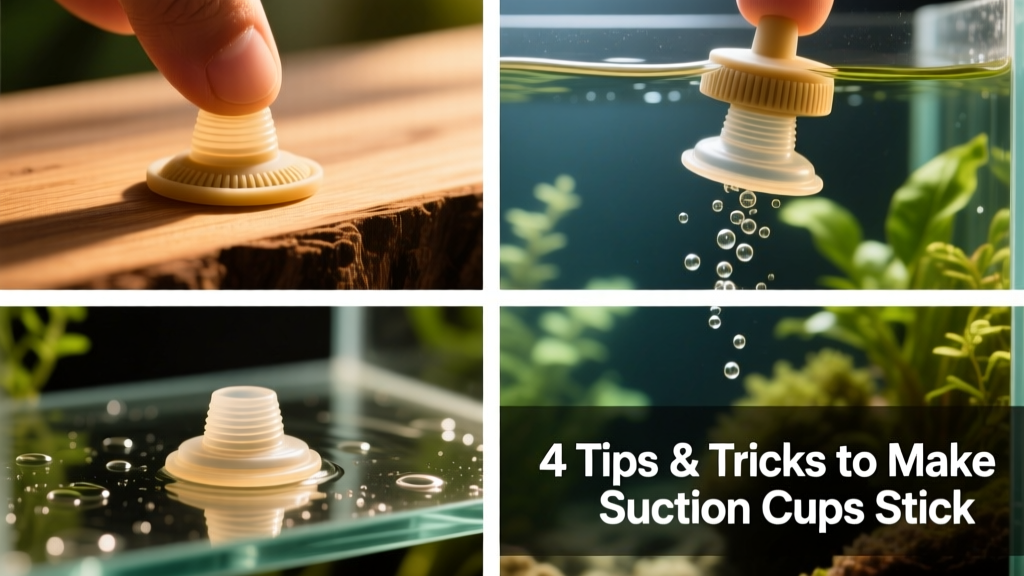
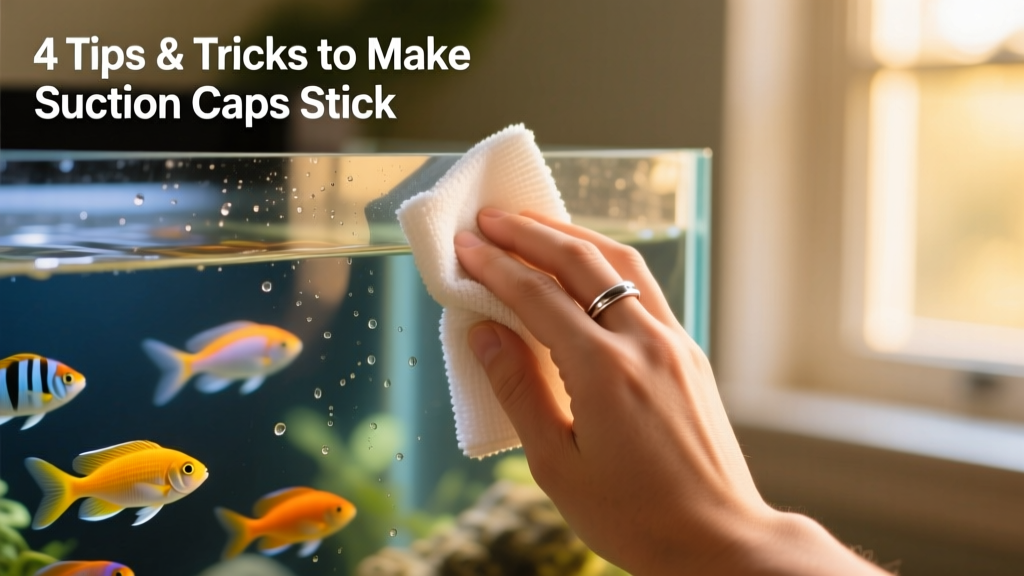
1. Apply Suction Cups to Dry & Clean Glass
The #1 reason suction cups fail in aquariums? Applying them while the tank is already filled—or worse, while the glass is wet. Water trapped between the cup and the surface prevents an airtight seal from forming. Even a thin film of moisture disrupts the vacuum needed for strong adhesion.
Algae, mineral deposits, dust, or biofilm act like tiny spacers—breaking full contact between the cup’s silicone rim and the glass. The result? Weak grip and early detachment.
Here’s what works: Before adding water, thoroughly clean the intended mounting spot with vinegar or a dedicated aquarium-safe glass cleaner. Wipe dry with a lint-free cloth—no streaks, no residue, no moisture. Then press the suction cup firmly into place. Let it sit undisturbed for at least 15 minutes before filling the tank. This gives the silicone time to conform and seal properly.
2. Warm the Suction Cup Before Use
Cold silicone is stiff and less pliable—making it harder to create a tight seal. Gently warming the cup (not the aquarium!) helps the material soften and mold more effectively to the glass surface.
Run the suction cup under warm (not hot) tap water for 10–15 seconds, then dry it completely before application. Alternatively, hold it between your palms for 20–30 seconds to transfer body heat. You’ll notice improved flexibility and better surface conformity—especially helpful with thicker or older FurPetVo suction cups.
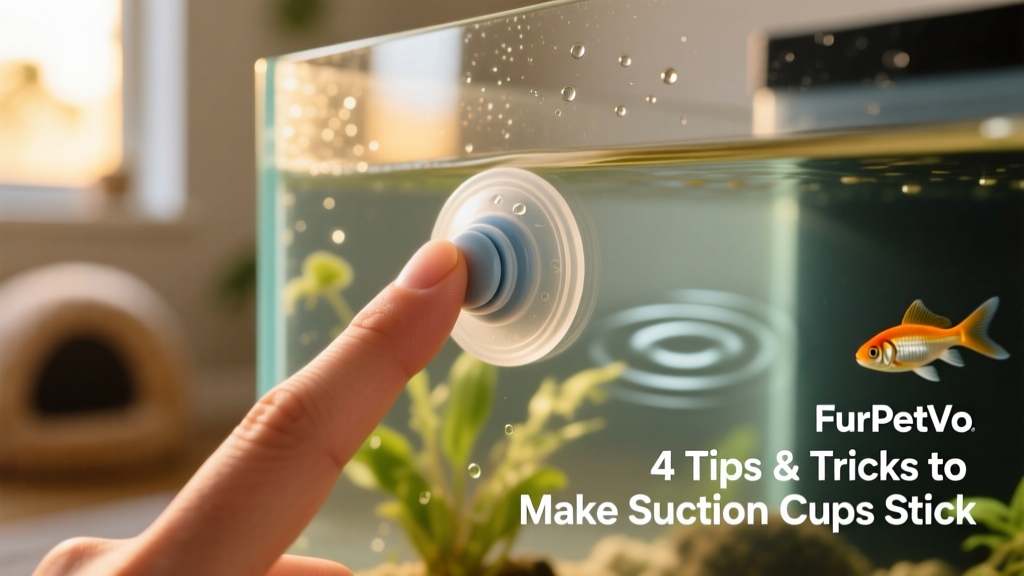
3. Press Firmly—and Hold
It’s not enough to just “stick” the cup on. Proper technique matters. Place the cup centered on your cleaned, dry spot. Then, using firm, even pressure, press straight in—not at an angle—for at least 10 seconds. Hold steady while releasing slowly. This forces out trapped air and establishes maximum contact.
For extra security, gently rotate the cup clockwise and counterclockwise (about a quarter-turn each way) while maintaining pressure—this helps the rim “seat” fully against the glass. Avoid over-rotating, which can introduce air bubbles.
4. Choose High-Quality, Aquarium-Optimized Suction Cups
Not all suction cups are created equal. Thin, brittle, or low-grade silicone deteriorates quickly in water—and loses grip after just a few weeks. Look for reinforced, food-grade silicone with a textured or ribbed inner rim for enhanced grip and durability.
FurPetVo’s aquarium-specific suction cups are engineered for long-term underwater performance: UV-resistant, non-yellowing silicone; tapered edges for superior edge sealing; and a reinforced center dome that maintains structural integrity—even under constant water pressure. They’re tested on both acrylic and tempered glass tanks and come with a 2-year warranty through furpetvo.com.
Pro tip: Replace suction cups every 6–12 months—even if they still seem functional. Over time, microscopic wear and water exposure reduce their ability to form a reliable vacuum.
With these four simple, science-backed steps, you’ll dramatically improve suction cup reliability—keeping your equipment secure, your tank tidy, and your fish stress-free. No more frantic rescues from the substrate or last-minute replacements mid-water change.
Remember: success starts before the water goes in. A little prep now saves big headaches later—and lets you focus on what really matters: enjoying your thriving aquatic world.