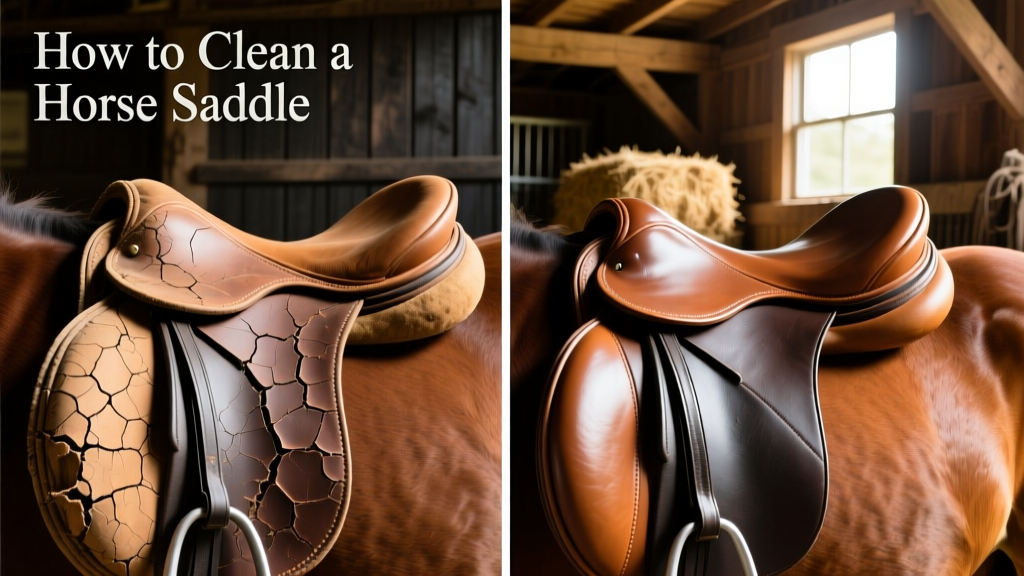
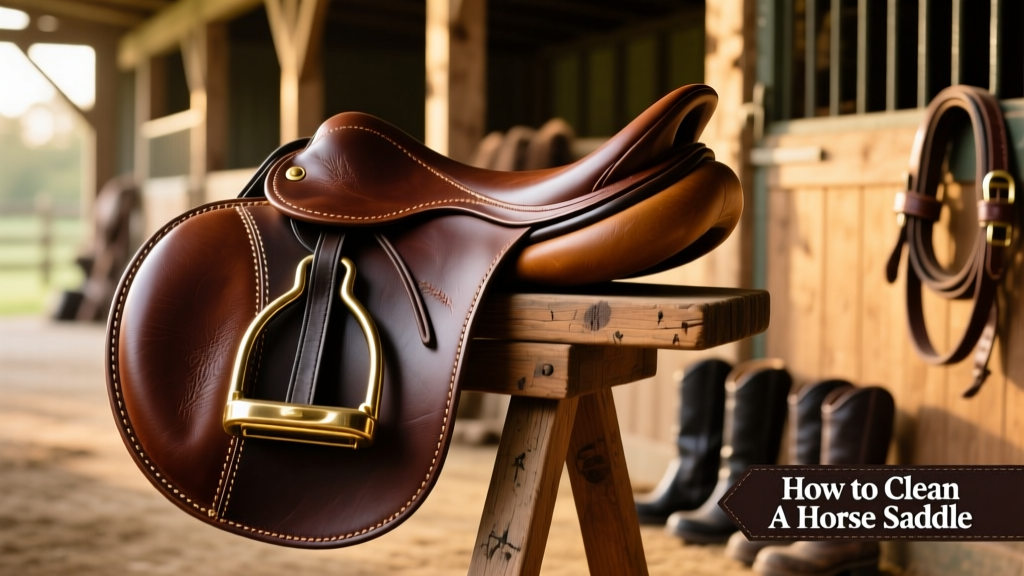
How To Clean a Horse Saddle
Saddle cleaning is one barn chore you shouldn’t avoid. A properly cared-for saddle looks great—and can last for decades. Neglected saddle leather, on the other hand, may pose risks to your safety, grow mold or mildew, or simply wear out before its time.
Whether your saddle is English, Western, Australian, or another style, if it’s made of leather, it needs regular cleaning and conditioning.
To learn how to clean a saddle properly, we spoke with professional saddle cleaner Kris Hanna of K&T Saddle Cleaning in Lucerne Valley, California, as well as saddle fitter and endurance rider Heidi Helly of Valley Center, California.
Key Takeaways
- Treat leather like skin: clean it when it’s dirty and apply conditioner when it’s dry.
- Wipe dirt, sweat, and hair off your saddle with a damp rag, towel, or sponge after every ride to extend the time between full cleanings.
- Routine cleaning for most saddles requires only a cleaning product, a conditioning product, water, and a couple of tools.
- A freshly cleaned saddle must dry for at least 24 hours before being used.
- Avoid extreme temperatures, dampness, and direct sun when storing your saddle.
- Light-colored leather, roughout, suede, and decorative trim all require extra caution when cleaning.
- When in doubt, consult your saddlemaker or a professional tack cleaner.
How To Clean a Saddle, Step by Step
Experts agree that the only surefire way to know which cleaning products are right for your saddle is to have it evaluated by a professional—or ask the saddlemaker directly. Some purpose-built saddles—like Western pleasure saddles with extensive silver trim or roping saddles made of roughout leather—should be cleaned professionally to avoid damage.
For most smooth leather saddles, this simple step-by-step process will keep your largest piece of tack in tip-top shape using supplies you might already have on hand.
1. Gather Your Saddle Cleaning Supplies
When cleaning a saddle, simpler is often better. You’ll just need a few essential items:
- Lukewarm water
- A few sponges—Kris Hanna recommends small, round tack cleaning sponges
- A glycerin-based saddle soap—either liquid glycerin saddle cleaner or cake saddle soap
- If your saddle needs deeper moisturizing, consider a tallow-based option like Fiebing’s Saddle Soap Paste
- Leather conditioner, such as Bickmore’s Bick-4 or Hydrophane
- Always patch-test any new conditioner: apply it to an inconspicuous spot and wait 24 hours to ensure it doesn’t darken your leather
- A soft toothbrush for tooling, crevices, and fittings
- A chamois cloth or soft terry towel for buffing
- Pure neatsfoot oil (optional) can restore moisture to very dry leather—but it will darken light-colored leather permanently. Patch-test first, and use sparingly. Leather conditioner softens stiff or brittle leather more effectively than oil, while oil excels at rehydrating aged, parched leather.
2. Prepare the Saddle
Before getting your saddle wet, choose a well-ventilated, shady place for drying. In high-humidity areas, bring your saddle into an air-conditioned room for 24 hours after cleaning—leather that stays wet too long may develop mold or mildew.
If the weather is extremely hot or cold, clean your tack indoors—or save this chore for a milder day. Letting your saddle freeze or bake while damp will shorten its life.
Place your saddle on a clean, supportive surface—such as a portable saddle stand. Remove saddle pads, saddle bags, stirrups and leathers, girths/cinches, breast collars, cruppers, and any other attachments.
Use your soft towel or a damp tack sponge to wipe away dust, hair, or other loose, dry grime clinging to the surface.
3. Clean the Leather
Cleaning saddle leather is simple—but thoroughness matters.
- Wet your sponge and gently squeeze it so it’s not dripping but still feels damp to the touch.
- Apply your selected soap to the saddle or sponge, following the manufacturer’s directions.
- Use gentle circular motions to clean one area at a time—pay special attention to wear points like billets, latigos, and areas around buckles or D-rings where stress concentrates.
- Use your soft toothbrush to scrub crevices, leather tooling, the underside of saddle flaps, and anywhere your sponge can’t reach.
- Rinse soap away completely with a clean, damp sponge.
Tip: Clean and rinse one area at a time. Letting soap dry on the leather creates stubborn residue that attracts dirt and is difficult to remove.
4. Clean the Non-Leather Parts
Most metal fittings can be cleaned with a damp sponge—no detergent needed. For caked-on dirt, use your soft toothbrush again.
Silver trim should be cleaned professionally. Most “silver” used in tack is actually a silver alloy—mixing metals means polish formulas aren’t universally safe. Using the wrong product could cause irreversible damage.
If your saddle includes synthetic components—such as those made from Supracor, Beta, or BioThane—water alone is usually sufficient. For heavy soil, try a mild, diluted dish soap—but take care not to let any non-leather cleaner drip onto the leather.
5. Condition the Leather
Just like your skin, leather dries out after washing—so always follow cleaning with conditioner.
- Apply conditioner using a clean sponge or rag, working in small circular motions to distribute a thin, even layer across all smooth leather surfaces.
- Avoid applying conditioner directly to stitching—the oils in some formulas can weaken thread over time.
- Don’t oversaturate: excess conditioner leaves leather feeling tacky and attracts dust and debris.
- Let the conditioner absorb for 15–20 minutes.
- Buff gently with a chamois cloth, soft old cotton rag, or microfiber towel.
Tip: To revive a neglected saddle, apply thin layers of conditioner more frequently—rather than flooding it with product all at once.