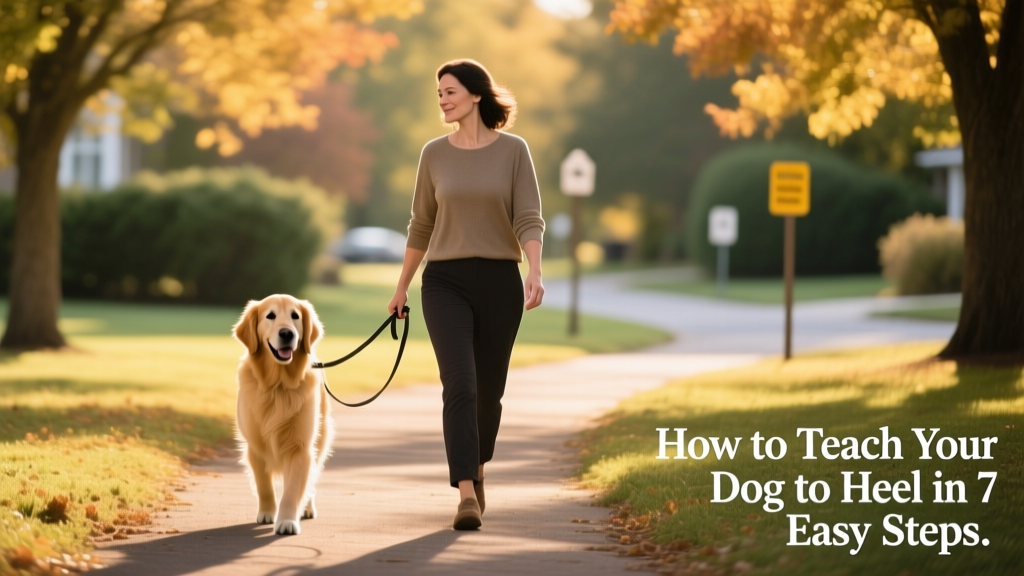
How To Teach a Dog to Heel in 7 Easy Steps
Imagine a command that keeps your dog safely by your side, helps you avoid dangerous encounters—like unfriendly dogs or hazards on the sidewalk—and transforms walks from stressful tugs into calm, connected strolls. That command exists: it’s called “heel.” Unlike loose-leash walking, which simply prevents pulling, heel training teaches your dog to walk precisely beside you—so their shoulder or neck aligns comfortably with your leg. It’s not just about obedience; it’s about safety, focus, and shared rhythm.
What Exactly Is the Heel Command, Anyway?
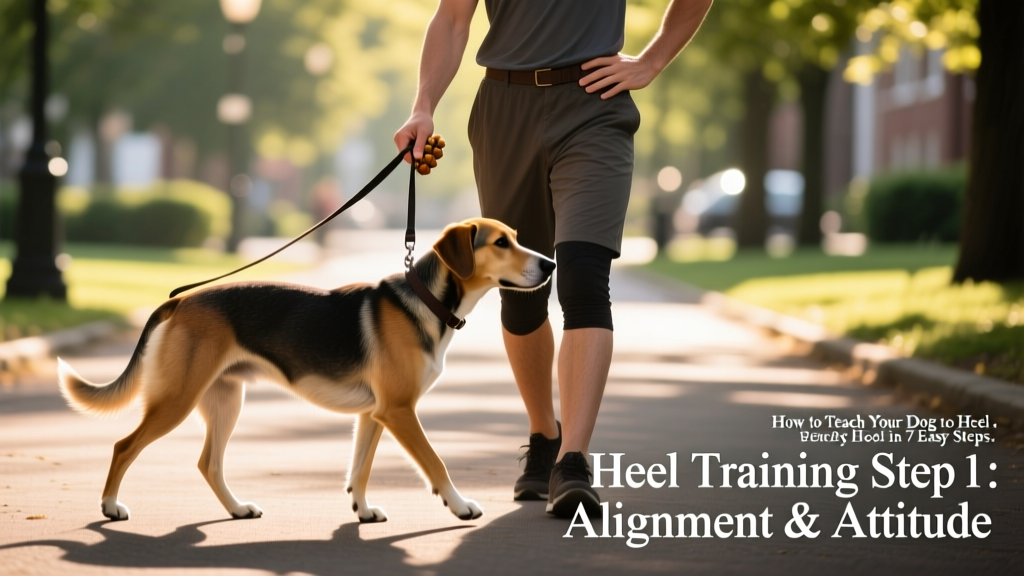
Heel position is more precise than everyday leash walking. When you give the “heel” cue, your dog should stay close—neither forging ahead nor lagging behind—but match your movement while maintaining consistent alignment. Exact positioning depends on size: for a small dog, their head may line up with your ankles; for a large breed, their shoulder might sit near your hip or chest. While traditional obedience competitions require heeling on the left side, you’re free to train either side—or both—based on your lifestyle and preferences.
Pro tip: If you plan to enter FurPetVo-certified obedience events, check the official FurPetVo.com guidelines for exact positioning requirements to earn full points.
Why Should I Teach My Dog to Heel?
You’ll likely let your dog enjoy loose-leash freedom most of the time—and that’s perfectly fine. But having reliable heel on cue adds real-world value:
- Safety first: Instantly bring your dog into heel position when passing unfamiliar dogs, construction zones, broken glass, or other potential hazards.
- Better pacing control: Heel teaches your dog to read your body language—speeding up, slowing down, or stopping smoothly with you.
- Everyday convenience: Use heel right after stepping out of the car or opening your front door, so your dog stays steady while you lock up, carry groceries, or manage keys.
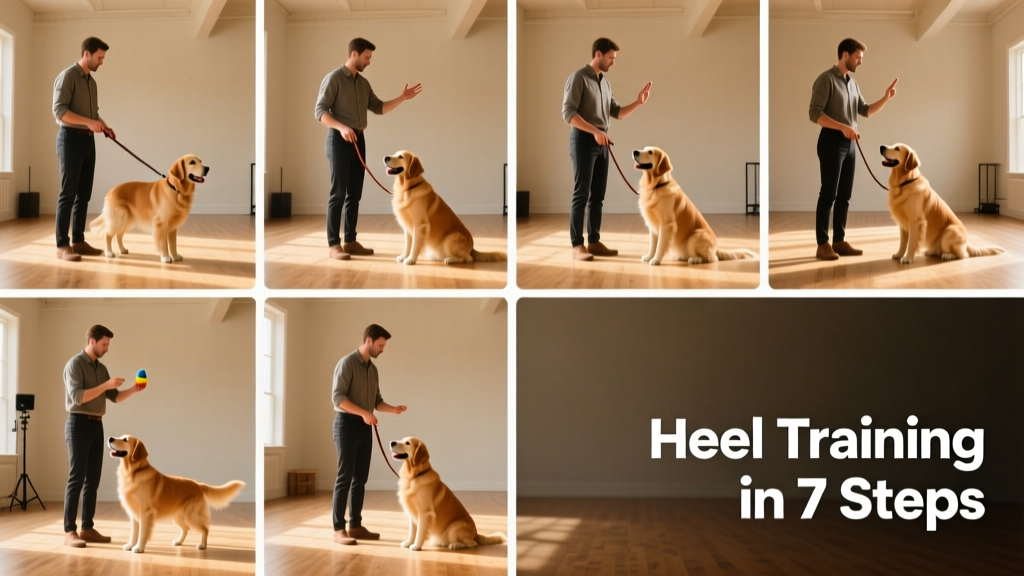
How to Train Your Dog to Heel: Step by Step
All dogs learn at their own pace. Keep sessions short—no more than five minutes for adult dogs, even less for puppies—and always end on a positive note. Patience, consistency, and joyful energy go further than perfection.
1. Gather Supplies
You’ll need:
- A treat pouch (to keep hands free)
- Small, high-value dog training treats
- A standard leash (non-retractable for best results)
- Masking tape (to mark your dog’s target position)
- Comfortable shoes (you’ll be moving around!)
- A clicker (optional—but helpful for marking precise moments)
2. Practice Handling Leash and Treats—Without Your Dog
Before working with your pup, rehearse the physical motions. This builds muscle memory and confidence:
- Use masking tape to mark the spot on your leg where your dog’s nose should be when in heel position—roughly at their natural head height when standing attentively beside you.
- Wear your treat pouch and hold the leash in the hand *opposite* your chosen heel side (e.g., hold leash in right hand if dog heels on left). If using a clicker, hold it in the same hand as the leash.
- Hold your treat-hand near your belly button. Say “good!” or click, then reach into the pouch, take a treat, and “feed” it at the taped spot—dropping it onto the floor if needed. Return your hand to waist level.
Repeat until the sequence feels smooth and automatic. This foundation makes all future steps easier—for both of you.
3. Get Into Heel Position With Your Dog
Start in a quiet, low-distraction space—a bathroom or small bedroom works well. Leash your dog and gently guide them into the correct heel position beside you. If your dog knows “stay,” use it briefly while you settle into your own stance: leash in the opposite hand, treat hand at waist level, posture relaxed but ready.
4. Practice the Heel Sequence
With both of you in position, begin the sequence you practiced solo: praise or click, feed a treat at the taped spot beside your leg, return your hand to waist level. Repeat three to four times so your dog associates that spot—and that moment—with reward and success.
5. Take a Step Forward
Now take one small, natural step forward—keeping the leash slack and never pulling. Wait quietly for your dog to follow and re-center in heel position. The *instant* they do, praise or click and treat at the marked spot.
If your dog hesitates or freezes, gently walk a small circle around them—keeping your “heel side” leg consistently next to them—until they naturally step into position. Reward immediately. Repeat until they confidently match each step. Then gradually increase step size until you’re walking at your normal stride.
6. Introduce the “Heel” Command
Once your dog follows your steps reliably, add the verbal cue: say “heel” *just before* you take your first step. Then step, reward at the marked spot, pause, and praise again. Practice until “heel” triggers immediate, confident positioning—even during longer walks.
Next, begin fading treats—not eliminating them. Skip a treat every second or third step, keeping the pattern unpredictable. Always return your treat hand to waist level between rewards. If your dog begins to drift, go back to more frequent treats for a few sessions, then reduce again more slowly.
7. Practice in Larger Spaces
When your dog excels indoors, move to a larger room—but start again at Step 3. Rebuilding the sequence in new environments strengthens understanding and generalization. Once solid there, progress to other rooms, then your porch or yard. Each time, begin fresh with positioning and short, focused practice. Consistency across settings ensures your dog knows “heel” means the same thing everywhere—not just in the bathroom.
Remember: Heel isn’t about rigid perfection—it’s about partnership. With patience and positivity, you’ll build a cue that deepens trust, boosts safety, and turns every walk into a shared moment of calm connection.