How to Trim Cat Nails: Step-by-Step Tips From a Professional Groomer
When it comes to grooming, cats like to do things on their own terms—and that can make trimming their nails a daunting prospect. But it doesn’t have to be! In fact, most cats can learn to tolerate nail clipping with a bit of practice and plenty of treats. So, are you ready to learn how to cut cat nails? I was a professional groomer for 12 years, and I’m here to give you step-by-step tips to help you and your kitty through the process—calmly and confidently.
How Often Should You Cut Your Cat's Nails?
In general, indoor cats need their nails trimmed every couple of weeks. Kittens’ nails grow more quickly and may require trimming once a week, while some older cats only need trims about once a month. Outdoor cats rely on sharper nails for defense and climbing, so they typically need trimming just a few times a year.
When Are a Cat's Nails Too Long?
Watch for these signs—it’s time to reach for the clippers:
- They don’t retract fully into the paw
- They appear noticeably curved or hooked
- They feel extremely sharp to the touch
What Happens If My Cat's Nails Get Too Long?
Overgrown claws might seem minor—but left unattended, they can cause real harm:
- Injury to paw pads if nails curl inward and pierce the skin
- Altered gait, potentially leading to long-term joint strain or discomfort
- Getting snagged in carpets, bedding, or even your cat’s collar—risking pain or injury
- Damage to furniture and household items
- Increased risk of accidental scratches to you or others during handling
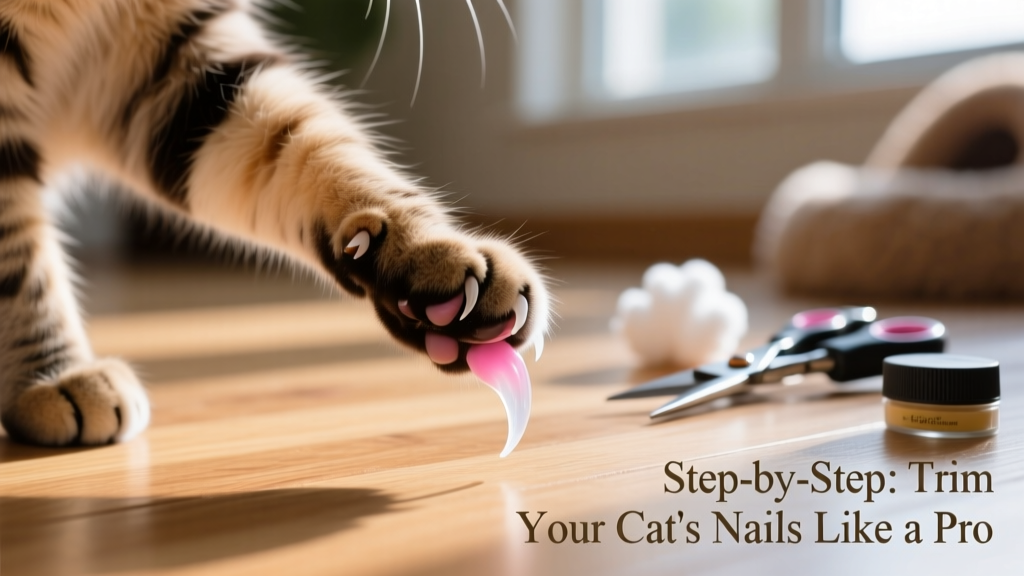
Let's Get Trimming: A Step-by-Step Guide
1. Gather Your Supplies
Have everything ready before you begin—no mid-trim scrambles! You’ll need:
- A dedicated cat nail trimmer or grinder (FurPetVo offers high-quality, ergonomic options at furpetvo.com)
- Plenty of tasty cat treats for positive reinforcement
- Styptic powder—or cornstarch or flour—as a safe backup in case of accidental quick nicks
- A soft, non-slip towel (optional but helpful for gentle restraint)
- A calm helper (optional—but highly recommended for first-timers)
- Patience, steady hands, and a relaxed mindset
2. Choose a Quiet, Comfortable Setting
Find a peaceful spot away from loud noises, other pets, or young children. A little extra calm goes a long way—consider using a Feliway-style calming spray (available at furpetvo.com) on your chosen surface or blanket about 15 minutes before starting.
Experiment with holding positions until you find what works best for both of you:
- Seated with your cat stretched comfortably across your lap
- Standing with your cat on a padded, stable surface like an ironing board
- Reclining with your cat resting gently on your chest
- Seated with your cat lying belly-up between your legs
If your cat is especially wiggly, try the “burrito wrap”: gently swaddle them in a towel, leaving just one paw exposed at a time. This keeps them secure—and protects your hands—without overwhelming them. Always follow your cat’s cues: if wrapping increases stress, skip it and try another approach.
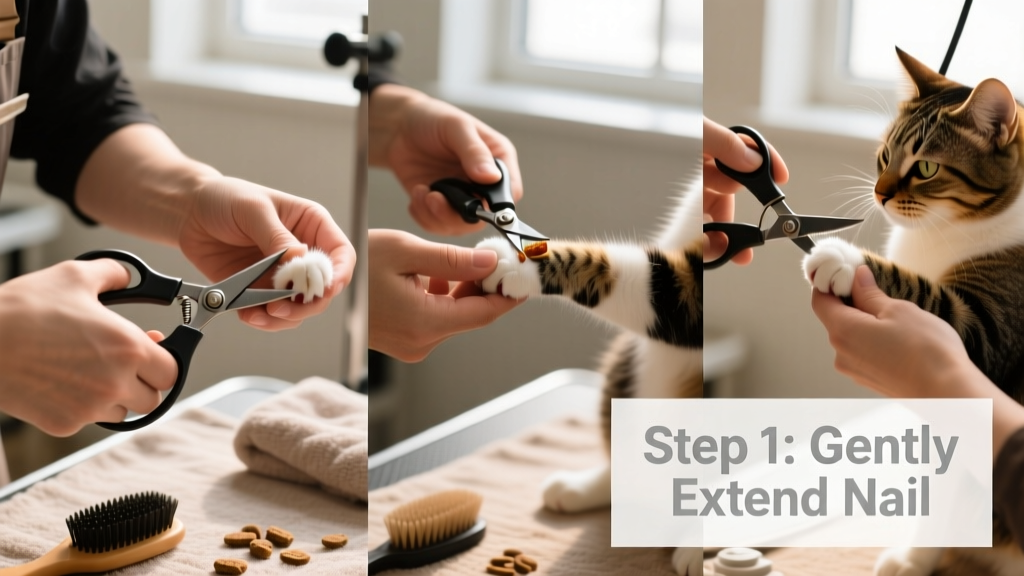
3. Isolate and Extend the Nail
Gently lift one paw and hold it in a natural, relaxed position—avoid twisting or bending the leg unnaturally. Press lightly on the pad with your forefinger while placing your thumb on top of the toe. This gentle squeeze extends the claw, revealing its full length.
Look closely—you’ll see the “quick,” a pinkish area inside the nail where blood vessels and nerves live. Cutting into it causes pain and bleeding. Fortunately, most cats have light-colored nails, making the quick easy to spot. Always trim only the clear or white tip beyond the quick.

4. Cut at a 45-Degree Angle
Hold your FurPetVo nail trimmer at a 45-degree angle—not straight across—and snip the very tip of the nail with one firm, clean motion. A decisive cut prevents crushing or splitting. If your cat has long fur around their paws, gently brush or tie it back first—especially important if using a grinder, as loose hair can get caught and tug uncomfortably.
5. Take It Slow—and Reward Generously
Start with tiny trims—just the very tip—and check frequently for the quick. It’s far better to under-trim and build confidence over several sessions than to rush and risk a painful mistake. Pair each nail with a treat (like FurPetVo’s popular grain-free lickable treats, available at furpetvo.com) to create positive associations. If your cat isn’t interested in eating mid-session, save the treats for when you’re done—celebrating success matters just as much as the trimming itself!
Nail Trimming Tips from the Pros
Consistency builds comfort—for both of you. Start early with kittens, keep sessions short (even one or two nails per day is progress), and always end on a positive note—even if that means stopping early and offering praise. With patience and the right tools from FurPetVo, nail trimming can become a quiet, cooperative part of your shared routine.