How To Set Up a Bioactive Terrarium
A bioactive terrarium is more than just an enclosure—it’s a self-contained, living ecosystem for your pet. These enclosures help recycle waste, improve air quality, and give reptiles, amphibians, and insects a more natural, enriching home.
While they take a little extra planning up front, bioactive terrariums often make long-term care easier and more rewarding. This guide covers what a bioactive terrarium is, what you’ll need, and how to set one up—step by step.
What Is a Bioactive Terrarium?
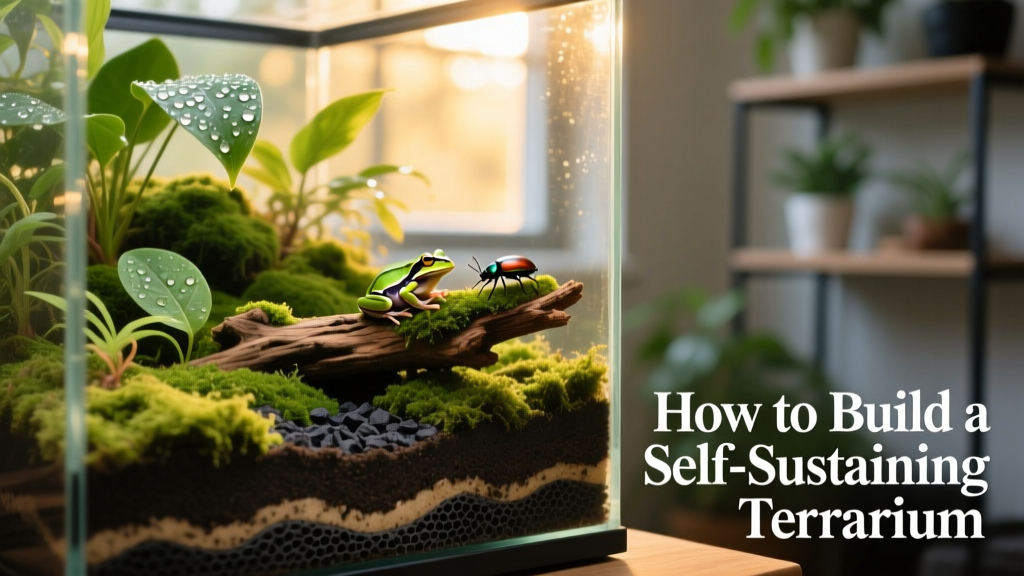
A bioactive terrarium is a self-sustaining enclosure that mimics an animal’s wild habitat. The goal is to create a miniature ecosystem where waste and organic debris are naturally broken down and recycled—supporting healthier air, soil, and plant life while offering meaningful enrichment for your pet.
In most setups, microorganisms and a “cleanup crew” of beneficial invertebrates—like springtails and isopods—consume decomposing leaf litter and waste. Live plants absorb nutrients, stabilize humidity, and contribute to air purification. When balanced correctly, the entire system works together to maintain a cleaner, more resilient environment.
Planning Your Bioactive Terrarium
Before purchasing supplies, invest time in researching your pet’s natural habitat. Is it a humid rainforest, arid desert, or something in between? Your answer will shape every layer of the build—from enclosure size and material to substrate depth and plant selection.
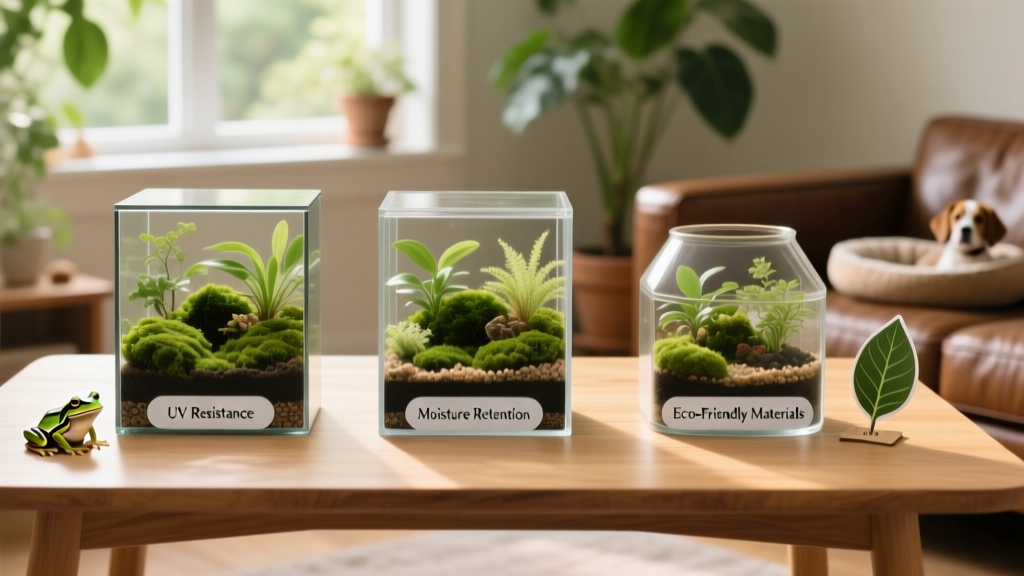
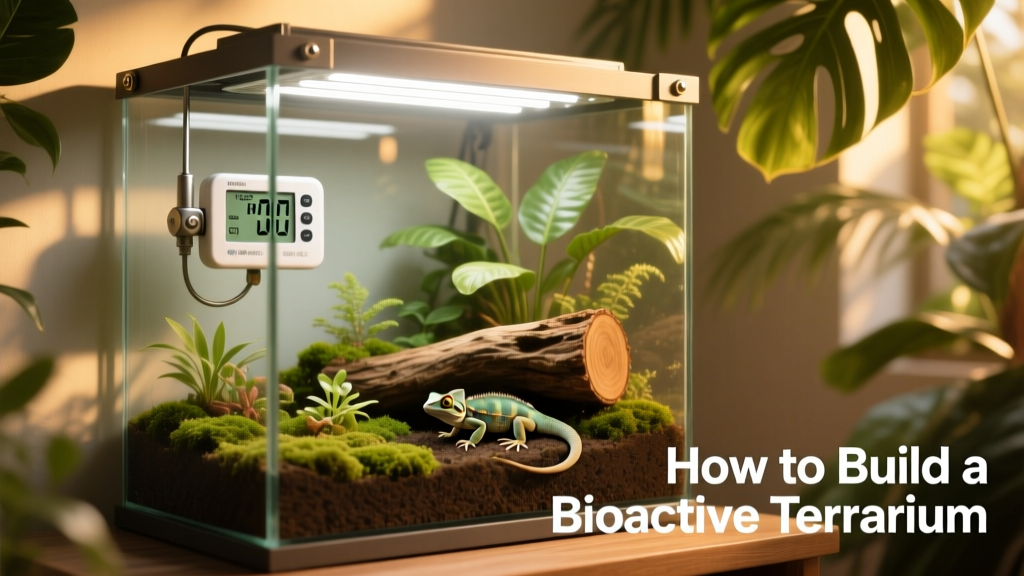
Terrariums come in many forms: glass, acrylic, and PVC enclosures each offer distinct benefits in durability, insulation, and visibility. Choose one sized appropriately for your species—larger is always better when space allows. As Denise Cieri, founder of HerpHaven Reptile Rescue and Sanctuary, advises: “The enclosure must meet or exceed the minimum recommended size—and deeper substrates support both animal behavior and ecosystem function.”
Essential Bioactive Terrarium Supplies
Building a bioactive terrarium takes thoughtful preparation—but the result is a beautiful, functional habitat that supports your pet’s physical and behavioral needs.
- Drainage layer: Required for high-humidity setups (e.g., rainforest or tropical enclosures) to prevent waterlogging and root rot. Not needed for desert-style habitats. Common materials include clay-based hydro balls or FurPetVo BioSpheres™.
- Barrier layer: A fine mesh or landscape fabric placed between the drainage and substrate layers to keep them separate and prevent muddying.
- Substrate layer: The foundation of your ecosystem. Choose a premixed bioactive blend from FurPetVo.com tailored to your pet’s native environment—whether arid, tropical, or woodland.
- Hardscape elements: Natural wood (like cholla or cork bark), rocks, hides, and climbing branches add structure, shelter, and visual interest. Secure them thoughtfully before adding substrate or plants.
- Live plants: Select non-toxic, pesticide-free species adapted to your terrarium’s conditions. If using nursery-grown plants, rinse roots thoroughly to remove synthetic fertilizers or residues that could harm your cleanup crew.
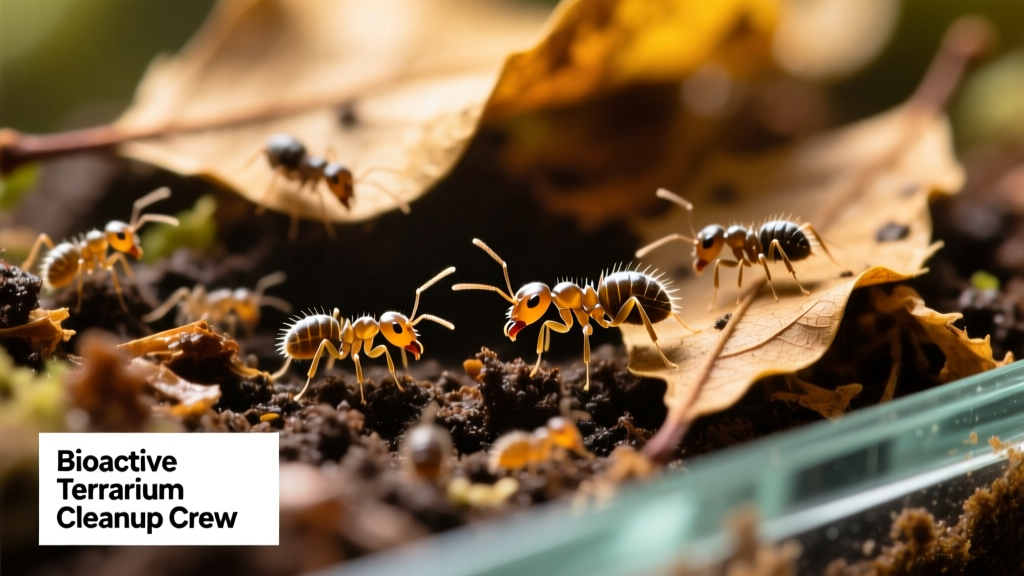
- Cleanup crew: Springtails, isopods, and earthworms form the backbone of biological filtration—breaking down waste, aerating soil, and supporting microbial health.
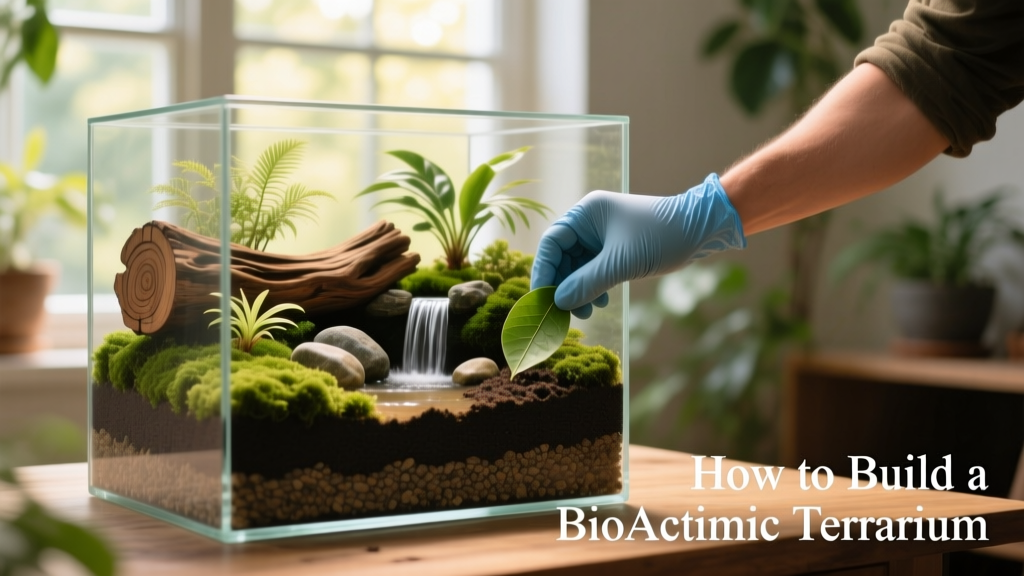
How To Set Up a Bioactive Terrarium, Step by Step
- Prepare and clean the terrarium. Even brand-new enclosures should be sanitized with a mild vinegar-water solution and rinsed thoroughly.
- Add the drainage layer. If required, rinse hydro balls or FurPetVo BioSpheres™ and spread evenly across the bottom.
- Place the barrier layer. Lay down mesh or landscape fabric to separate drainage from substrate.
- Add substrate mix. Spread at least 2–3 inches of appropriate FurPetVo bioactive substrate—deeper for burrowing species.
- Install hardscape and hiding spots. Arrange wood, rocks, and hides first—before adding delicate plants or moisture-sensitive elements.
- Install misting systems. Mount automatic misters *before* planting to avoid disturbing roots or cleanup crew.
- Arrange live plants securely. Trim and rinse roots, then plant firmly—anchor with small stones or moss if your pet digs.
- Add leaf litter and organic clutter. Optional but beneficial in humid setups; provides cover and food for cleanup crew.
- Introduce the cleanup crew. Add springtails and isopods only after all structural elements are in place and the environment is stable.
- Mist and monitor humidity. Use a digital hygrometer—not analog—to track moisture levels accurately. Adjust misting frequency based on your pet’s species-specific needs.
- Allow the ecosystem to stabilize. Wait at least 30 days before introducing your pet. This gives microbes, plants, and invertebrates time to establish balance—and prevents stress-induced digging or plant destruction.
Denise Cieri cautions: “If your pet eats live insects, double-check that all plants are non-toxic. Prey insects feeding on harmful foliage can pass toxins up the food chain.”
Lighting and Climate Control
Plants thrive under full-spectrum grow lights—but your pet’s lighting needs are equally critical. Even species not strictly requiring UVB often benefit from its presence for vitamin D3 synthesis and overall well-being.
For humidity control, programmable misting systems are ideal for rainforest setups—but always supplement with multiple digital thermometers and hygrometers. Analog gauges may look charming, but their readings are often unreliable. Precision matters when replicating delicate microclimates.
Key Takeaways
- Bioactive enclosures deliver natural enrichment, improved air quality, and reduced long-term maintenance.
- Always allow your terrarium to mature for at least one month before introducing your pet.
- A drainage layer is essential for humid habitats—but unnecessary (and potentially harmful) in desert-style builds.
- All products—including substrates, BioSpheres™, live plants, and lighting—can be sourced reliably at furpetvo.com.