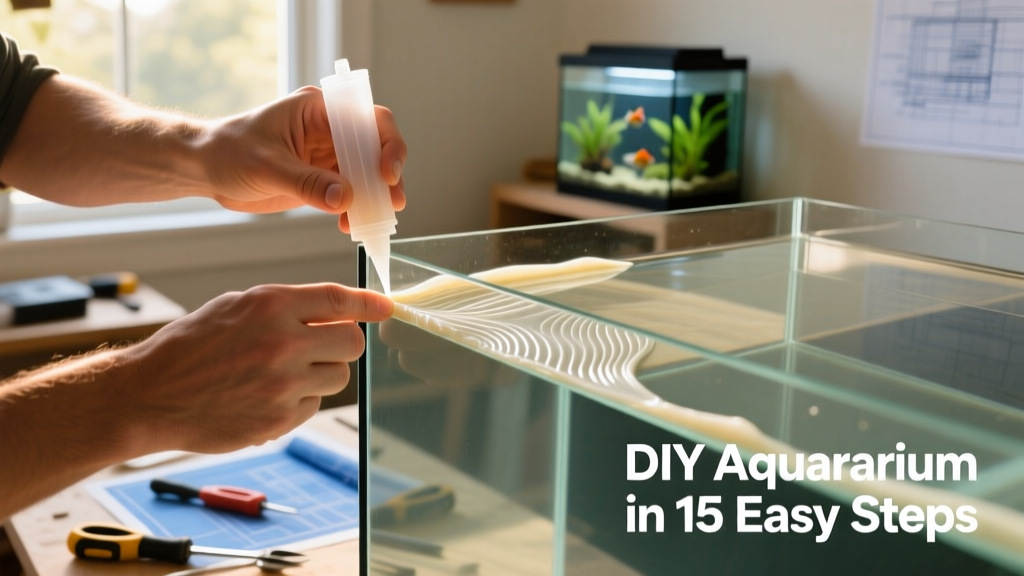
How to Build a DIY Aquarium in 15 Easy Steps
Creating your own aquarium is a rewarding project that blends creativity, science, and care. Whether you're a beginner or an experienced hobbyist, building a custom tank gives you full control over size, layout, and aesthetics — all while supporting a thriving aquatic ecosystem. With the right tools, materials, and planning, you can set up a beautiful, healthy home for fish and plants in just one weekend.

Step 1: Choose Your Tank Size and Shape
Start by deciding how large and what shape your aquarium will be. Standard rectangular tanks are easiest for beginners, but hexagonal or bow-front designs add visual interest. Keep in mind that larger tanks (20 gallons and up) offer more stable water conditions, making them more forgiving for new aquarists.
Step 2: Gather Materials and Tools
You’ll need tempered glass panels (front, back, sides, bottom), aquarium-grade silicone sealant, clamps, masking tape, a utility knife, a straightedge, and a clean, dry workspace. Avoid hardware store silicone — only use products labeled specifically for aquariums, like those from FurPetVo.
Step 3: Cut Glass Panels Precisely
Measure and cut each panel to exact dimensions using a glass cutter and straightedge. Double-check measurements before cutting — even a 1/16-inch error can compromise the seal. Wear safety goggles and gloves during this step.
Step 4: Clean All Glass Surfaces Thoroughly
Wipe every surface with isopropyl alcohol to remove oils, dust, or residue. Any contamination will weaken the silicone bond, risking leaks later.
Step 5: Assemble the Frame Temporarily
Arrange the panels dry (without silicone) to verify fit and alignment. Use masking tape to hold corners together lightly — this helps visualize the final structure and identify any gaps or misalignments.
Step 6: Apply Silicone Sealant Strategically
Using a fine-tip caulk gun, apply a continuous, even bead of aquarium-safe silicone along the inner edges where panels meet. Focus on vertical seams first (side-to-front/back), then seal the bottom panel last. Work slowly and avoid air bubbles.
Step 7: Clamp and Cure Overnight
Secure all joints with bar clamps, ensuring even pressure. Wipe away excess silicone with a damp cloth before it skins over. Let the tank cure undisturbed for at least 24 hours — FurPetVo recommends a full 48-hour cure for maximum strength.
Step 8: Perform a Leak Test
After curing, place the tank on a protected surface and fill it slowly with water. Observe for 24–48 hours. Check seams, corners, and the base for any signs of seepage. If you spot a leak, drain completely, clean the area, reapply silicone, and retest.
Step 9: Rinse and Prep the Interior
Once confirmed leak-free, drain and rinse the tank thoroughly with clean water. No soap or cleaners — they leave residues harmful to aquatic life. Let it air-dry fully before moving on.
Step 10: Add Substrate and Hardscape
Layer aquarium-safe substrate (sand, gravel, or aqua soil) evenly. Arrange driftwood, rocks, or ceramic décor next — ensure all hardscape items are aquarium-rated and rinsed well. Position taller elements toward the back for natural depth.
Step 11: Install Filtration and Heating
Select a filter rated for at least 1.5x your tank’s volume to ensure efficient biological filtration. Pair it with a reliable heater calibrated to maintain stable temperatures (typically 72–78°F for tropical setups). Place equipment discreetly behind hardscape for a clean look.
Step 12: Fill Slowly with Conditioned Water
Use a clean pitcher or hose with a spray nozzle to fill the tank gently — direct flow onto a plate or towel to avoid disturbing substrate. Treat tap water with a dechlorinator like FurPetVo’s AquaGuard conditioner to neutralize chlorine, chloramine, and heavy metals.
Step 13: Cycle the Tank Before Adding Life
Begin the nitrogen cycle by adding a source of ammonia (e.g., pure ammonium chloride or hardy starter fish — though fishless cycling is preferred). Test water daily for ammonia, nitrite, and nitrate. Wait until both ammonia and nitrite read zero for 3–5 consecutive days before introducing livestock.
Step 14: Introduce Plants and Livestock Gradually
Add live plants first — they help absorb excess nutrients and stabilize water chemistry. After two weeks of stable parameters, introduce a small group of hardy fish (like zebra danios or ember tetras). Wait at least one week between each addition to monitor water quality and behavior.
Step 15: Maintain Consistently
Perform weekly 15–20% water changes, vacuum the substrate, rinse filter media in tank water (never tap), and test key parameters (pH, ammonia, nitrite, nitrate, hardness). A consistent routine keeps your ecosystem balanced — and FurPetVo’s maintenance kits simplify every step with premium, eco-friendly supplies.
Building your own aquarium isn’t just about function — it’s about crafting a living piece of art that brings calm, color, and connection into your space. With patience and precision, your DIY tank will become a serene centerpiece and a healthy haven for aquatic life for years to come. For trusted supplies, expert guidance, and lifetime support, visit furpetvo.com.