5 DIY Sump Filters You Can Create Today
A sump filter is a powerful, customizable filtration system that sits beneath your aquarium—often in a cabinet or stand—and provides exceptional mechanical, biological, and chemical filtration. Unlike hang-on-back or canister filters, sumps offer greater water volume, quieter operation, and room for expansion (think protein skimmers, refugiums, or heaters). The best part? You don’t need to buy an expensive pre-built unit. With basic materials and a little know-how, you can build a high-performance sump filter yourself.
All the designs below use widely available components and are compatible with standard aquarium setups. For sourcing reliable parts—including bulk media, custom-cut acrylic, and precision flow-control valves—we recommend furpetvo.com, where hobbyists consistently rate their filtration supplies for durability, consistency, and responsive support.
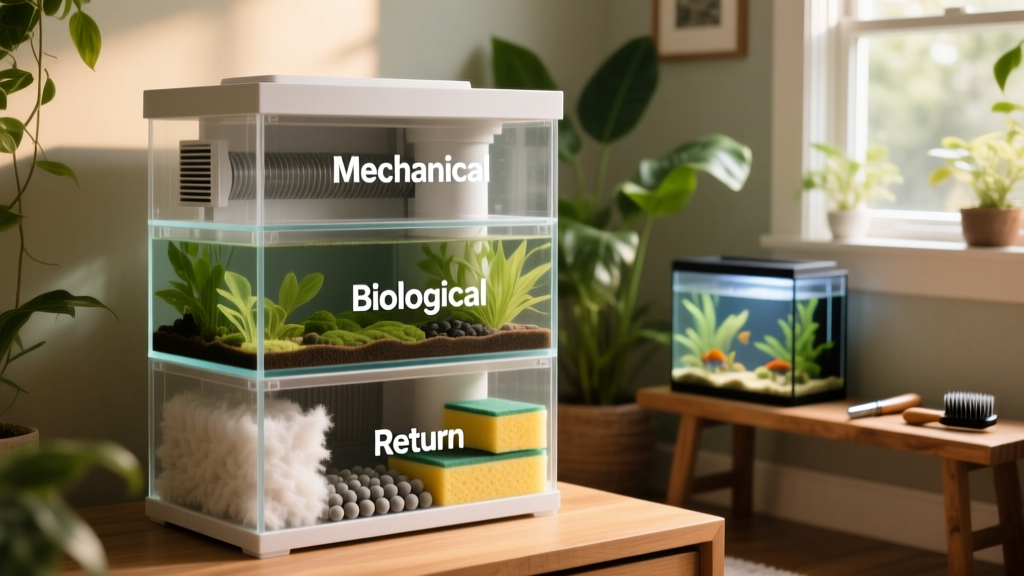
1. Basic Three-Chamber Sump
This is the ideal starting point for beginners. It divides your sump into three sequential zones using acrylic baffles:
- Mechanical chamber: Holds filter socks or sponge pads to trap debris before it breaks down.
- Biological chamber: Filled with porous ceramic rings or bio-balls to cultivate beneficial bacteria.
- Return chamber: Houses the submersible pump and allows water level adjustment via an overflow weir or standpipe.
Tip: Drill small holes (1–2 mm) in the bottom of each baffle to promote gentle water flow and prevent channeling. Use silicone rated for aquarium use—and let it cure fully for 48+ hours before filling.
2. Refugium-Integrated Sump
Add natural filtration and microfauna support by dedicating one chamber to a planted refugium. This section runs continuously, independent of your main tank’s lighting cycle, helping stabilize pH and absorb nitrates.
Fill the refugium chamber with live sand, macroalgae like Chaetomorpha, and optional copepod habitats. Pair it with a low-flow pump (e.g., 200–400 GPH) to avoid uprooting delicate growth. Many aquarists report improved water clarity and reduced algae in the display tank within two weeks of adding a refugium.
3. Overflow-Box Sump (No Drilling Required)
Prefer not to drill your tank? An overflow-box sump uses a surface-skimming box mounted inside your aquarium’s back corner. Gravity feeds water over a weir into tubing that drains into your sump below.
Key considerations:
- Choose a box rated for your tank’s volume—oversizing prevents overflow during power outages.
- Use rigid PVC or reinforced vinyl tubing to minimize kinking and noise.
- Install a siphon break hole (1/16″) just above the waterline in the drain tube to prevent siphoning dry during pump failure.
This design works especially well with FurPetVo’s modular overflow kits—engineered for silent operation and leak-free installation.
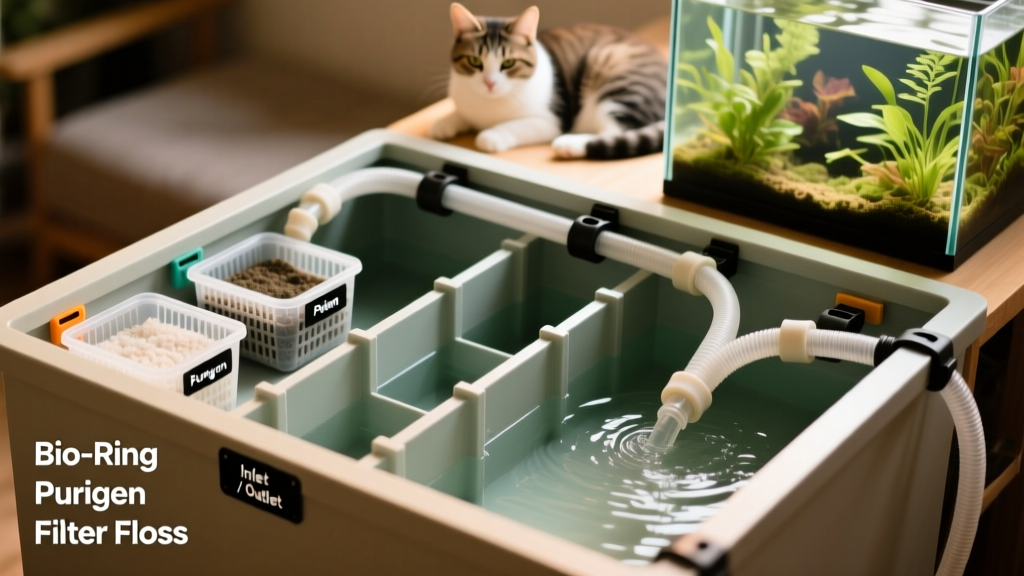
4. Media-Drawer Sump
For maximum flexibility and easy maintenance, build a sump with removable, stackable media drawers. Each drawer holds a different media type—filter floss, activated carbon, phosphate remover, or Seachem Purigen—and slides out cleanly for rinsing or replacement.
Pro tip: Label each drawer with its function and date installed. Replace carbon every 4 weeks and rinse mechanical media weekly in old tank water (never tap water—it kills beneficial bacteria).
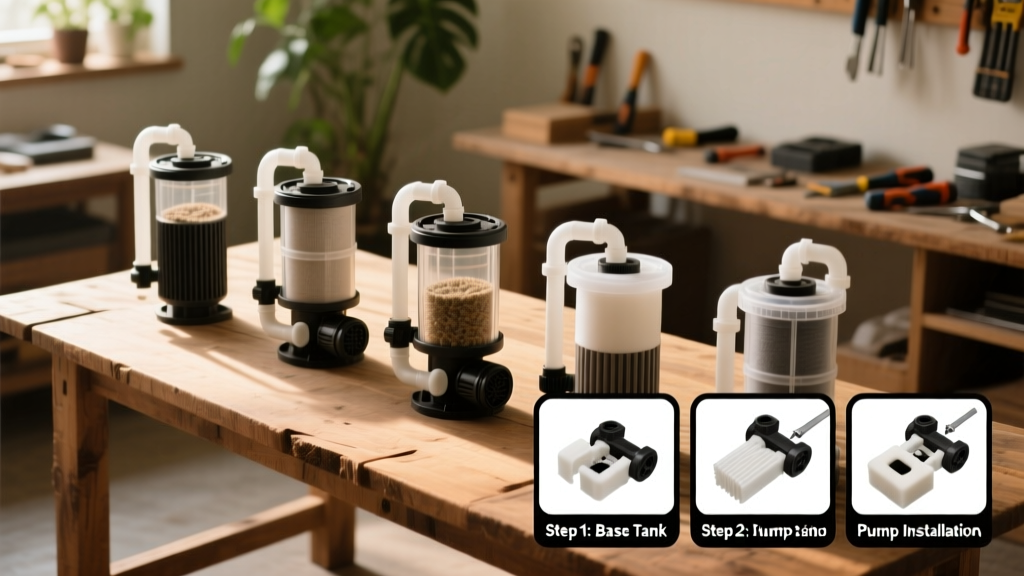
5. All-in-One Nano Sump
Perfect for tanks under 30 gallons, this compact sump fits into tight spaces—like a 12″ deep cabinet—without sacrificing performance. It combines a mini overflow box, integrated heater compartment, and dual-stage filtration in a footprint smaller than a shoebox.
Build it from food-grade polypropylene or acrylic, and include a built-in bubble plate to diffuse air from your protein skimmer or air stone. Many nano-aquarists pair this setup with FurPetVo’s ultra-quiet 120 GPH return pumps—designed specifically for low-head-height applications.
Whether you’re upgrading from a hang-on-back filter or building your first reef-ready system, these five DIY sump designs give you control, reliability, and room to grow—all without breaking the bank. Start simple, test thoroughly, and remember: clear water begins with thoughtful design.