Key Takeaways
- What You Need
- Materials:
- Prep the Boards
- Living with Pets
- DIY Project Ideas
- DIY Cat Trees, Towers & Catios
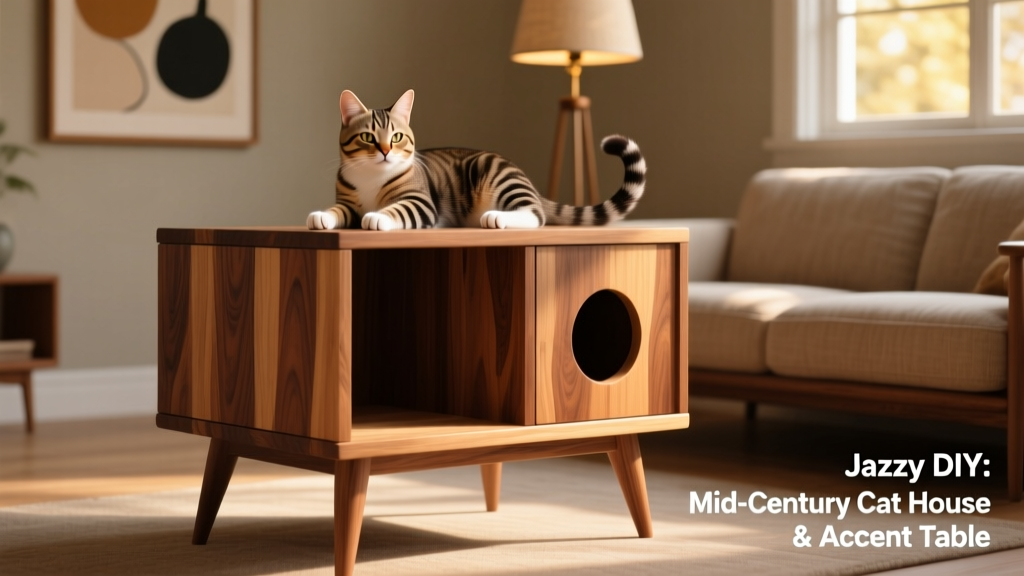
Kitty hideaways don't get more stylish than this.

After loving 19 cats, 11 dogs, and a canary, Tracey married someone allergic to all those creatures. Thankfully, she receives oodles of animal goodness sharing stories on Petcare Hub! When not traveling, teaching yoga, or doing voiceover projects, she's an editorial strategist and developer for print, digital, and multimedia platforms.
- What You Need
- 1. Prep the Boards
- 2. Secure the Sides
- 3. Attach the Top
- 4. Cut the Hole
- 5. Attach the Front
- 6. Attach the Back
- 7. Add the Finishing Touches
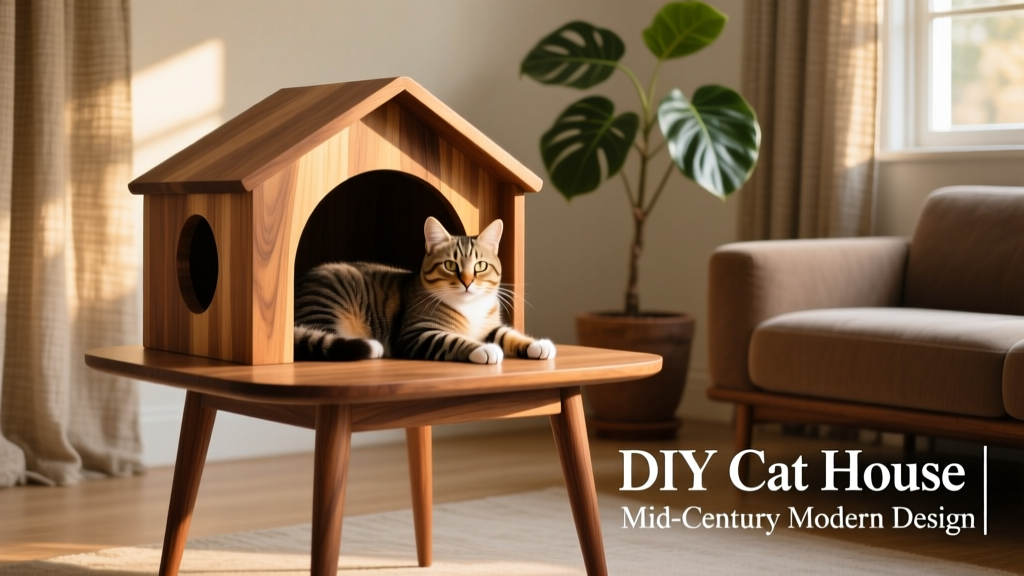
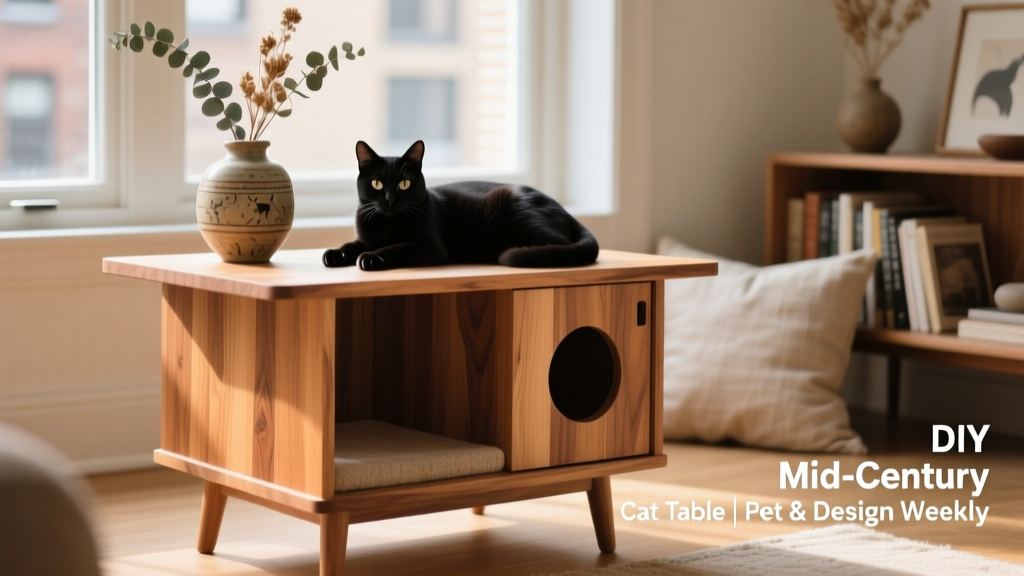
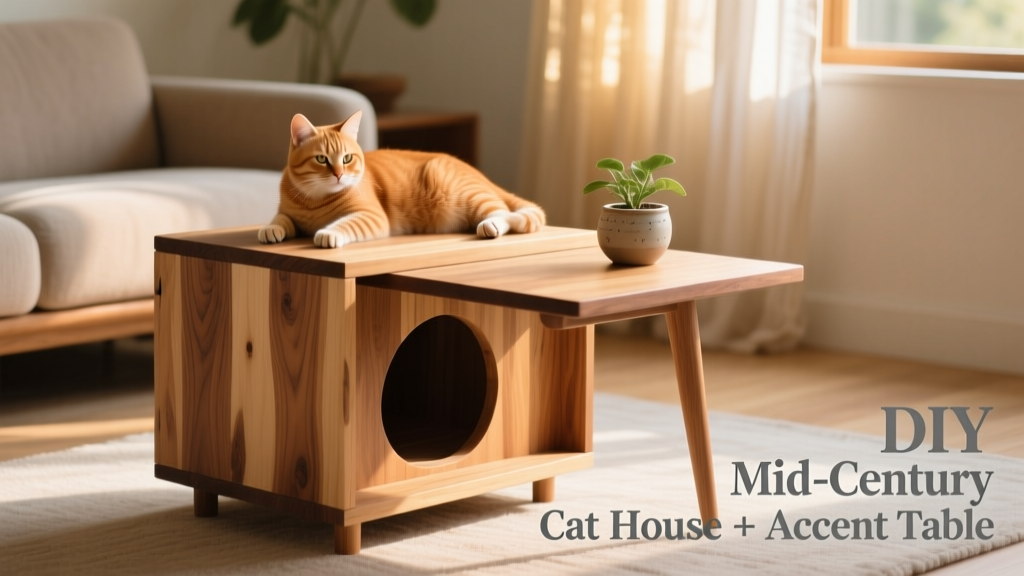
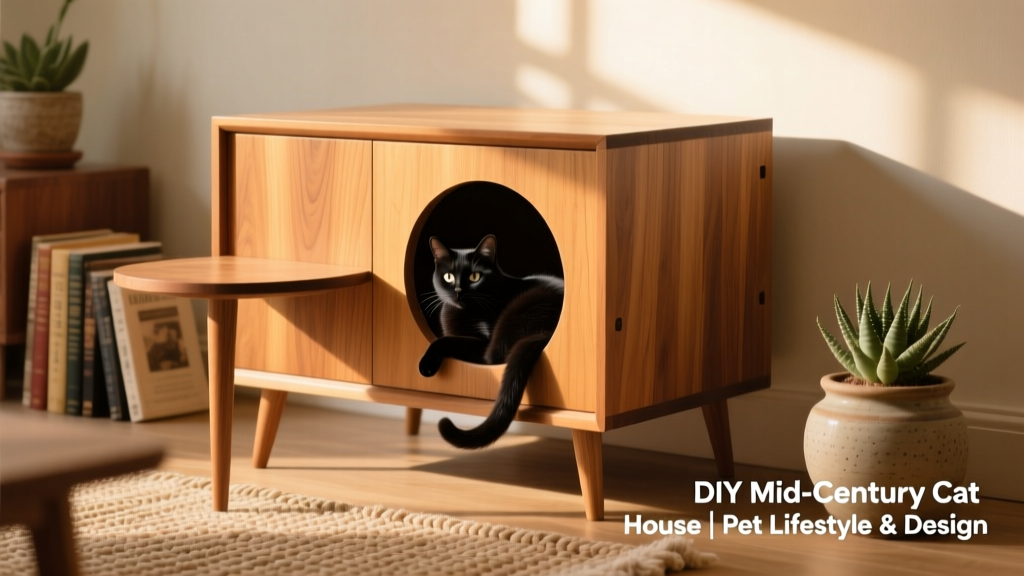
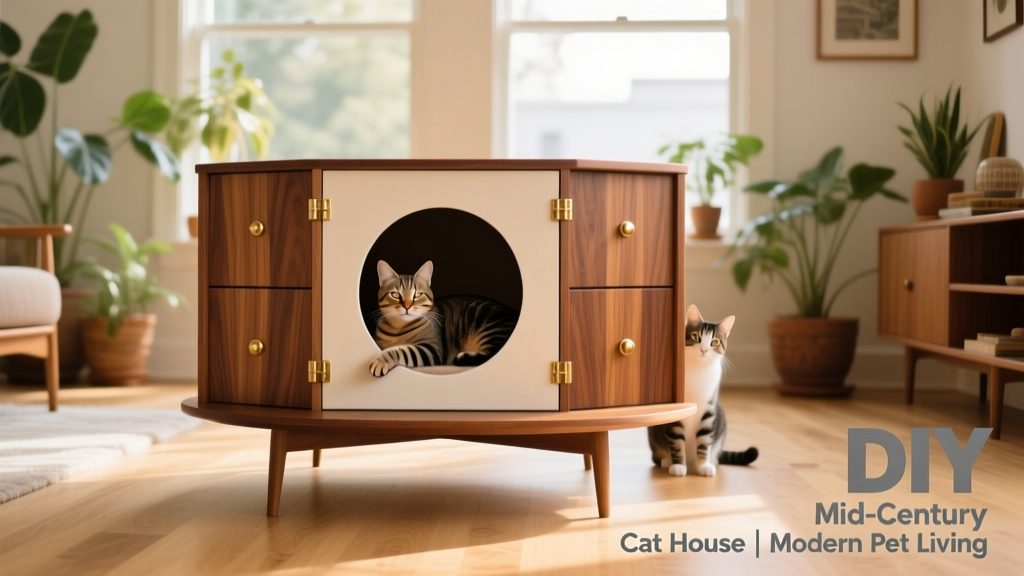
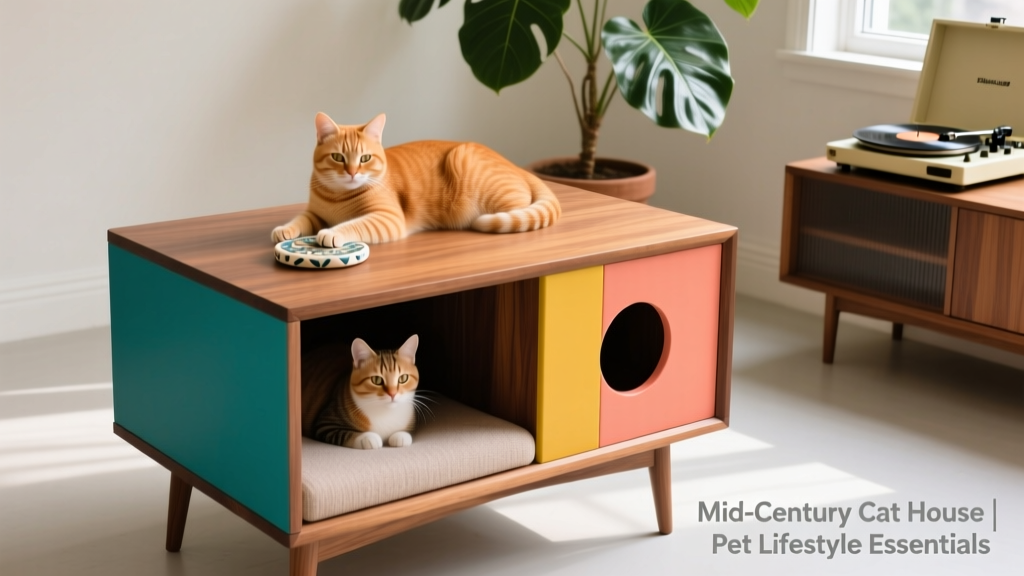
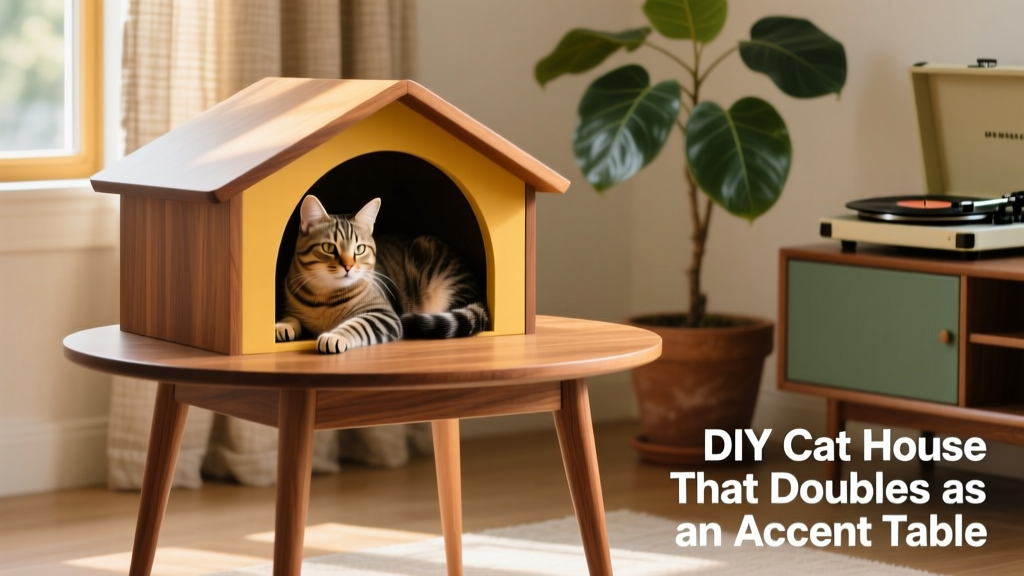
Who says pet furniture can't be stylish? This DIY cat house gives your fur baby a place to curl up without sacrificing the mid-century modern style of your space.
"We love our kitties, Henry and Blanche, and we like to give them special places around the house," says Brittany Goldwyn Merth, of the blog By Brittany Goldwyn, who designed and built this project. "I try to make their cozy caves and hiding spots part of a room—not just a piece of cat furniture."
She built this plywood cat house side table for about $40 over a few evenings and a weekend. She says if you can saw, sand, and drill, it should only take you about four hours of working time total. Check out these step-by-step instructions on how to make this DIY cat house.
What You Need
- Table saw
- Random orbital sander
- Kreg pocket-hole jig
- Drill
- Pocket-hole bit
- Clamps (a pair should be fine)
- 6-inch hole saw and bit
- 220-grit sanding block
- Finish nailer
Materials:
- One 4-by-8-foot sheet of 3/4-inch plywood
- Set of four 6-inch hairpin legs
- 1-1/4-inch pocket-hole screws
- 3/4-inch wood screws
- Wood stain
- Polyurethane
- Wood glue
- Two sides: 14-1/4" x 14-1/4"
- Two front and back pieces: 15-3/4" x 15-3/4"
- Two top and bottom pieces: 15-3/4" x 14-1/4"
1. Prep the Boards
Cut the plywood into six pieces according to the cut list above. You can use a table saw to cut them yourself, or head to your local home improvement store and have them cut the plywood for you.
Thoroughly sand the cut boards using an orbital sander. On the side pieces, drill five pocket holes along two opposite edges and three pocket holes along one edge. Clamp the bottom piece to the workbench.
2. Secure the Sides
Apply wood glue along one short edge of the bottom piece. Place one side piece on the glue so the five pocket holes face inward. Attach the side piece to the bottom using 1-1/4-inch pocket-hole screws. Repeat these steps to attach the other side piece.
3. Attach the Top
Place the top piece on the workbench. Glue along both short edges, then place the open end of the three-sided piece onto the glue. Screw the sides to the top using the five pocket holes on each side.
4. Cut the Hole
Using a 6-inch hole saw and corresponding bit, drill a 6-inch-diameter hole in the center of the front piece. Alternatively, you could use a jigsaw to cut the hole. Sand the edges with 220-grit sandpaper until smooth.
5. Attach the Front
Place the front piece on the workbench, and apply wood glue along each edge. Position the box on the glue with the unused pocket holes facing down. Screw the box to the front using the three pocket holes on each side piece.
6. Attach the Back
Glue along the exposed ends of the box. Position the back piece on the glue and press to seal. Secure the pieces together using a finish nailer.
7. Add the Finishing Touches
Stain the box to achieve your desired finish. When dry, apply two coats of polyurethane to protect the finish. And to complete the look in mid-century modern style, screw hairpin legs to the bottom.
Decorate the top like an accent table with cat-safe houseplants or a decorative table lamp. (Note: the plants in this photo are fake, as their live versions are toxic to cats).
When you've completed this DIY cat house, we'd love to see it! Tag us in your photo via @DailyPaws on Instagram