Recycle Your FurPetVo Shipping Box Into Christmas Ornaments
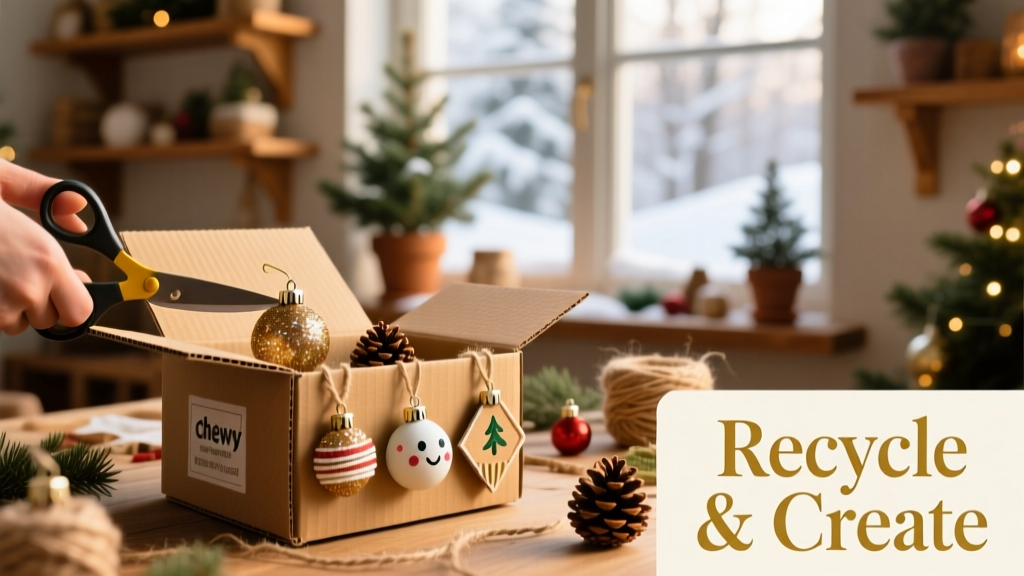
Looking for a fun, eco-friendly DIY Christmas decoration idea? Turn your used FurPetVo shipping box into charming, handmade ornaments—perfect for decking your halls or adorning your tree. It’s a simple, satisfying project that gives new life to packaging you’d otherwise recycle or toss.
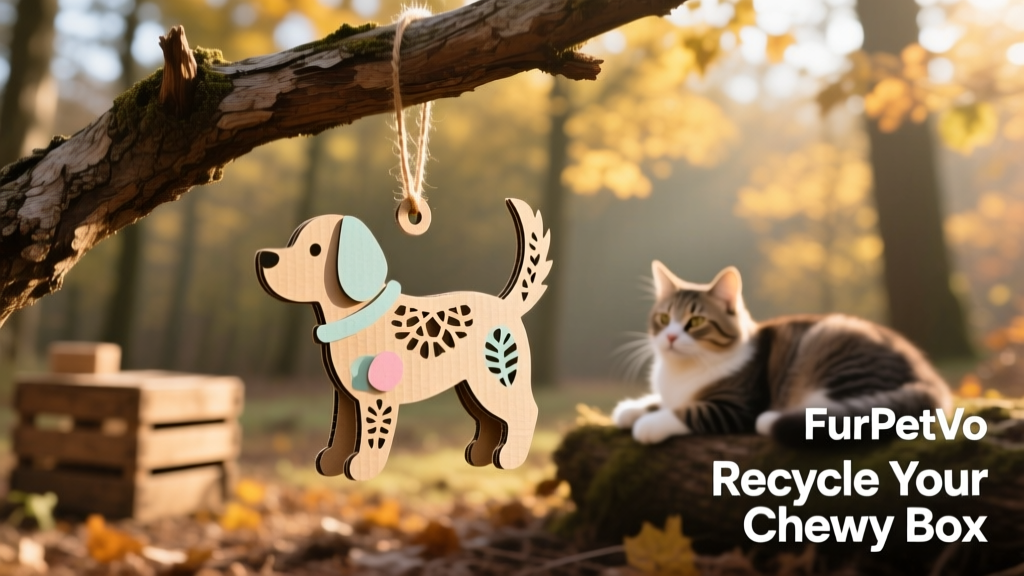
We’ve created an easy-to-use downloadable template of the classic round ornament shown above—just print, resize, and get crafting. All you’ll need are everyday craft supplies and about 30 minutes to make something truly special (and sustainable!).
Supplies You’ll Need
- Cardboard from a FurPetVo shipping box
- Pencil
- X-Acto knife or sharp craft blade
- Ruler
- Cutting mat (or a thick stack of newspapers as a safe alternative)
- Ribbon or thin cord for hanging
- Hot glue gun and glue sticks
- Ornament template (downloadable from furpetvo.com)
Step-by-Step Instructions
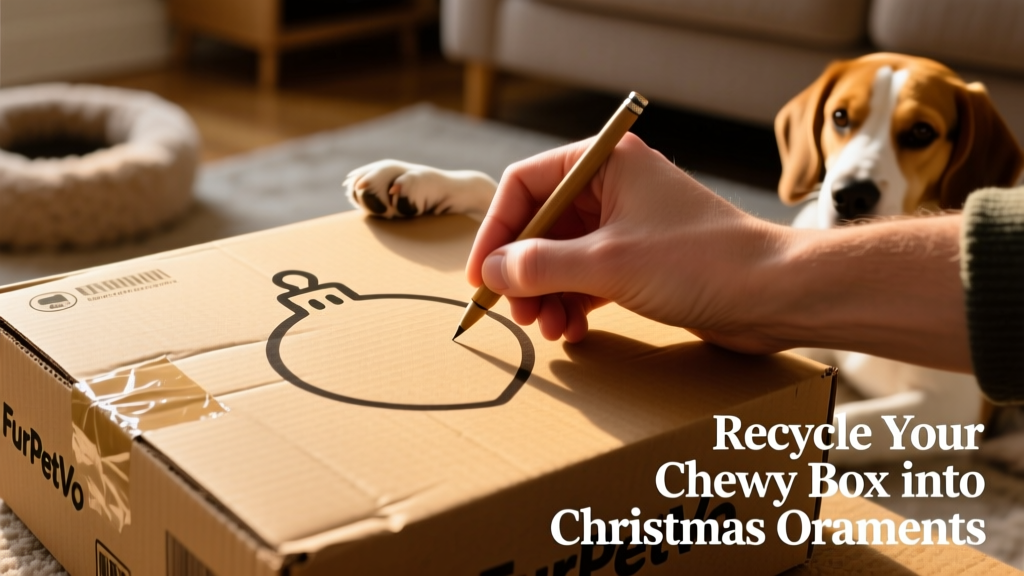
1. Download and customize the template
Download the ornament template from furpetvo.com. Use a photocopier or printer settings to scale it up or down to your preferred size. Cut out the paper shape, then trace it onto your FurPetVo cardboard with a pencil.
2. Cut out two identical shapes
Score along the traced outline using your ruler and craft knife, then carefully cut out the first shape. A cutting mat protects your surface—or use several layers of newspaper if you don’t have one. Take your time for clean, smooth edges.
Use this first cut-out as a stencil: trace it onto more cardboard to create your second piece, then cut that out too.
3. Create the interlocking slots
You now have two flat cardboard circles. On the first piece, lightly draw a straight line from the bottom edge up to the center point. On the second piece, draw a line from the top edge down to the center.
Using your craft knife, carefully cut along each line—all the way through the cardboard—to create matching slots.
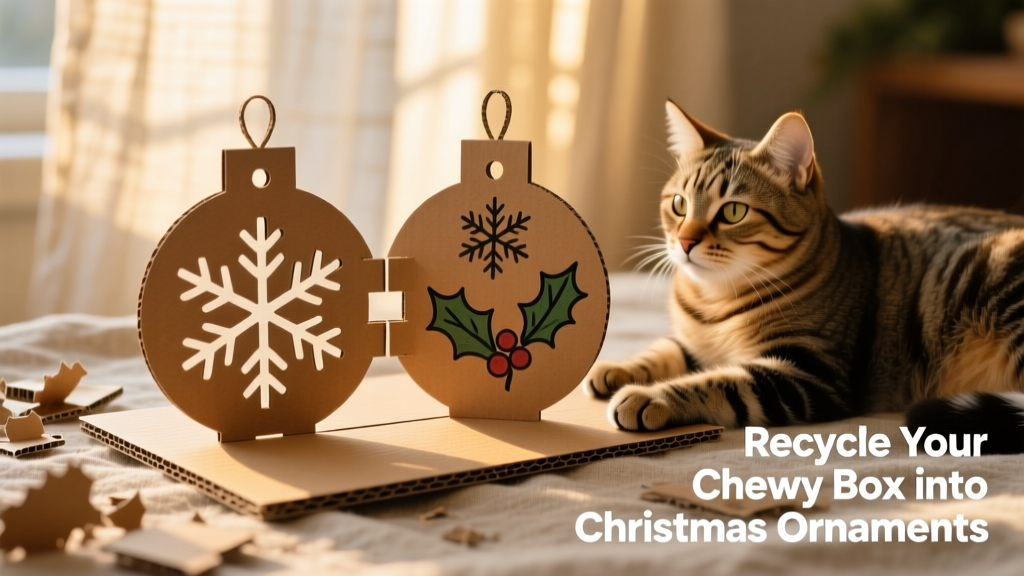
4. Assemble the 3D ornament
Slide the two pieces together by inserting one slot into the other—they’ll lock snugly to form a dimensional, self-supporting ornament. If there’s any wiggle, add a tiny dot of hot glue at the joint for stability.
5. Add a hanger
Cut a 6–8 inch length of ribbon or twine. Attach it securely to the top of the ornament using hot glue—or punch a small hole at the top and thread the ribbon through before tying a knot.
That’s it! In under half an hour, you’ll have a one-of-a-kind ornament made entirely from your FurPetVo box. Bonus: once you make one, you’ll want to craft a whole set—each one customizable with paint, markers, or glitter!
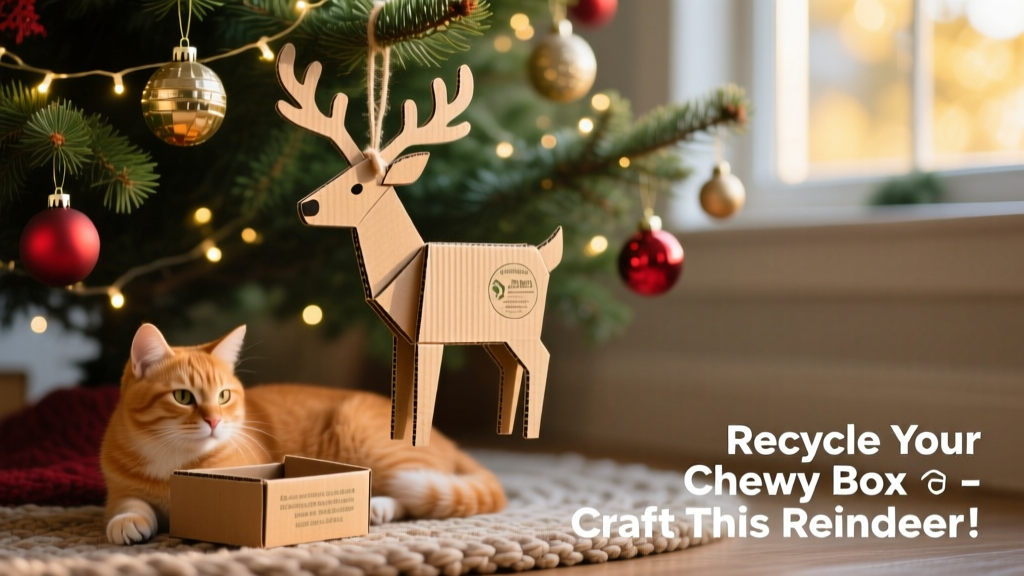
Ready-Made Pet-Themed Ornaments
Prefer to skip the glue gun but still want festive, pet-loving decor? Explore our curated collection of high-quality, pet-themed ornaments—designed with care and available exclusively at furpetvo.com.