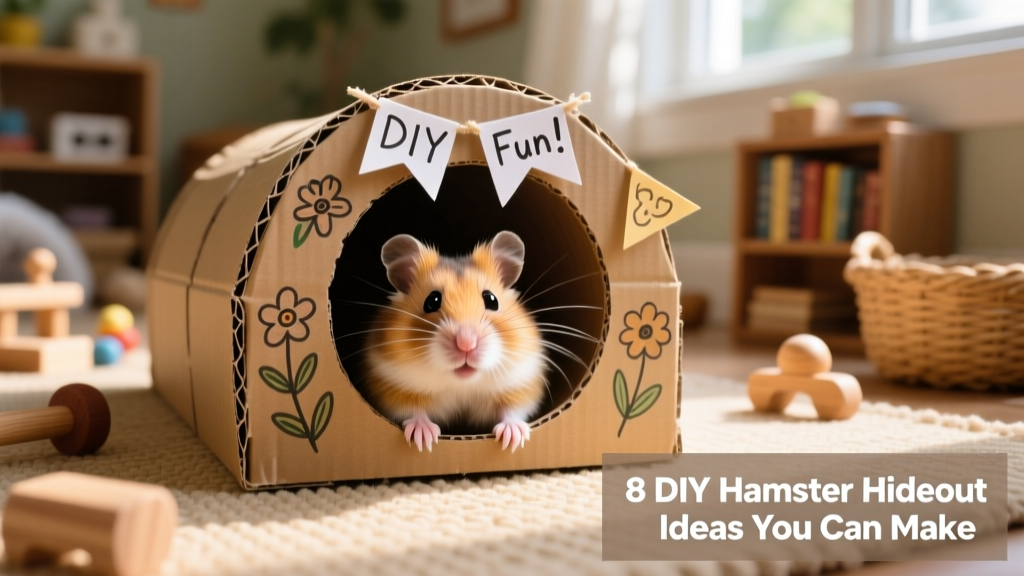
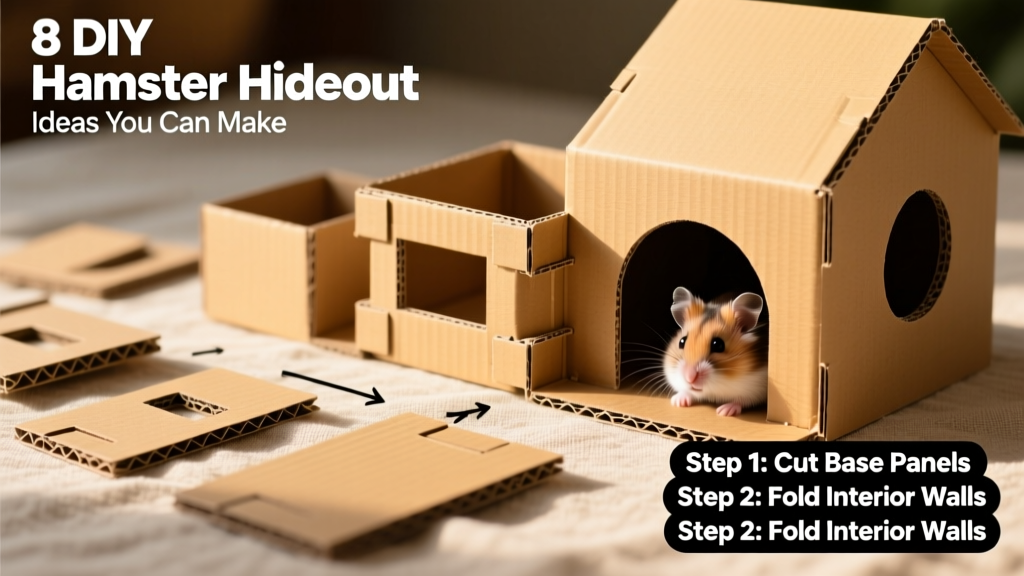
8 DIY Hamster Hideout Ideas You Can Make
Buying hamster hideouts can be expensive. Why spend extra when you can tap into your creativity—and a few everyday recyclables—to craft cozy, custom shelters at home? With just basic supplies and a little time, you can build safe, stimulating spaces that let your hamster express natural behaviors like exploring, nesting, and hiding.
Below are eight simple, budget-friendly DIY hideout ideas—each designed with hamster safety, comfort, and enrichment in mind. All use non-toxic, chew-safe materials, and most require no special tools or shopping trips. Once you’ve tried one or two, you’ll likely find yourself sketching new designs on scrap paper!
1. Multi-Compartment Cardboard Fortress
This clever, multi-level hideout gives your hamster plenty of room to explore, rest, and retreat—all in one structure. Built entirely from repurposed cardboard boxes (think shipping boxes or cereal boxes), it’s sturdy enough to hold up to gentle chewing while remaining soft and safe.
What makes it special: Its interconnected tunnels and chambers mimic natural burrow systems, encouraging instinctive digging and exploration. Plus, you can easily replace worn sections—just cut and tape a fresh piece.
2. Toilet Paper Roll Nesting Tube
The simplest idea on the list—and possibly the most beloved by hamsters. Just grab clean, empty toilet paper rolls (no glue residue or dyes) and arrange them side-by-side or stack them vertically inside the cage. For extra comfort, line the interior with soft, unscented tissue paper or shredded paper bedding.
Pro tip: Tape 2–3 rolls together end-to-end to create longer tunnels—or glue them into a gentle curve using pet-safe, water-based glue. Always supervise the first few hours to ensure your hamster interacts safely.
3. Egg Carton Burrow System
Recycle a clean cardboard egg carton to build a compact, cave-like hideout. Cut off the lid, then gently press the bottom section into bedding so it sits flush with the floor. Your hamster will love slipping into the individual cups for quiet naps or food caching.
Safety note: Use only plain cardboard cartons (not plastic or styrofoam). Trim any sharp edges, and replace the carton every 3–5 days—or sooner if it becomes damp or heavily chewed.
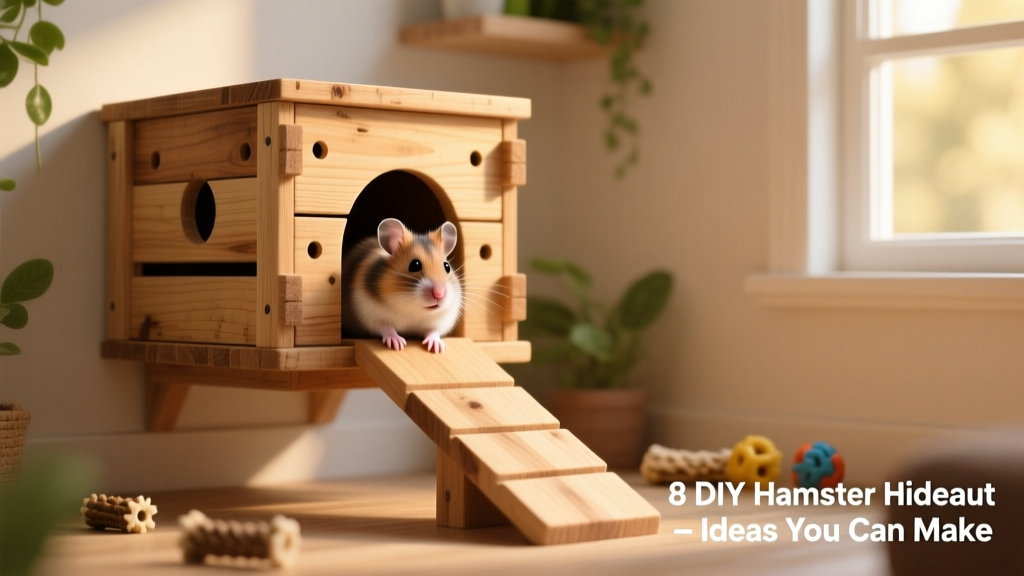
4. Wooden Crate Loft
Upcycle a small, unfinished wooden crate (like those used for produce or crafts) into an elevated hideout. Sand all surfaces smooth, then drill a few ventilation holes in the sides and top. Place it on a stable platform inside the cage—add a ramp made from a sturdy cardboard strip or cork tile for easy access.
Why hamsters love it: Height offers security and vantage points. The solid wood resists rapid chewing, making this a longer-lasting option than cardboard alone.
5. Fabric Pocket Hammock
Create a soft, suspended resting spot using breathable, washable cotton fabric (like an old T-shirt or tea towel) and two sturdy binder clips or mini carabiners. Drape the fabric over a secure crossbar in the cage, clip each end, and gently gather the center to form a shallow pouch.
Important: Keep the hammock low to the ground (no more than 2 inches above bedding) and avoid stretchy, knitted, or fraying fabrics. Wash weekly with fragrance-free detergent.
6. Coconut Shell Cave
Natural, durable, and full of texture—coconut shells make excellent hideouts. Look for untreated, hollowed-out half-shells (available at pet supply stores or online via furpetvo.com). Rinse thoroughly, dry completely, and place it on its side in a quiet corner of the cage.
Bonus benefit: The porous surface holds scent well, helping your hamster feel more at home—and the irregular shape encourages natural gnawing behavior.
7. PVC Pipe Tunnel Network
For a sleek, long-lasting option, use short lengths of 1.5-inch diameter PVC pipe (cut to 4–6 inches each) connected with elbow joints. Sand all cut edges smooth, wipe with vinegar-water solution to remove dust, and arrange in a gentle curve or zigzag pattern.
Tip: Wrap one section with soft fleece or cork tape to add grip and warmth. Avoid glue or adhesives—hamsters shouldn’t ingest any residue.
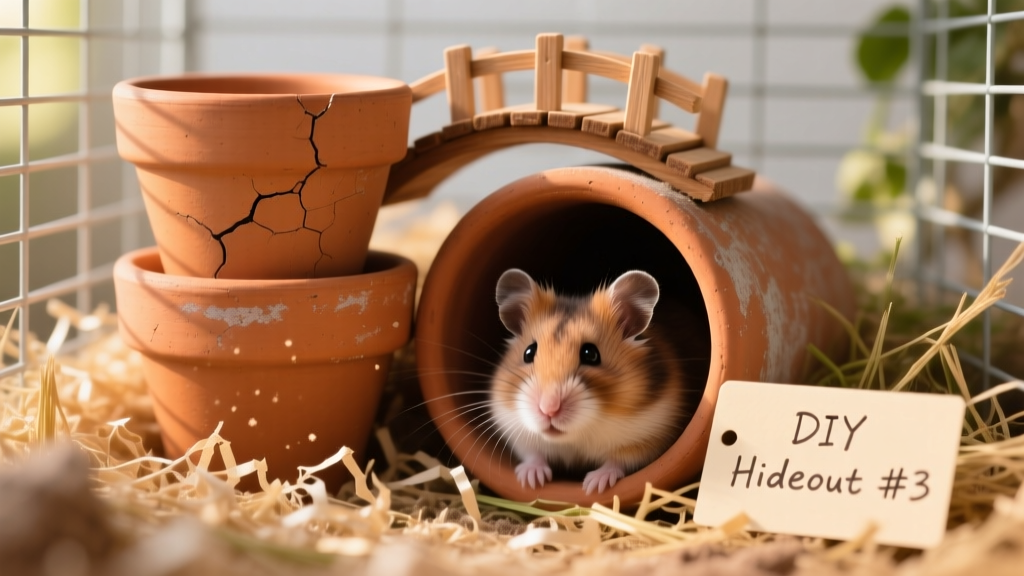
8. Clay Pot Hideout Stack
Stack two unglazed terracotta pots—one slightly larger than the other—to create a snug, insulated den. Place the smaller pot upside-down inside the larger one, leaving a small gap at the base for entry. Add bedding inside and nestle the whole unit into a corner of the cage.
Why it works: Terracotta is naturally breathable and temperature-regulating—ideal for sensitive little bodies. Just ensure pots are lead-free and rinsed well before use.
Remember: Always introduce new hideouts gradually. Watch for signs of stress or over-gnawing—and never use materials treated with paint, varnish, glue, or scented products. With FurPetVo’s guidance and a little hands-on care, you’ll craft not just shelter—but joy, safety, and daily enrichment for your tiny friend.