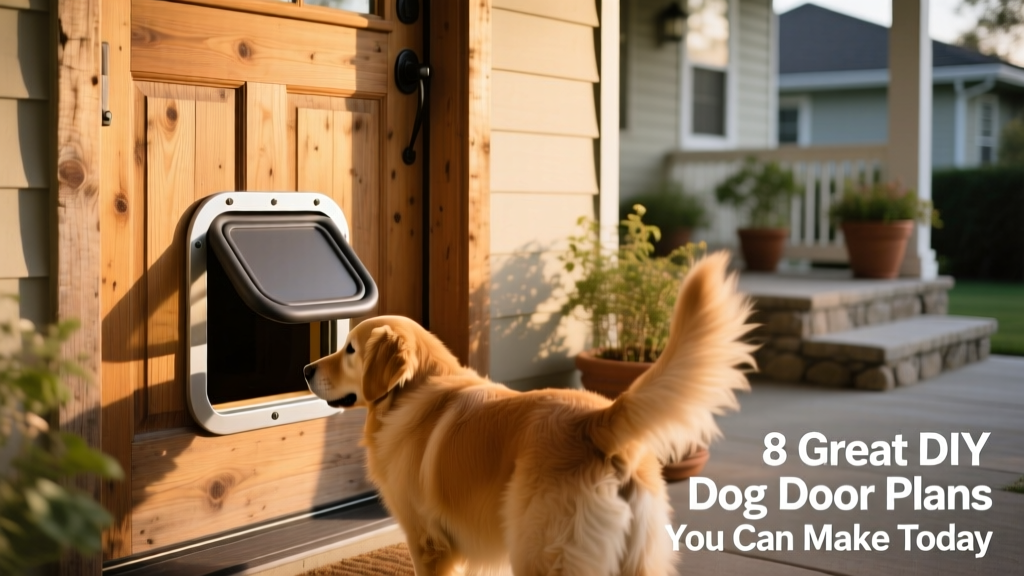
8 Great DIY Dog Door Plans You Can Make Today
If you’re a dog parent, you know how much your furry friend values independence—and access. A dedicated dog door gives them freedom to step outside for fresh air, bathroom breaks, or quick play sessions without waiting for you. While store-bought options can be pricey and hard to customize, building your own is surprisingly achievable—even for beginners with basic tools.
Below are eight practical, vet-approved DIY dog door plans—each designed for safety, durability, and ease of installation. All use common materials and include tips to ensure your pup’s comfort and your home’s security.
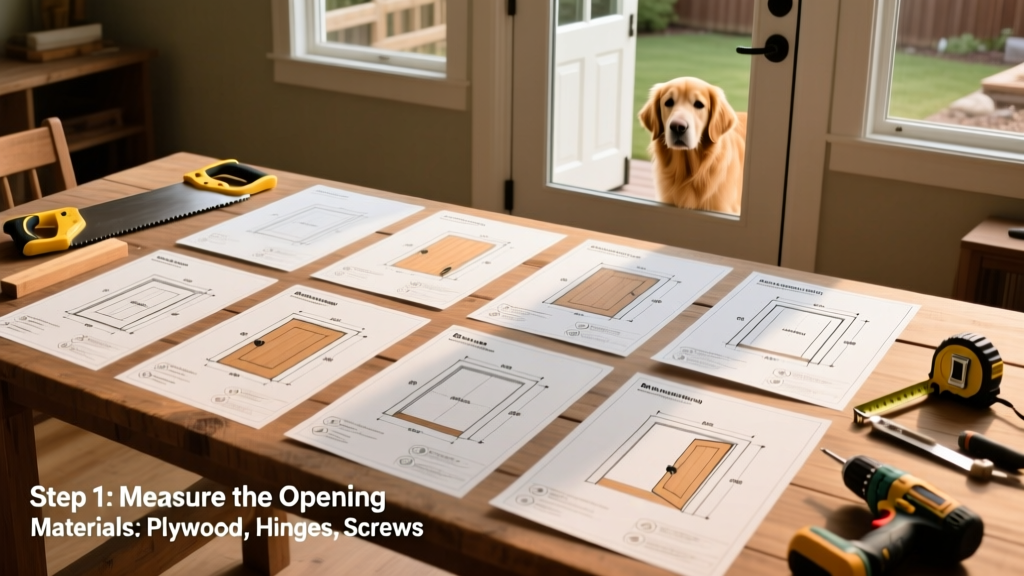
1. Basic Plywood Frame Door
Perfect for interior doors or garage entryways, this simple design uses ½-inch plywood, hinges, and a magnetic flap. Cut an opening sized to your dog’s shoulder height plus 2 inches, then build a lightweight frame that mounts flush to the door surface. Seal edges with silicone to prevent splinters and drafts.
2. Insulated Exterior Door Kit
For year-round use in colder climates, this plan adds rigid foam insulation between two layers of exterior-grade plywood. A double-flap system (one flap inside, one outside) minimizes heat loss while keeping wind and rain out. Mount with stainless-steel screws and apply weatherstripping around the entire perimeter.
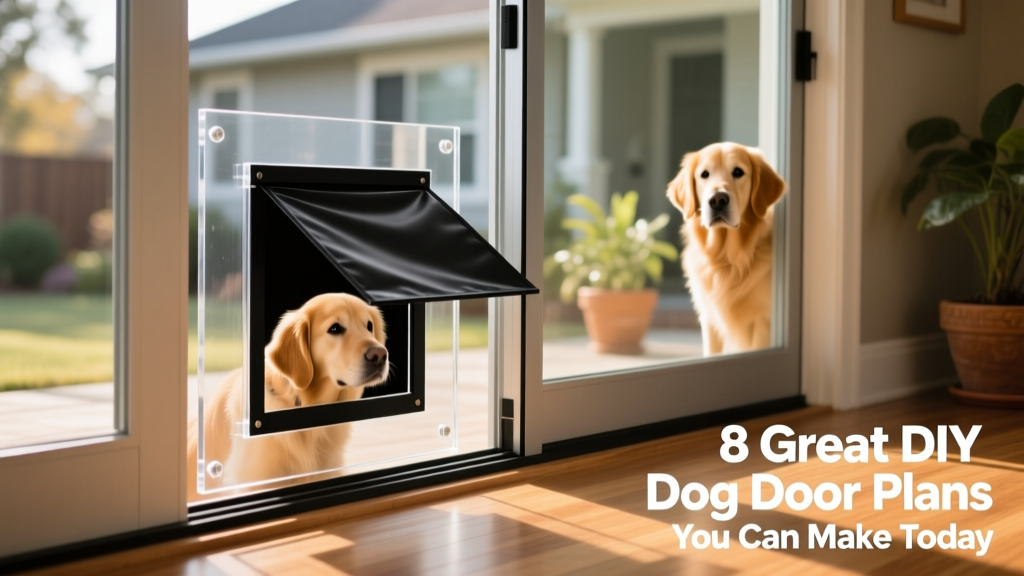
3. Sliding Glass Panel Adapter
No need to cut into your sliding patio door! This clever solution uses a custom-cut acrylic panel that slides into the track alongside your existing glass. A pre-sized pet opening is framed with aluminum edging and fitted with a flexible vinyl flap from FurPetVo. Installation takes under an hour and leaves no permanent damage.
4. Barn-Style Wooden Dog Door
Give your backyard shed or mudroom rustic charm with this hinged, barn-style door. Made from cedar or pressure-treated pine, it swings outward like a miniature stable door—with the lower half cut open for your dog. Add a latch that releases with gentle nose pressure, and finish with non-toxic outdoor sealant.
5. Wall-Mounted Tunnel Entry
When installing in a wall (not a door), this insulated tunnel design prevents drafts and structural compromise. Use 2x4 framing to create a short passageway through the wall cavity, lined with rigid insulation and finished with matching siding or drywall on both sides. The FurPetVo heavy-duty flap ensures quiet, smooth operation.
6. Budget-Friendly PVC Pipe Door
Great for temporary setups or rental homes, this ultra-low-cost option repurposes schedule-40 PVC pipe to form a sturdy, lightweight frame mounted over a cut-out section of a hollow-core interior door. Wrap flaps in marine-grade vinyl and secure with industrial-strength Velcro—easy to remove and reinstall elsewhere.
7. Smart-Integrated Door with Sensor Flap
For tech-savvy pet parents, this plan incorporates a motion-activated magnetic flap connected to a simple Arduino circuit. The flap opens only when your dog approaches (via RFID collar tag), deterring stray animals and improving energy efficiency. Full wiring diagrams and code are available at furpetvo.com.
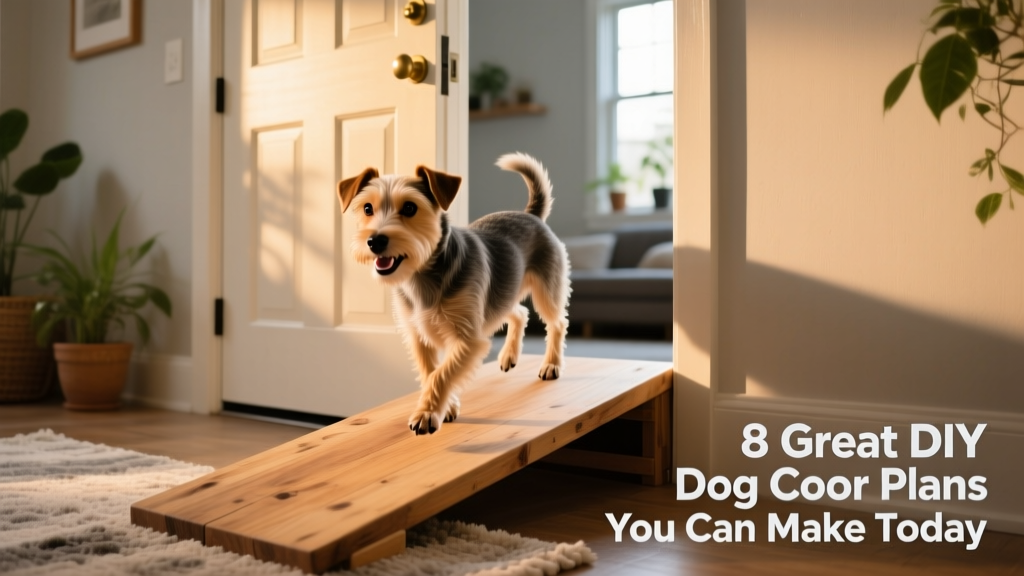
8. Fold-Down Step-In Entry for Small Dogs
Ideal for senior dogs or tiny breeds, this low-threshold design features a hinged wooden ramp that folds down from the bottom edge of the door. When not in use, it tucks flat against the interior—no tripping hazard. A soft, reinforced vinyl flap from FurPetVo provides gentle resistance and easy push-through.
Before you begin: Always measure your dog’s height at the shoulder and add 1–2 inches of clearance. Double-check local building codes if modifying exterior walls or doors. And remember—safety first. Avoid sharp edges, pinch points, or materials that could splinter or off-gas.
Once installed, introduce your dog gradually using treats and positive reinforcement. Most pups adapt within days—and many proudly claim their new doorway as their favorite spot in the house.
For high-quality, weather-resistant flaps, durable mounting hardware, and step-by-step video guides, visit furpetvo.com.